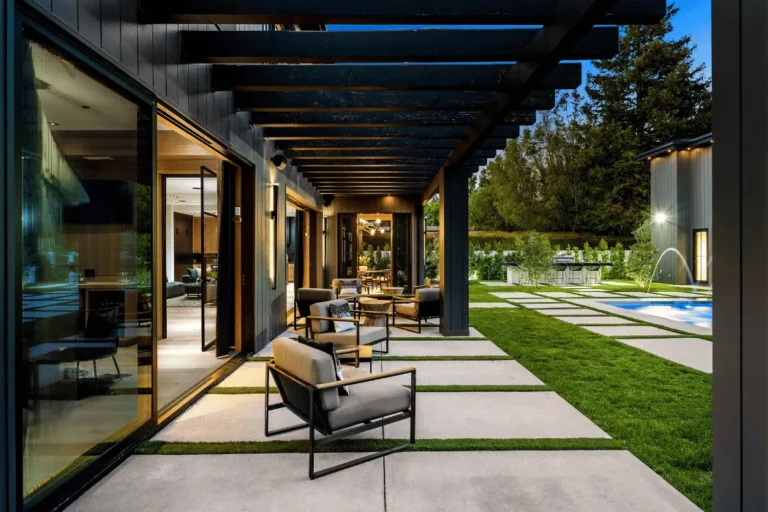
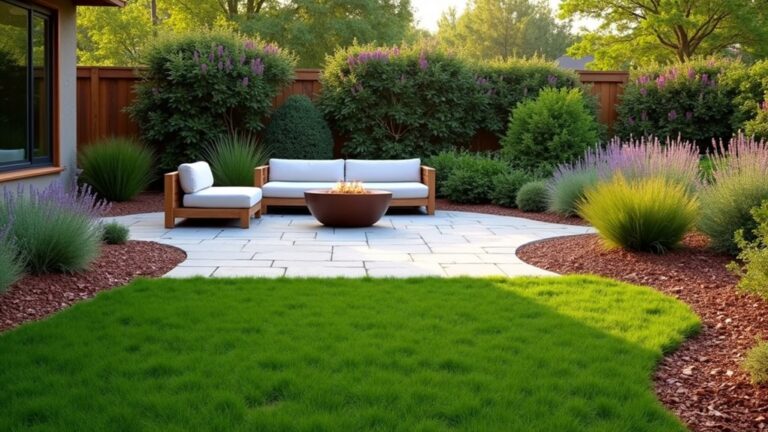
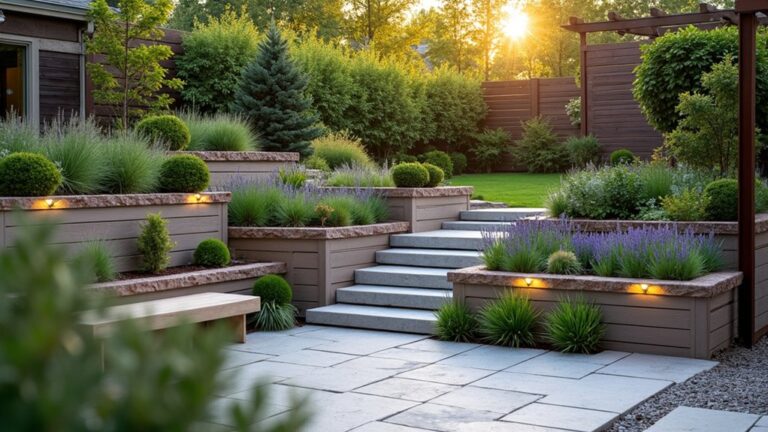
You can make a small garden feel bigger by planning your sightlines first, then placing seating where you’ll actually pause. You’ll get more usable space when you choose one clear focal point, keep paths comfortably wide (often with gentle curves), and define simple zones without adding extra objects. Layer plants by height, add vertical structure with trellises or tall containers, and use lighter surfaces plus targeted lighting to expand the feel—starting with one decision that changes everything…
Key Takeaways
- Map circulation and sightlines; keep 36-inch clear walkways and avoid tall elements blocking primary views from doors and windows.
- Create a strong focal point near the far boundary, with tallest/brightest elements there and softer layers toward the viewer.
- Use one main paving material for paths, and switch textures only in zones like seating to keep the space visually continuous.
- Layer planting by height and repeat groupings; use lighter, fine textures at the back and bolder foliage in front for depth.
- Brighten boundaries with pale paint and vertical lighting; highlight walls and trellises to reduce shadows and make edges recede.
Sketch a Small Garden Layout (Sightlines + Seating)
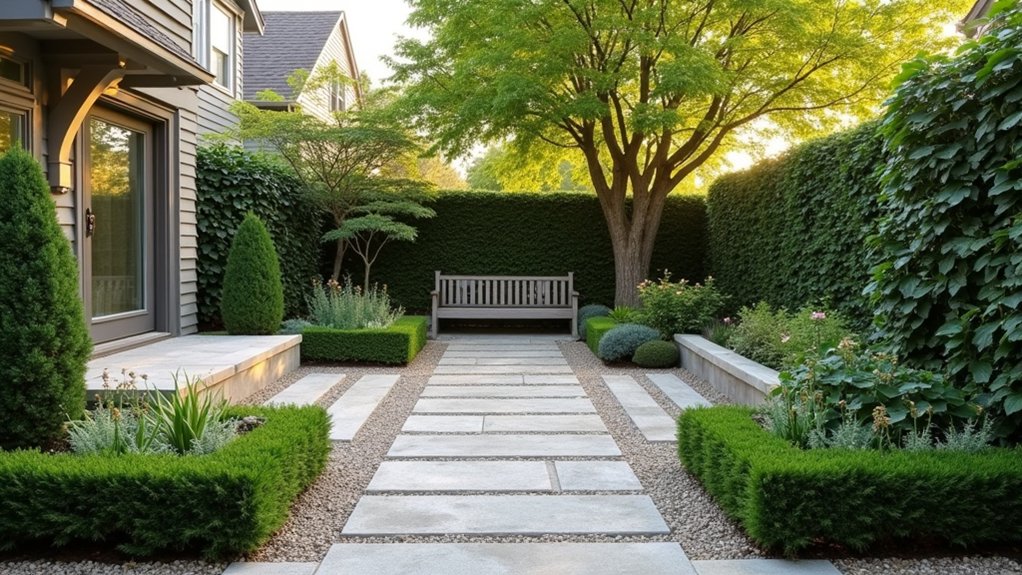
Before you buy plants or hardscape materials, sketch a simple plan that shows how you’ll move through the garden, what you’ll see from key viewpoints, and where you’ll actually sit.
Mark primary sightlines from doors, windows, and the main path, then keep those views clean by limiting tall or bulky elements in the foreground.
Place seating where it won’t block circulation: allow a 36-inch clear walkway and leave space for chair pull-out.
Use scaled shapes for beds and paving so you can verify turning radius and maintenance access.
A good sketch also guides plant selection: choose slimmer forms near paths, and cluster repeating textures to reduce visual clutter.
Note irrigation zones, pruning reach, and storage spots to streamline garden maintenance.
Add lighting locations on the plan too.
Choose a Focal Point to Pull the Eye Outward
Although small gardens don’t give you much room to hide distractions, a strong focal point instantly organizes what you see and makes the space feel deeper. Pick one “anchor” feature and treat everything else as supporting cast—an urn, specimen tree, sculptural boulder, small fountain, or a bold container grouping.
Get focal point placement right by aiming it at your primary viewing angle: the patio chair, kitchen window, or gate entry. Set it near the far boundary (not dead center) so your eye travels through planting layers to reach it.
Build visual hierarchy with scale and contrast: place the tallest or brightest element at the focal point, then step down in height and intensity toward you. Keep surrounding materials quieter to prevent competition.
Use Curved Paths (With the Right Width)
Use gentle curves in your paths to soften sightlines and make a small garden feel longer without wasting space on tight bends.
Keep the path width proportional to the garden—wide enough for comfortable walking, but not so wide that it steals planting area.
Widen the path slightly at focal points, like a bench, planter, or feature pot, so you’ve got a natural pause point without creating a bottleneck.
Choose Gentle Curves
When you introduce gentle curves into a small garden, you soften hard edges and make the space feel longer and more inviting. Replace straight runs with gradual bends that guide your eye forward, creating a natural flow between seating, planting beds, and focal points.
Lay out curves with a hose or rope first, then step back and adjust until the line looks relaxed, not wavy. Keep turns broad enough to feel intentional, and echo the curve in nearby bed edges or edging materials so the design reads cohesive.
Use consistent materials along the route, and let plants lightly frame the outer edge to reinforce direction. A subtle S-curve can reveal the garden in stages, making it feel larger without adding complexity.
Keep Paths Proportional
If you want a curved path to make a small garden feel larger, you’ve got to keep its width in proportion to the space around it.
In tight side yards or between beds, aim for about 30–36 inches so you can walk comfortably without the route feeling like a patio strip.
In very compact corners, 24–30 inches can work if you’re the only regular user, but go narrower and the curve starts to feel fussy and hard to navigate.
Check path scale by stepping off the proposed line with a hose, then marking edges and walking it.
Choose walkway materials that reinforce lightness: small-format pavers, compacted gravel, or thin stone set with tight joints look refined and reduce visual bulk.
Widen At Focal Points
Although a narrow curved path keeps a small garden feeling open, you should widen it where people naturally pause—at a bench, gate, intersection, or standout container—so the space functions without feeling cramped.
Create these “nodes” by flaring the path 6–12 inches on each side, or by adding a small landing that’s 36–48 inches wide to allow two people to pass or turn comfortably.
Place the widening directly in front of the focal point so sightlines feel intentional and the curve reads as purposeful, not tight.
Use matching pavers or edging so the expansion looks planned, maintaining visual balance with adjacent beds.
If space is tight, widen on the outer curve, and keep the inner edge clean for smoother circulation.
Create Simple Zones Without Adding Clutter
Because a small garden has to work hard, you’ll get better results by dividing it into a few clear zones—such as a seating nook, a planting bed, and a narrow path—without adding extra objects. Define each zone with changes in surface and edge lines, not décor.
Use one paving material for circulation, then switch to gravel or decking to signal seating. Keep shifts tight with steel edging or a simple soldier course so lines read cleanly.
Choose minimalist furniture with open legs so sightlines stay long and the floor shows through. Rely on color contrasts—light paving against darker mulch, or a pale bench against a deep fence—to separate functions visually.
Store tools out of view, and limit accessories to one focal item per zone.
Layer Plants by Height to Add Depth
When you layer plants by height, you create depth that makes a small garden feel wider and more intentional. Start at the front edge with low, mounding plants to define borders and keep sightlines open.
Place mid-height perennials or compact shrubs behind them to build volume without blocking pathways. Anchor the back of each bed with the tallest plants you can maintain, spacing them to avoid a solid wall.
Repeat the same plant groupings in two or three places so plant layering reads as a designed pattern, not a collection. Use fine textures and lighter colors toward the back to enhance depth perception, and reserve bold foliage for the foreground.
Keep each layer narrow so beds don’t eat up usable space.
Go Vertical With Trellises and Tall Containers
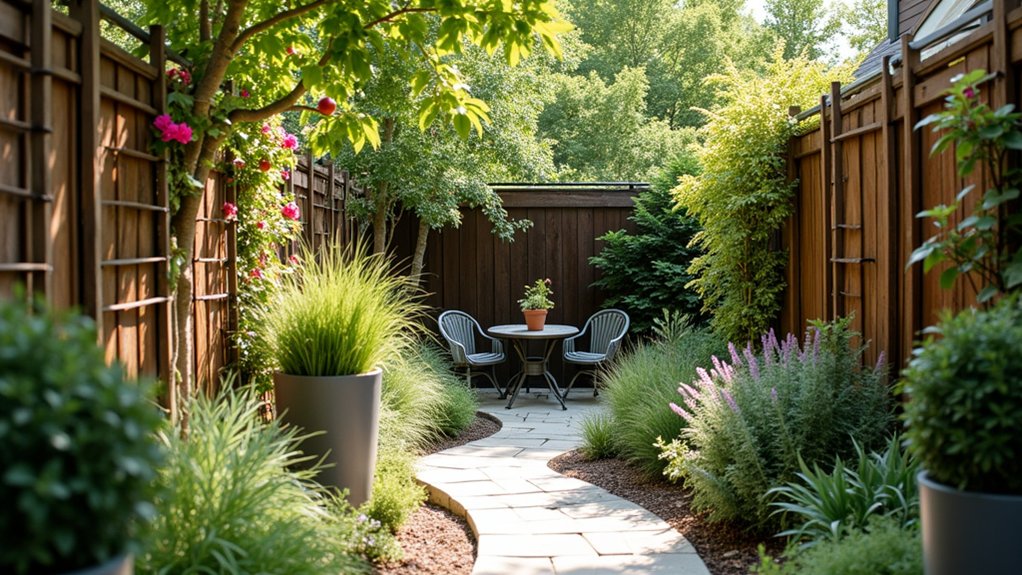
If ground space runs out fast, you can still add greenery by growing up instead of out. Use trellises to lift vines, espalier fruit, or train climbing roses along fences. Then keep beds open for seating and pathways.
For Trellis installation, anchor posts in concrete or screw brackets into studs or masonry. Leave a few inches of airflow between trellis and wall to reduce mildew. Choose durable materials that match your wind exposure and plant weight.
Pair vertical supports with smart Tall container selection. Pick narrow, deep pots that fit corners and steps, add a stable base, and ensure drain holes. Plant upright grasses, dwarf shrubs, or columnar evergreens, then underplant with trailing herbs to soften edges.
Use Light Colors and Lighting to Widen the Space
You can make a small garden feel wider by choosing pale hardscape tones—light pavers, gravel, and fences reflect more light and visually open the layout.
Add layered lighting with low path lights for safety, subtle uplights for depth, and a focused accent or two to guide the eye.
Highlight vertical surfaces like walls, trellises, and tall planters so the boundary lines recede and the space reads larger.
Choose Pale Hardscape Tones
Although small gardens can feel boxed in by dark surfaces, pale hardscape tones instantly make the space read wider and brighter. Choose pavers, gravel, or decking in warm limestone, light gray, or sand, then repeat that tone across paths, edging, and a small patio to reduce visual breaks.
Use pale color palettes that echo nearby walls or fences so boundaries blur rather than pop. Specify matte finishes to cut glare and hide scuffs, and pick smaller-format pavers or tighter joints to create a finer, expansive pattern.
Balance brightness with soft texture contrasts: pair smooth slabs with pale gravel bands, or brushed concrete with light timber. Keep stains, sealers, and grout consistent so the surface reads continuous.
Brighten With Layered Lighting
Once daylight fades, layered lighting keeps a small garden feeling open by pushing brightness to the edges and creating depth. Start with a soft ambient glow from low-voltage path lights or warm string lights to define circulation without glare.
Add task lighting where you work or sit—step lights near entries, downlights over a grill, and a focused reading light by seating. Keep color temperature consistent (around 2700–3000K) so the space feels cohesive, and pair lighting with pale surfaces to bounce light farther.
Prioritize fixture placement: aim beams across paths, not into eyes, and stagger lights to avoid harsh pools. Put key circuits on dimmers or smart controls so you can widen the feel on demand.
Highlight Vertical Surfaces
When space feels tight, treating vertical surfaces as light reflectors can make a small garden read wider and brighter. Paint fences, sheds, and boundary walls in soft whites, pale grays, or muted greens to bounce daylight deeper into the plot. If repainting isn’t possible, hang light-toned outdoor fabric panels or add a trellis with a bright finish.
Use lighting to emphasize height and reduce shadows. Aim low-voltage uplights at walls or columns, and mount slim sconces to spread an even wash.
For vertical gardening, choose wall-mounted planters in light colors and space them in a clean grid so the wall looks organized, not crowded. Keep wiring tidy, conceal transformers, and angle fixtures away from seating to prevent glare.
Frequently Asked Questions
What Are the Best Low-Maintenance Plants for a Tiny Garden?
You’ll get the best low-maintenance results with Plant selection like sedum, lavender, thyme, dwarf boxwood, and heuchera. Follow Maintenance tips: mulch well, use drip irrigation, group by water needs, and prune lightly annually.
How Can I Improve Drainage in a Small Garden With Heavy Clay Soil?
Improve drainage by loosening clay with Soil aeration, then mix in compost and grit. Build raised beds, slope soil away from paths, and add Rainwater harvesting swales or barrels to control runoff. Avoid compaction.
Do I Need Planning Permission for a Shed or Pergola in My Garden?
You often don’t need planning permission for a shed or pergola, but you must meet permitted-development limits. Check height, size, and proximity to garden fencing. Consider outdoor lighting impacts, and confirm local rules, covenants.
How Do I Keep Mosquitoes and Pests Away Without Harsh Chemicals?
Use natural repellents like citronella, neem, or lemon eucalyptus, and remove standing water weekly. Install fine mesh screens and use fans on seating areas. Plant pest resistant plants like lavender, basil, and marigolds.
What’s the Most Budget-Friendly Way to Refresh a Small Garden Quickly?
Start by weeding, edging, and topping beds with fresh mulch; it’s the fastest, cheapest facelift. Add solar garden lighting for evening appeal, and rearrange or thrift outdoor furniture for an instant, cohesive update.
About the Author