You’re facing crumbling lime plaster and outdated wiring, yet you’re aiming for a safe, efficient home. You start with a measured survey that records fabric, moisture paths, and structural movement, then you rank defects by risk and urgency. You stabilize first—shoring, temporary weathering, and drainage control—while you align with listed-building rules, permits, and a phased schedule. But the key decision that shapes cost, compliance, and character comes next…
Key Takeaways
- Start with a measured survey, geo-tagged photos, non-destructive testing, and a defect register ranking severity, likelihood, and consequence.
- Stabilize immediately by confirming structural load paths, shoring distressed areas, securing openings, and stopping water ingress via gutters, chimneys, and temporary membranes.
- Treat planning and listed-building consent as critical path; coordinate specialist surveys, statutory windows, mock-ups, RFIs, and change control within a clear programme.
- Build a risk-led budget using RICS NRM, separating fees, surveys, preliminaries, VAT, and maintaining 15–25% contingency with weekly cashflow tracking.
- Modernize sensitively by mapping significant features, routing reversible services, meeting Parts P/L/F/J/B, and using breathable insulation, vapour-open finishes, and balanced ventilation.
Survey the Manor and Set Repair Priorities

Before you plan any restoration work, you need a systematic survey of the manor that documents existing conditions and ranks defects by risk, cost, and urgency. You’ll commission measured drawings, a room-by-room fabric schedule, and a photographic record with geo-tagged notes.
Use non-destructive methods—moisture mapping, borescope checks, and thermal imaging—to locate decay while preserving historical accuracy. Cross-check findings against archival plans, listing descriptions, and conservation area guidance so you don’t misread later alterations as original features.
Build a defect register that assigns severity, probability, and consequence, then translate it into a phased plan and budget ranges. Specify material selection criteria early: compatibility, reversibility, and traceable provenance, aligned to BS 7913 conservation principles and safety duties.
Stabilize the Building to Stop Further Damage
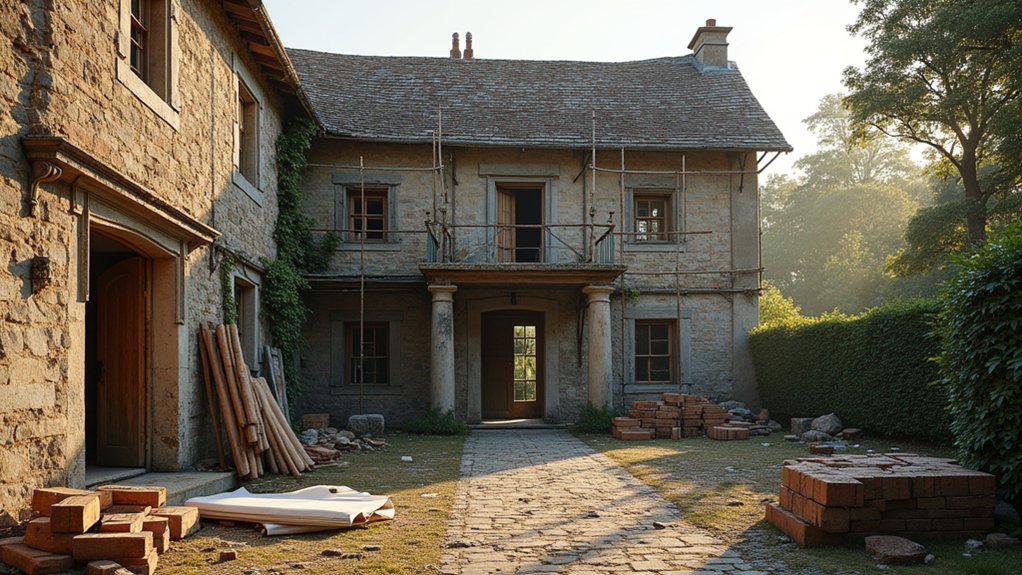
Once your defect register flags immediate risks, you’ll move straight into stabilization to halt water ingress, progressive structural movement, and theft or vandalism while keeping interventions minimal and reversible.
Begin with a rapid Structural assessment: confirm load paths, check lintels, floor bearings, and roof spread, then specify temporary shoring, raking shores, or needle beams to relieve distressed masonry.
Secure openings with ventilated, tamper-resistant boarding, and isolate hazards by fencing and signage.
For moisture management, clear gutters and downpipes, cap open chimneys, and install sacrificial flashings or temporary roof membranes; keep airflow to avoid trapping damp in historic fabric.
Divert surface water away from foundations with graded falls and temporary drains.
Record every measure, date it, and photograph it for traceable site control logs.
Get Permits and Map the Restoration Schedule
Although stabilization can proceed under urgent-works provisions in many jurisdictions, you’ll need to shift quickly into a consent-led programme: confirm heritage listing status and curtilage, submit a scoped package of drawings and method statements for listed building consent/planning permission (and building regulations where applicable), and align specialist surveys (measured survey, structural engineer’s report, asbestos/lead, bat and nesting bird assessments, archaeology, and tree constraints) with statutory consultation windows.
Treat the Permitting process as a critical path item: log decision dates, RFIs, and potential committee cycles, then sequence enabling works accordingly.
Build a Gantt that locks in weather-sensitive tasks, lead times for lime, slate, and joinery, and access constraints from ecology and archaeology.
Specify hold points for mock-ups and sample panels to prove Historical accuracy before full rollout.
Keep a change-control register.
Set a Country Estate Restoration Budget That Works
If you treat budgeting as a risk-management exercise rather than a simple cost tally, you’ll fund the right investigations, protect the fabric, and avoid cashflow shocks mid-build.
Start with measured surveys, condition reports, and specialist tests; price them using comparable local tenders and index-linked allowances.
Build a cost plan aligned to RICS NRM, separating preliminaries, contractor overheads, design fees, statutory charges, and VAT.
Set explicit Budget allocation: 10–15% for professional fees, 5–10% for surveys and enabling works, and a risk contingency sized by uncertainty (often 15–25% on derelict stock).
Gate spending with stage approvals, and track commitments weekly against a cashflow forecast.
Lock in Funding sources early—cash, bridging, heritage grants, or lender drawdowns—and match them to milestones so you don’t stall critical works.
Restore Period Character While Upgrading Core Systems
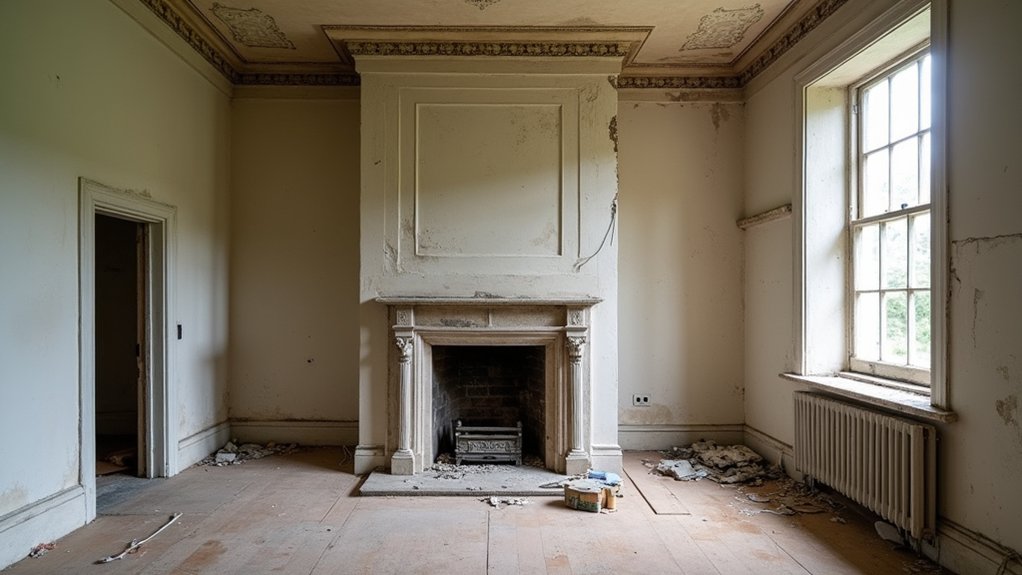
Because core services drive heat, moisture, and fire risk, you’ll preserve more period character by treating MEP upgrades as conservation work: map what’s significant (joinery profiles, plaster cornices, original floorboards, ironmongery) with a heritage-led statement of significance.
Then route new electrics, plumbing, ventilation, and data through reversible, minimally invasive paths that align with current regulations (e.g., Part P electrical safety, Part L energy performance, Part F ventilation, Part J combustion, and Part B fire safety). You’ll prefer surface- or void-based routes, avoid chasing historic masonry, and document openings with photos and marked drawings.
Specify breathable insulation, vapour-open finishes, and balanced ventilation to manage interstitial condensation. Use low-profile radiators or underfloor heating only where floors aren’t original.
Choose switches, grilles, and fittings that match period authenticity without faking historical accuracy. Commission, test, and certify before closing up.
Frequently Asked Questions
Can I Live On-Site Legally During Restoration Work?
You can, if your site meets habitability standards. Picture dust motes in sunbeams: check Building permits, zoning restrictions, inspections, sanitation, and utilities. You’ll need approved temporary occupancy or a compliant dwelling, plus safety plans.
How Do I Insure a Derelict Estate Before Renovations Begin?
Get a specialist unoccupied or renovation Insurance policy before work starts. Commission an Estate valuation, disclose defects and security, set rebuild costs, add public liability, and confirm utilities status. You’ll meet lender and insurer underwriting standards.
What Security Measures Deter Trespassing, Theft, and Vandalism During Restoration?
Lock it down like a moat at midnight: you’ll install fencing barriers, lockable gates, and bright lighting, add security cameras with signage, secure tools, control access, and log visitors—aligning with BS 8220 and insurer requirements.
How Do I Verify and Clear Historic Title Disputes or Easements?
Start with title deeds: order certified copies, review conveyances, and map boundaries. Commission a title search and survey, then flag easement rights. You’ll negotiate releases or deed corrections, record them, and obtain title insurance.
Which Grants or Tax Reliefs Apply to Restoring Listed Country Estates?
You’ll typically use Heritage grants (e.g., National Lottery Heritage Fund) plus Tax incentives: UK VAT relief on approved alterations, potentially reduced VAT on conversions, and capital allowances for qualifying expenditure; confirm eligibility with listing consent and HMRC guidance.
About the Author