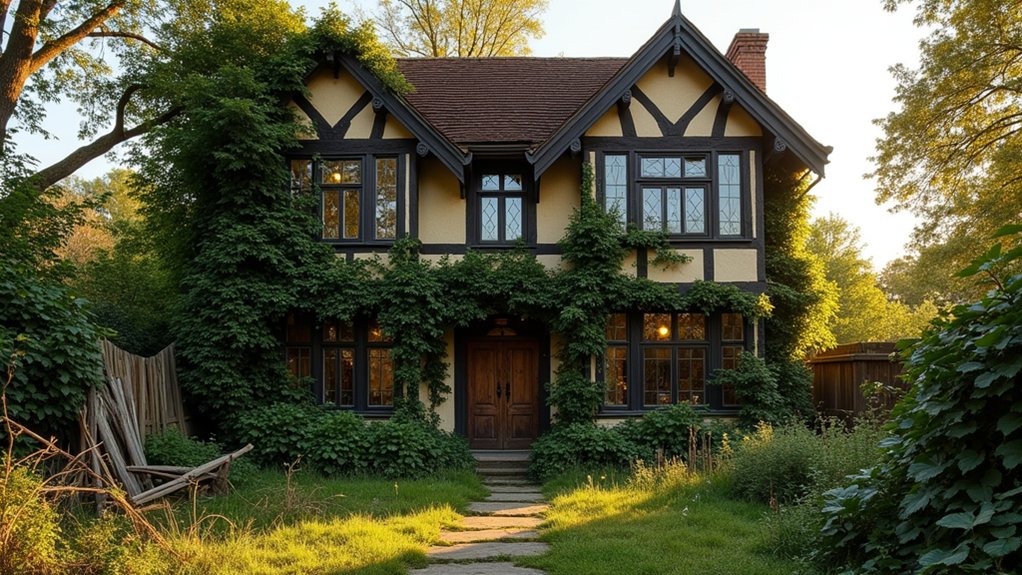
You start Briarwood’s revival by treating it like an investigation: you secure access, map moisture with meters, probe timbers for rot, and note distortion in the frame. You document every vine anchor and root run before you cut anything, so you don’t pull render or wrench joints apart. Then you brace only where tests justify it and choose lime and oak repairs that match Tudor practice. But one finding will decide what comes next…
Key Takeaways
- Start with safety checks, isolate electrics, and photograph all elevations to document cracks, damp, and structural movement before disturbing anything.
- Survey for hidden decay by probing sill ends, joist pockets, and chimneys, and confirm moisture readings through selective openings.
- Remove overgrowth carefully by tracing stems to roots, making clean cuts, leaving stubs to dry, and protecting fragile joints, render edges, and windows.
- Stabilize the roof and timber frame with measured surveying, targeted shoring, reversible bracing, and minimal timber removal to preserve historic fabric and marks.
- Weatherproof by fixing drainage, regrading ground away from timbers, replacing cement patches with lime mortar, and finishing with breathable limewash for slow curing.
Inspect the Tudor: Safety, Access, Hidden Damage
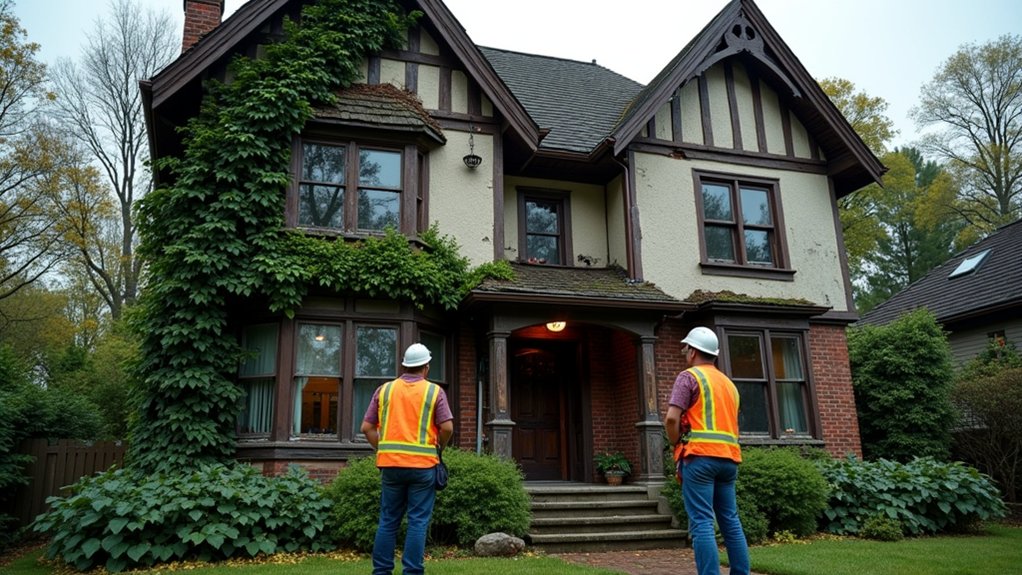
Before you lift a single slate or pry at a timber, walk the Briarwood Tudor as an inspector would—starting with safety and access, then moving to concealed failures you can’t see from the lawn.
Confirm stable footing, sound ladders, and a clear egress route; isolate live electrics and note any asbestos-cement or lead paint before you disturb surfaces. Photograph every elevation and mark cracks, bulges, and damp staining to preserve Historical accuracy in later decisions.
Probe gently: use a bradawl at sill ends, joist pockets, and chimney breasts for rot and beetle frass. Map moisture with a meter, then verify with selective opening.
Check roof valleys, flashings, and parapets for blocked drainage. Record original mixes, species, and fasteners to guide Material selection and compatible repairs later.
Cut Back Briars and Vines Without Harm
Although briars and self-seeded vines can look like harmless “cottage” growth, they often act as a slow demolition tool on Tudor fabric, so you’ll cut them back in stages rather than ripping them off in a day.
Start with Wildlife management: check for nests, bats, or hedgehogs at dawn and dusk, and postpone work if you find active shelter.
Wear gauntlets and eye protection, then trace each stem to its root so you don’t snap hidden masonry joints or lime render edges.
Use pruning techniques suited to woody climbers: make clean, angled cuts, leaving short stubs to dry before you peel them away later.
Keep growth off leaded windows, carved bargeboards, and wattle infill, and bag thorny arisings immediately.
Stabilize the Tudor Roof and Timber Frame
Once you’ve cleared the worst vegetation, you can assess the roof and frame as a single structural system and stabilize it without forcing old members out of true. Start with measured survey: plumb lines, level runs, and rafter spacing, noting thrust, sag, and joint gaps.
Shore selectively with adjustable props and spreader plates, bearing on sound ground and distributing loads across joists, not plaster. Add temporary ties at collar and wall-plate level to arrest rafter spread, and brace bays with reversible diagonal members.
In Historic preservation practice, you’ll preserve carpenters’ layout marks and retain repairable oak wherever possible. Then begin Timber treatment: probe for insect galleries and fungal softness, remove only friable wood, and consolidate with compatible, reversible resins or dutchman patches pegged to grain direction.
Weatherproof the Tudor: Drainage and Lime Repairs
When you stop bulk water at the envelope, you buy time for every timber and joint you’ve just stabilized.
Start by mapping flow paths after heavy rain: roof valleys, downpipes, splash zones, and standing ground. Clear and reset gutters to proper fall, add discreet leaf guards, and extend downpipes into gullies or soakaways sized for site soils.
Regrade earth to slope away from the plinth, keeping air gaps at timber bases.
Then tackle lime repairs. Rake out failed cementitious patches by hand to avoid edge spalling. Dampen masonry, pack voids with lime putty mortar, and finish with sacrificial limewash where appropriate.
Match aggregate and tooling for Historical authenticity, and keep mixes breathable for Material preservation. Allow slow cure under hessian; avoid frost and rapid drying.
Restore Tudor Charm: Finishes, Windows, Details
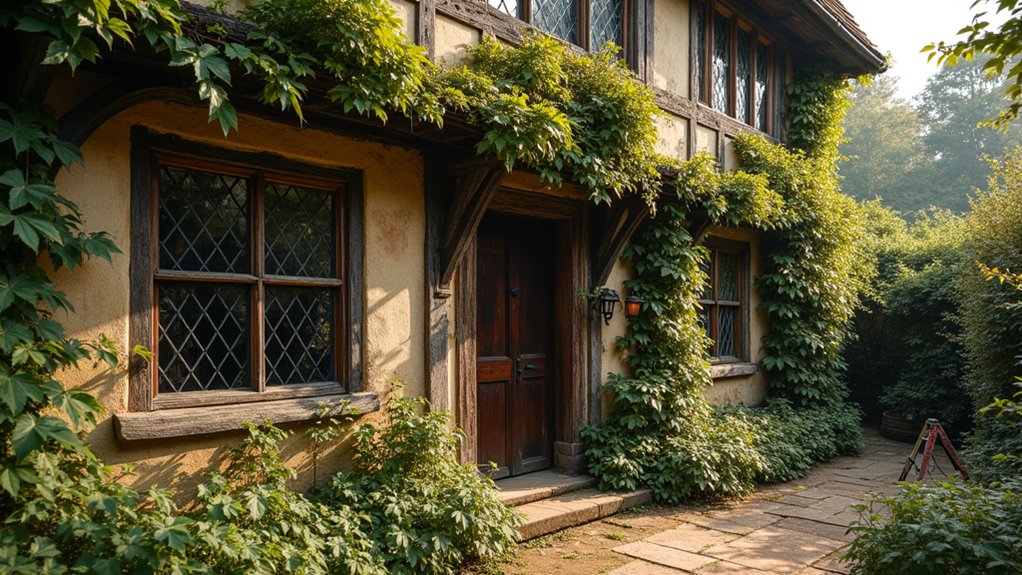
After you’ve controlled moisture and stabilized the shell, you can restore Tudor character by treating finishes, windows, and small details as a single system with a clear hierarchy of significance.
Start with evidence: paint stratigraphy, mortar analysis, and historic photos, then write a room-by-room scope that protects original fabric.
For Decorative finishes, strip only failing modern coatings; keep sound limewash, casein, or oil paint, and match sheen, pigment, and tooling marks.
Consolidate plaster with compatible binders, and patch with lime putty rather than gypsum.
Prioritize Window restoration next: repair sashes and leads, splice decayed oak, retain wavy glass, and use linseed-oil glazing putty.
Add discreet weatherstripping, bronze screens, and calibrated hardware so the house performs without losing period detail.
Frequently Asked Questions
How Much Does a Full Tudor Restoration Typically Cost?
You’ll typically spend $300–$700 per square foot ($600k–$2M+ total), depending on structure, systems, and finishes. Use cost estimation with contractor bids; prioritize period-accurate repairs in budget planning, include contingency.
Do I Need Planning Permission or Listed-Building Consent First?
You’ll likely need planning permission for external alterations, and you’ll need listed-building consent if it’s listed. Check Historic guidelines, confirm legal requirements with your council, and document original fabric before any Tudor-period work begins.
How Long Does an Overgrown Tudor Restoration Usually Take?
You’ll usually need 12–24 months. Surveys show heritage refurbishments run about 30% longer than modern builds. You’ll schedule structural assessments early, then phase repairs, services, and landscape redesign, allowing seasonal drying times.
What Insurance Covers Restoration Work on Vacant Historic Homes?
You’ll typically need a vacant-home policy plus builders risk to cover restoration work on vacant historic homes; add special form and liability. Confirm Restoration coverage endorsements, document conditions, and coordinate Insurance claims with your carrier.
Can I Live in the House During the Restoration Process?
You can, but only if essentials remain safe. Test the theory that DIY renovation speeds progress: studies show dust, lead, and egress risks. Use Historic preservation techniques, phase rooms, maintain utilities, and get permits.
About the Author