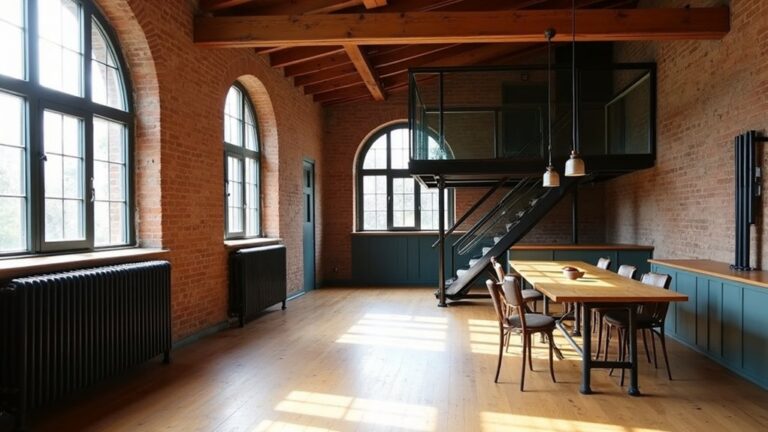
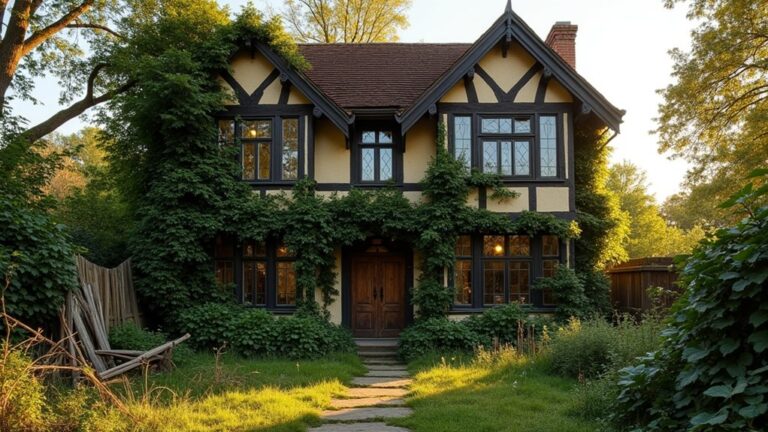
You treat the chalet like a weathered compass, still pointing true if you steady its needle. You start with a measured inspection and triage, mapping settlement, rot, and wind-driven moisture paths before you touch finishes. You stabilize the foundation and frame, then stop leaks with vapor-permeable layers and controlled ventilation that respects historic fabric. You repair stonework and rebuild the chimney for fire safety, but one hidden junction will dictate everything…
Key Takeaways
- Document existing conditions with photos, measured sketches, and moisture/insect checks to guide historically accurate restoration decisions.
- Stabilize foundation and frame by tracking settlement, repairing sill rot with matching wood, and adding minimal reversible bracing.
- Stop water intrusion by fixing roof interfaces, flashing penetrations, and adding a vented rainscreen that drains and dries.
- Repair masonry and chimney by repointing with vapor-open lime mortar, stitching cracks, and rebuilding unstable courses with a proper crown and cap.
- Restore windows, doors, and systems by repairing sashes, adding discreet weatherstripping, upgrading utilities in existing chases, and improving insulation with vapor-smart layers.
Inspect the Alpine Chalet and Set Priorities

Before you plan any repairs, inspect the chalet methodically so you can separate urgent risks from cosmetic defects and set a conservation-first scope. Start with archival research and a photographic baseline: date construction phases, map later alterations, and document joinery, finishes, and tool marks that signal Historical significance.
Walk the exterior and interior in a fixed sequence, logging moisture entry points, insect activity, corrosion, and failing coatings; use a moisture meter, borescope, and salt/efflorescence checks around masonry and thresholds. Rank findings by likelihood and consequence, then by reversibility and impact on original fabric.
Flag character-defining elements—carved balconies, shingles, limewash, ironwork—so your priority list protects aesthetic preservation. Finish with a measured sketch, materials inventory, and monitoring plan for seasonal movement.
Stabilize the Chalet Foundation and Frame
Although the chalet’s finishes draw your eye, you need a stable foundation and frame to keep any conservation work from failing prematurely. Start by mapping settlement: shoot elevations, plumb key posts, and log crack widths over weeks. Verify drainage patterns and frost depth data, then select foundation stabilization that preserves original stonework—pin loose stones, repoint with compatible lime mortar, and add discreet micro-piles or underpinning only where loads exceed bearing capacity.
Treat rot at sill plates by scarfing in matching species and keeping historic joints legible. For framing reinforcement, survey each bay for racking and insect galleries; sister compromised members with minimal, reversible steel or timber, add concealed connectors, and restore triangulation with traditional bracing. Recheck alignment after jacking, then lock loads gradually.
Stop Leaks and Weatherproof Roof and Walls
You’ll start by mapping every leak entry point—ridge and valley joints, flashing progressions, fastener penetrations, and wall-roof interfaces—using moisture staining patterns and targeted water testing to confirm pathways.
Then you’ll apply durable, vapor-appropriate weatherproof membranes and compatible tapes that preserve drying potential while creating continuous drainage and air-control layers.
You’ll prioritize reversible, low-impact detailing and material compatibility so the chalet stays tight against wind-driven alpine rain without trapping moisture in historic assemblies.
Identify Leak Entry Points
Once wind-driven rain starts finding a path into an alpine chalet, it usually exploits predictable entry points—roof-plane shifts, penetrations, and wall interfaces—so your first task is to map those weak links with evidence, not guesses.
Start inside: trace staining upslope, probe damp insulation, and log moisture readings at rafters, ridge, and eaves to separate condensation from intrusion.
Outside, inspect Roof drainage: clogged gutters, ice-dam scars, and kickout flashing gaps that drive water behind cladding.
Check chimneys, skylights, and vent boots for split sealants, fastener back-out, and metal fatigue.
At walls, document Exterior cracks in render, open corner joints, and failed sill pans; use a hose test in controlled sections to confirm entry points without worsening historic fabric.
Apply Durable Weatherproof Membranes
After you’ve confirmed exactly where water enters, install a continuous, vapor-smart weatherproofing layer that sheds bulk water while still allowing the chalet’s assemblies to dry. Choose Weatherproof membranes tested for alpine UV exposure, wind-driven rain, and freeze–thaw cycling; prioritize robust nail-sealability on roofs and high-perm, drainable wraps on walls.
Overlap courses shingle-style, then roll or press seams to the manufacturer’s pressure spec so capillary paths can’t reopen. Flash every penetration with compatible tapes and preformed boots, and integrate step flashing at chimneys and dormers to preserve historic cladding.
Detail a drainage plane and vented rainscreen so incidental moisture exits safely. Finish with meticulous exterior sealing at transitions—sills, corners, eaves—without trapping moisture behind impermeable layers.
Repair Stonework and Rebuild the Chimney Safely
Because freeze–thaw cycling and capillary moisture drive most alpine masonry failures, start by diagnosing the stonework and chimney from the outside in: map cracks, bulges, open joints, and spalled faces; probe mortar hardness; and trace water pathways from roof flashings, crowns, and caps.
Rake failed joints by hand to avoid edge damage, then repoint with vapor-open lime stone mortar matched for strength, aggregate, and color; you’ll reduce salt trapping and future scaling.
Pin or reset loose stones on sound bedding, and stitch structural cracks with stainless helical bars set in compatible grout.
For chimney reconstruction, dismantle unstable courses to competent masonry, rebuild plumb with through-bonded stones, and add a sloped, drip-edged crown plus screened cap.
Verify liner integrity and clearances before firing.
Restore Chalet Windows, Doors, and Storm Sealing
With the chimney and stone joints shedding water again, you can turn to the chalet’s next major leakage points: windows, doors, and their storm detailing. Start with documentation: photograph profiles, note sash play, and map paint failure so you preserve original joinery.
For Chalet window restoration, repair rot with spliced-in matching species, consolidate punky wood, and retain historic glass where possible. Re-bed panes in linseed-oil putty, then add compressible bronze weatherstripping to reduce infiltration without trapping moisture.
At doors, correct hinge sag and plane only where binding proves seasonal. Prioritize Storm door sealing by installing adjustable sweeps, new perimeter gaskets, and a sloped, flashed threshold.
Finally, test with smoke pencil and hose spray to confirm tightness and drainage.
Update the Chalet’s Wiring, Plumbing, and Heat
Once you’ve stopped the bulk water intrusion at the envelope, you can tackle the chalet’s riskiest hidden failures—outdated wiring, tired plumbing, and undersized heat—without masking active moisture or rot.
Start with an electrical survey: document circuits, test grounding, and identify brittle insulation or overloaded splices. Plan Electrical upgrades that respect historic finishes by using existing chases, surface-mounted conduit in service areas, and arc-fault/GFCI protection where codes require.
Next, map Plumbing systems from source to fixtures; replace galvanized runs, add shutoffs, and pressure-test for pinholes after freeze cycles. Keep penetrations minimal and seal sleeves to protect framing.
Finally, right-size heat for altitude swings: service the flue, add reliable zoning, and integrate freeze-protection controls so pipes and floors don’t suffer cold-soak damage.
Insulate, Ventilate, and Finish for Four Seasons

You’ll lock in four-season comfort by specifying high-performance insulation with verified R-values and careful air-sealing that preserves the chalet’s historic fabric.
You’ll control moisture by pairing a climate-appropriate vapor strategy with continuous ventilation and vented roof/wall assemblies to prevent condensation, mold, and timber decay.
You’ll finish with durable, low-VOC, repairable interior materials that tolerate freeze–thaw swings while keeping original details intact.
High-Performance Thermal Insulation
How do you keep an alpine chalet warm in January and cool in July without trapping moisture that quietly rots historic timber? You start by mapping heat loss with an infrared scan, then target the roof, rim joists, and wind-washed corners where old huts bleed energy.
Build a continuous thermal barrier with taped wood-fiber boards or smart membranes, and prioritize reversible, low-toxicity insulation materials that respect original assemblies.
Dense-pack cellulose fits irregular bays and buffers temperature swings; mineral wool adds fire resistance and stays dimensionally stable; wood-fiber batts match historic vapor openness while improving acoustics.
Detail every junction—eave lines, gable returns, dormer cheeks—with backer rod and compatible tapes so the R-value you specify is the R-value you get.
Choose proven products with documented lambda and aging data.
Moisture Control And Venting
Because alpine air swings from bone-dry winter cold to humid summer storms, moisture control has to be designed—not improvised—so your new insulation doesn’t become a wet sponge against historic timber.
Start by mapping vapor drive seasonally: in winter, keep interior moisture from migrating into cold layers; in summer, prevent inward solar vapor from wetting sheathing.
Use a continuous, repairable air barrier to stop convective leaks, then specify a variable-perm vapor retarder where assemblies need drying in both directions.
Build in airflow management with a ventilated rainscreen and a clear roof-vent path from eave to ridge, sized to local snow loads and insect-screened.
For humidity regulation, plan controlled ventilation and monitor RH so framing stays below mold-risk thresholds.
Durable All-Season Interior Finish
Once the air and vapor strategy is set, the interior finish has to lock in thermal performance without trapping moisture against historic boards or log faces. You’ll get four-season reliability by pairing vapor-open insulation (wood fiber or mineral wool) with a smart membrane tuned to seasonal humidity.
You keep a ventilated service cavity for wiring so you don’t puncture the air layer, then seal seams with tested tapes and gaskets.
For cladding, you choose dimensionally stable, low-VOC boards or lime-based plaster that buffers moisture and discourages mold.
You detail baseboards and corners for inspection access, not concealment. To preserve Rustic aesthetics, you leave select beams exposed, but you back them with continuous insulation.
Interior customization stays reversible: mechanical fasteners, not adhesives, and finishes you can refresh without stripping historic fabric.
Frequently Asked Questions
Do I Need Special Permits to Restore a Historic Alpine Chalet?
Yes—you’ll likely need special permits: Building permits plus Historical preservation approvals. You must check local planning, heritage registers, and alpine zoning. Expect documented methods, materials review, and inspections to conserve original fabric and character.
How Much Does a Full Mountain Hut Restoration Typically Cost?
You’ll typically spend $150–$600 per sq ft ($150k–$600k for 1,000 sq ft), depending on Historic preservation scope, access logistics, and Material sourcing; expect higher costs for structural stabilization, utilities, and code compliance.
What’s the Best Season to Schedule Major Chalet Restoration Work?
Strike while the iron’s hot: schedule major chalet restoration for late spring through early fall. You’ll work with Seasonal weather patterns, protect historic materials, and follow Interior renovation tips by drying assemblies, controlling humidity, and ventilating during curing.
Should I Hire a Local Contractor Experienced With High-Altitude Builds?
Yes, you should hire a local high-altitude contractor; you’ll get proven Mountain craftsmanship and site-specific Weatherproofing techniques. You’ll reduce freeze-thaw damage, meet snow-load codes, and conserve materials by sourcing compatible repairs.
How Do I Insure the Chalet During Restoration and After Completion?
You’ll insure it by testing the idea that standard homeowners won’t cover construction—often true per insurer underwriting. Add builder’s risk restoration policies for fire/theft/liability, then switch to full insurance coverage with valuation, code, and wind/snow endorsements.
About the Author