
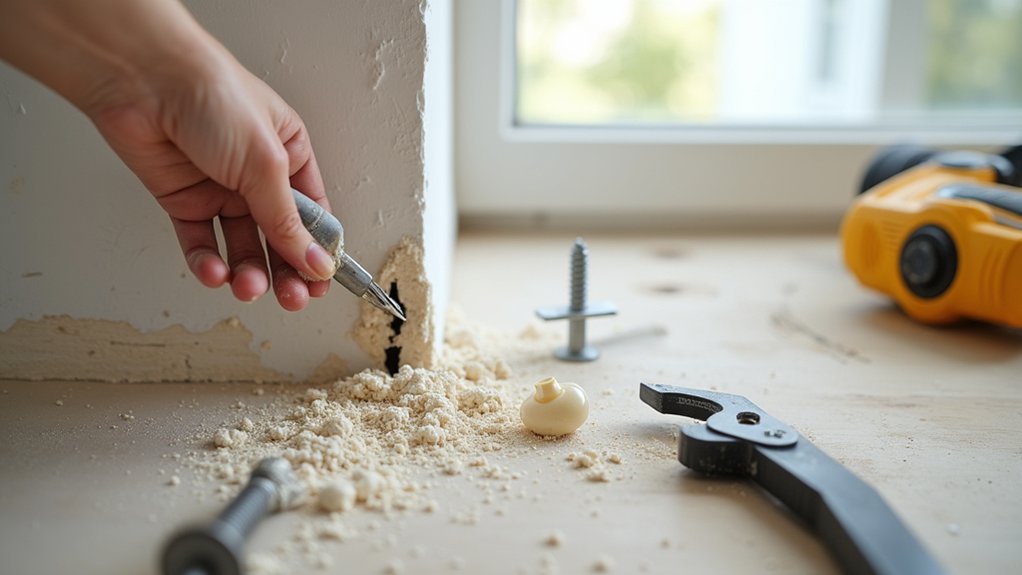
When a wall plug goes loose, you can’t just tighten the screw and hope it holds—you need to confirm what you’re fixing. You’ll isolate power if there’s any chance of hidden cables, then check whether you’re in drywall, masonry, or hollow block by inspecting the hole and debris. From there, you’ll choose a plug and screw that match the substrate and load, and decide whether filler or resin is required… because the next step determines whether the shelf stays up.
Key Takeaways
- Identify why plugs are loose and confirm wall type by inspecting hole debris, firmness, and hollow/solid feel before choosing a fix.
- Turn off power and check for cables or pipes in service zones before drilling, enlarging holes, or injecting resin.
- Use the correct anchor for the substrate and load: toggles for drywall, screws into studs, nylon/sleeve anchors for masonry, bridging anchors for plaster.
- Repair blown or oversized holes with high-strength filler for light loads, or a two-part resin/chemical anchor for structural strength.
- Reinstall plugs square, clean out dust, tighten screws without overtightening, then level brackets and load-test the shelf gradually for movement.
Diagnose Loose Wall Plugs (and Your Wall Type)
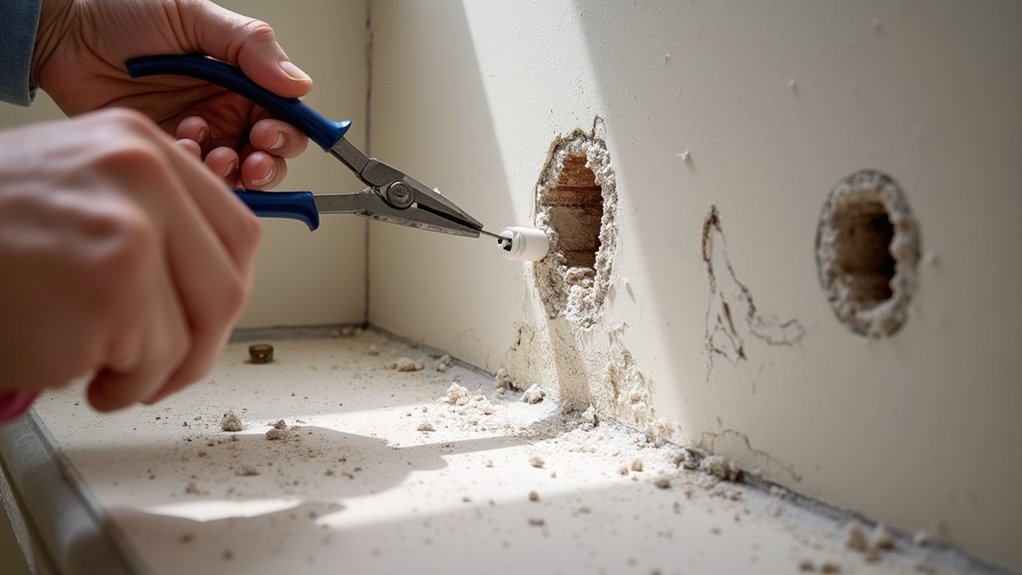
Before you pull anything out, you need to confirm why the wall plug is loose and what it’s anchored into, because the correct repair depends on the wall substrate.
Kill power at the breaker if the fastener is near any receptacle, switch, or cable path, and verify dead.
Check movement: if the plug spins, the hole is oversized or the plug’s stripped; if it pulls out, the substrate is weak or crumbling.
Identify Wall material by probing the hole edges: chalky dust suggests drywall; gritty aggregate suggests masonry; wood fibers indicate stud; thin hollow “paper/metal” hints plaster or lath.
Look for moisture damage and delamination.
Confirm plug compatibility with the observed wall type and load direction before rehanging.
Choose the Right Wall Plug and Screw
Once you’ve confirmed what the plug is biting into—drywall, masonry, plaster, or a stud—match the fastener to that substrate and the shelf’s load so the fix doesn’t fail in shear or pull-out.
For drywall, use rated hollow-wall anchors or toggles; for studs, drive wood screws with proper pilot holes; for masonry, use nylon plugs or sleeve anchors sized to the drilled diameter; for plaster, pick anchors that bridge lath without crushing the surface.
Maintain material compatibility: avoid dissimilar-metal corrosion by matching screw and bracket coatings, especially in damp rooms.
Select screw length to fully engage the anchor while leaving threads clear of the bracket slot.
Follow installation techniques: drill square, control depth, vacuum dust, and torque to snug—don’t overtighten.
Verify manufacturer load ratings and local requirements.
Repair a Blown Hole: Filler vs Resin Options
Although a loose plug often feels like a simple retighten, a blown hole means the substrate has lost enough strength that you must rebuild it before rehanging the shelf.
First, isolate power if you’re near outlets, then verify the wall type and check for cracks, crumbling plaster, or damp—don’t seal moisture in.
Use filler only for cosmetic repair or very light duty: rake out loose material, key the edges, and pack in a high-strength patching compound; let it fully cure.
For structural reinstatement, use a two-part resin/chemical anchor system: clean the hole thoroughly, inject resin, and allow manufacturer cure times at the stated temperature.
If the area must look finished, fit Decorative wall covers afterward.
When strength can’t be restored safely, choose Alternative anchoring methods.
Refit the Wall Plug So It Won’t Spin or Pull Out
A repaired hole only helps if the plug locks back into solid material, so focus next on refitting the wall plug so it can’t spin or pull out under load.
First, confirm the substrate (drywall, masonry, stud) and choose the correct Wall anchor types for it; don’t reuse a deformed plug.
Use proper Drill bit selection: match the bit diameter to the anchor’s specified pilot size, and use a masonry bit and hammer drill only on brick/block, not plasterboard.
Drill square to the wall, clear dust with a vacuum, and keep the hole depth slightly longer than the plug.
If the hole is oversized, step up to a larger anchor or use a resin-rated plug system.
Tap the plug flush; it shouldn’t rotate by hand.
Rehang and Level the Shelf (Then Load-Test It)
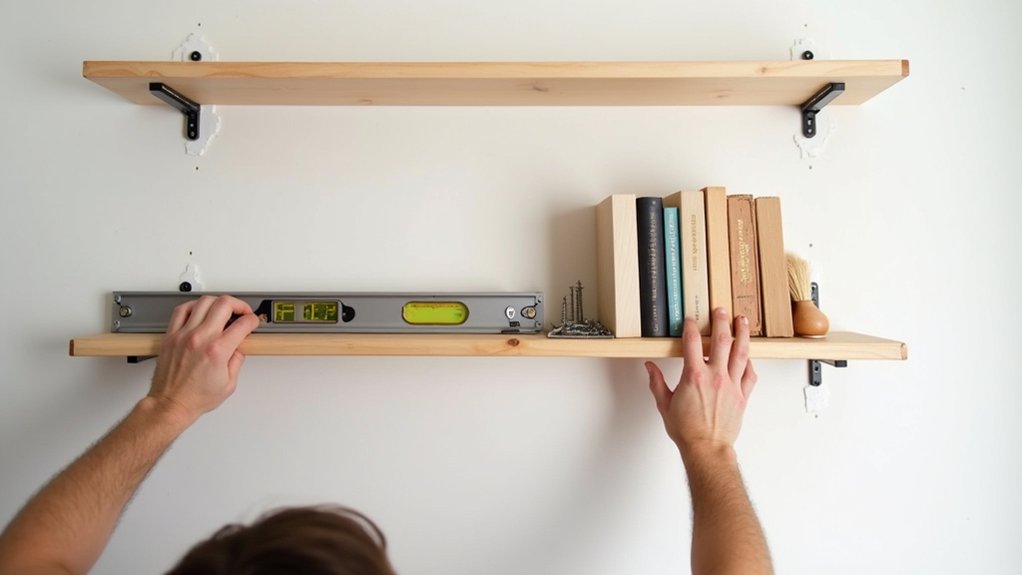
Before you load anything onto it, rehang the shelf using the refitted plugs and fasteners, then level it so the brackets carry weight evenly instead of twisting the anchors.
Drive screws straight, to manufacturer torque, and confirm each head seats flush without crushing plasterboard.
Check shelf placement against studs, service zones, and door swing clearance, and keep the shelf square to adjacent walls.
Use a spirit level across the shelf and on each bracket; shim behind brackets if needed, never under screw heads.
Tighten evenly, then recheck level after 10 minutes.
Load-test progressively: start with 2–5 kg, wait, then increase in steps to your intended load while watching for movement, cracking, or screw creep.
Only then add decorative accents, keeping heavy items closest to brackets.
Frequently Asked Questions
Do I Need Landlord Permission Before Drilling New Shelf Holes?
Yes, you usually need landlord permission unless your lease allows minor fixtures. Get written approval, disclose wall anchors and shelf stability plans, and follow local codes. Avoid drilling into wiring/plumbing; patch and repaint on move-out.
What’s the Best Way to Find Studs and Hidden Pipes or Cables?
Scan, mark, verify: you’ll use a stud finder to locate framing, and a pipe detector to flag hazards. Confirm by measuring from corners and outlets, then drill a pilot slowly; stop if you hit resistance.
How Do I Repair Wall Damage After Removing Old Plugs?
You’ll repair wall damage by removing loose debris, squaring the hole, and filling with setting compound; sand flush when cured. For plug replacement, drill to size, insert correctly, and follow wall repair and load ratings.
Can I Hang Shelves on Tiled Walls Without Cracking the Tiles?
Yes—you can hang shelves on tiled walls without cracking tiles; up to 30% crack from improper drilling. Prioritize tile safety: tape the spot, start slow, use carbide bits, proper drill techniques, and avoid hammer mode.
What Weight Limits Apply to Shelves in Earthquake-Prone Areas?
You can’t rely on generic numbers; Shelf weight limits depend on Seismic regulations, anchor type, stud capacity, and shelf span. You should follow local code tables, use seismic-rated brackets, and add lip/retainers.
About the Author