You probably don’t know that a small pocket of air can lower a radiator’s heat output and raise system pressure swings. You’ll get better results if you shut the heating off, let the radiator cool fully, and protect flooring before you touch the bleed valve. You’ll then release air in a controlled way and stop at the exact moment water turns steady. But first, you need to confirm the signs and check boiler pressure so you don’t create a bigger issue…
Key Takeaways
- Turn off heating and let the radiator cool; check boiler pressure is about 1.0–1.5 bar before starting.
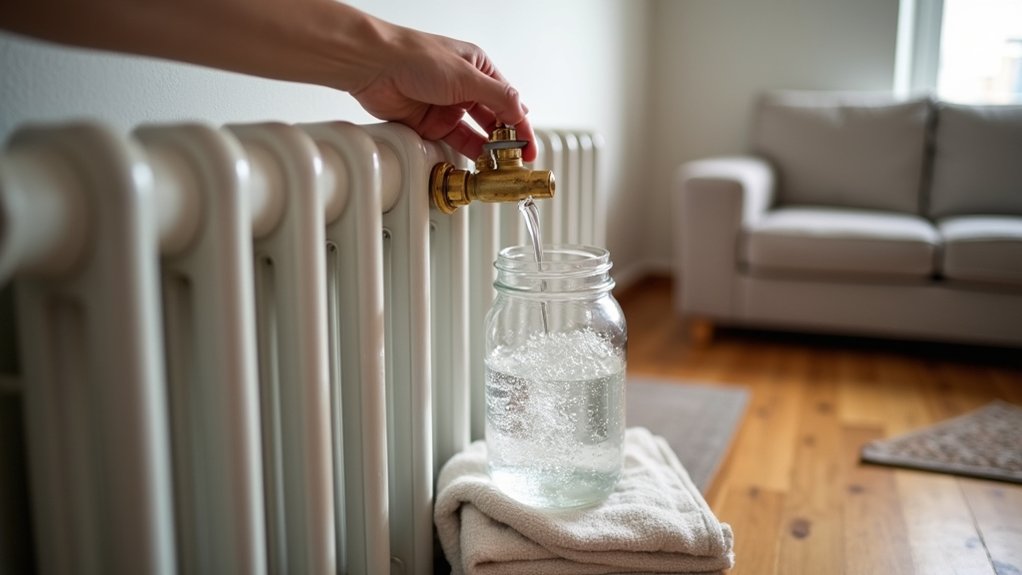
- Place a cloth and container under the bleed valve, remove any cover, and use a radiator key or flat screwdriver.
- Turn the bleed screw slowly counterclockwise until you hear hissing air; keep your face and hands clear.
- Stop when hissing ends and a steady, bubble-free water stream appears; tighten the valve snugly without overtightening.
- Recheck boiler pressure and top up if below 1.0 bar, then turn heating on and confirm the radiator heats evenly.
Before You Start: Safety, Heating Off, Pressure
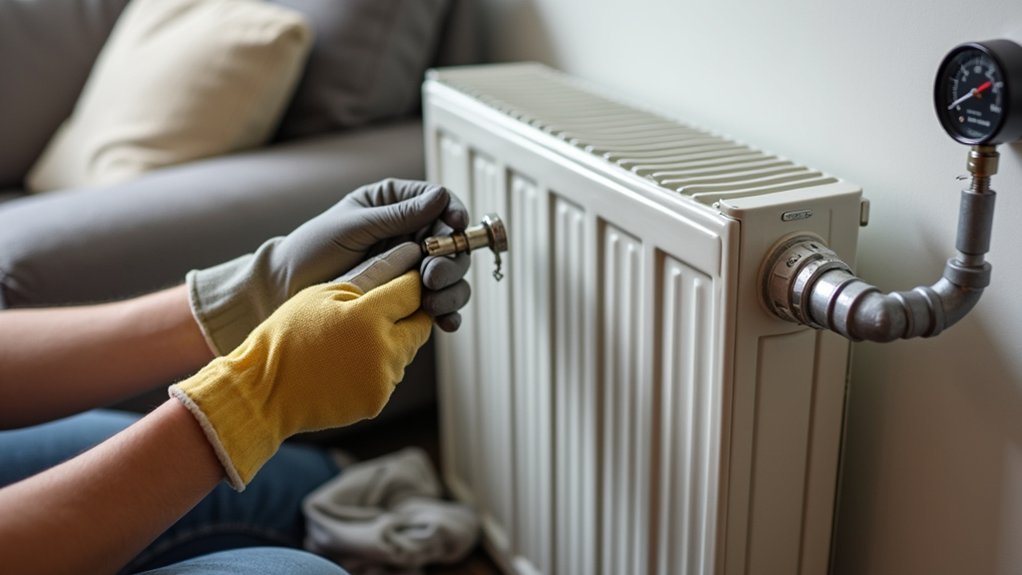
Before you touch a radiator valve or bleed screw, switch the heating system off and let the radiators cool completely. You’ll reduce scald risk and prevent the pump from forcing air and water through the circuit while you work. Confirm the thermostat and programmer are off.
Check the boiler’s pressure gauge before starting; typical sealed systems sit around 1.0–1.5 bar when cold—follow the manufacturer’s limits. If pressure is already low, don’t bleed until you’re ready to top up via the filling loop, then isolate it again.
Protect floors with absorbent cloths, keep a container ready, and wear gloves and eye protection. Remove decorative covers for access and airflow, and keep Radiator paint clear of moving valve parts and bleed points.
Signs Your Living Room Radiator Has Trapped Air
How can you tell your living room radiator has trapped air? You’ll notice uneven heating: the bottom warms while the top stays cool, even with the thermostat calling for heat. You may hear gurgling, ticking, or rushing-water sounds as water circulation breaks around air pockets. The radiator may take longer to reach temperature, and the room can feel underheated despite normal boiler operation.
Check for reduced heat output on the side farthest from the valve, which can indicate poor internal flow.
You can also spot indirect cues. If your radiator color looks inconsistent because sections stay cooler, that’s a practical sign of temperature variation.
With placement considerations, radiators on exterior walls or below windows may show symptoms sooner due to higher heat loss.
Tools You’ll Need to Bleed the Radiator
Although bleeding a radiator is a simple maintenance task, you’ll need a few specific tools to do it safely and without water damage. Use the correct radiator key or a flat-blade screwdriver that matches your bleed valve; don’t force an ill-fitting tool that can round the screw.
Keep a small container or drip tray under the valve, plus absorbent cloths or paper towels to protect flooring and baseboards.
Wear gloves to avoid burns and improve grip, and keep safety glasses on in case hot water spurts.
Have a flashlight to see the valve clearly, especially behind decorative covers.
If the valve area is rusty, use a soft brush and wipe clean; protect nearby radiator paint with masking tape or a cloth.
Bleed a Living Room Radiator in 5 Steps
When your living room radiator feels cool at the top or makes gurgling noises, trapped air is usually the cause, and you can purge it in a few controlled steps.
First, switch the heating off and let the unit cool to reduce scald risk.
Second, protect finished floors with a cloth and keep a container ready.
Third, remove decorative covers so you can access the bleed point and avoid trapping heat afterward.
Fourth, fit a radiator key squarely and turn it slowly counterclockwise, keeping your face and hands clear of the outlet.
Fifth, keep the valve area clean, then wipe drips and reinstall covers once dry.
If you’ve used Radiator paint, avoid scraping it when seating the key.
When to Stop: Hiss, Water Stream, Tighten Valve
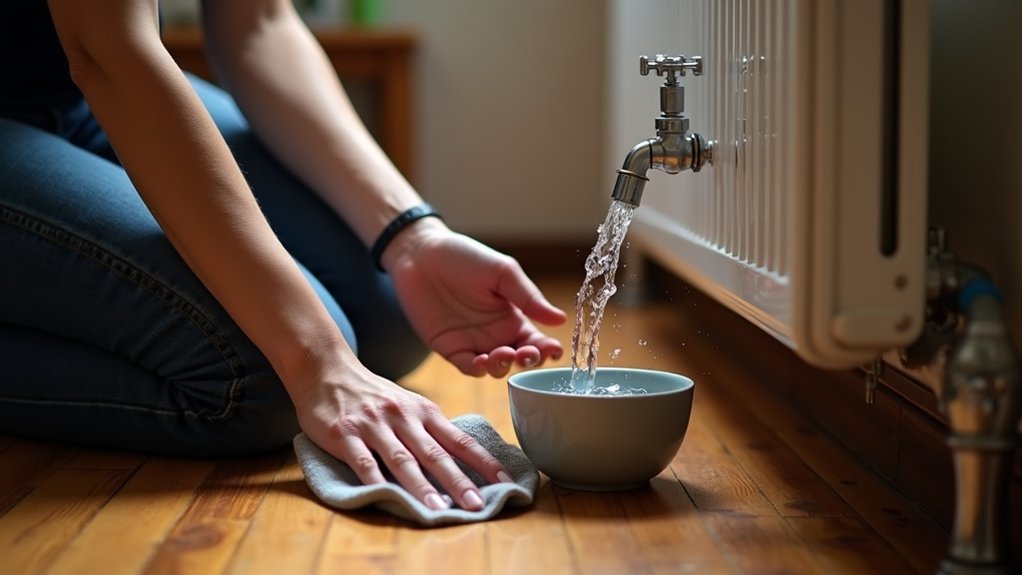
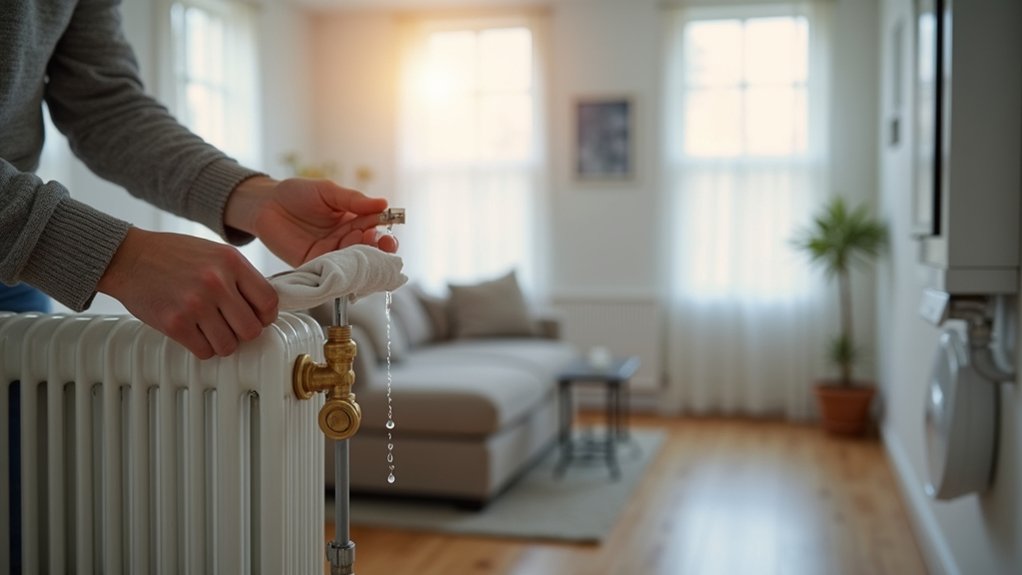
As you crack the bleed valve, you’ll hear trapped air hiss out—keep the key steady and use a cloth or cup to control drips.
When the hiss stops and a steady, bubble-free stream of water flows, you’ve purged the air.
Tighten the valve immediately until it’s snug (don’t overtighten) to prevent leaks and protect the valve seat.
Listen For Air Hiss
Once you crack the bleed valve, keep your ear close and listen for the sharp hiss of trapped air escaping while you hold a cloth or cup under the vent to catch drips.
The hiss indicates compressed air pressure venting from the high point, a common cause of uneven heating and radiator noise.
Turn the key slowly—no more than a quarter turn—so you don’t blow the vent or splash hot water. Stay clear of the discharge path, and keep children away.
If the hiss fades to silence, don’t keep opening the valve; pause and assess.
Once air stops escaping, rotate the key back clockwise until it seats firmly.
Don’t overtighten, which can damage the valve or threads and create leaks.
Watch Water Flow Steady
After the air hiss dies down, watch the vent closely for a steady, bubble-free stream of water into your cloth or cup. Keep your hand and face clear of the outlet, since discharge can be hot under system pressure. Maintain the key at a controlled quarter-turn so you don’t over-open the vent.
You’ll know you’ve purged the trapped air when water flow becomes continuous with no spitting, surging, or visible bubbles. If the stream pulses or carries foam, pause and let the radiator settle, then resume briefly until the output stabilizes.
Stop as soon as the flow is uniform; continued bleeding can drop system pressure and pull in more air. A clean, steady stream indicates the section is full of water, supporting radiator efficiency and even heat distribution.
Tighten Valve Immediately
When the hiss stops and you see a steady, bubble-free stream, close the bleed valve immediately by turning the key clockwise until it seats snugly. Don’t over-torque; you’re sealing a small tapered seat, not tightening a bolt. Keep your cloth or cup in place because a brief drip is normal as pressure equalizes.
For proper valve adjustment, stop the turn as soon as resistance increases and the stream fully ends. Wipe the valve body and vent port, then perform a quick radiator inspection: confirm no seepage at the bleed screw, end caps, or valve unions.
If you see persistent weeping, reopen slightly to clear debris, then retighten to snug. Restore the system to normal pressure per manufacturer specs and verify stable heat output.
After Bleeding: Check Boiler Pressure and Test Heat
Before you call the job done, check your boiler’s pressure gauge and bring the system back into its normal operating range, because bleeding releases water and can drop pressure enough to stop circulation or trigger a lockout.
With the system cool, confirm the gauge reads about 1.0–1.5 bar (typical sealed systems); follow your manufacturer’s spec. If it’s low, use the filling loop to top up slowly, then close both valves fully and remove the key/handle if fitted.
Perform a quick boiler inspection for leaks at the bleed point, valve gland, and filling loop connections.
Restore power, call for heat, and verify the radiator warms evenly.
Recheck pressure hot; it shouldn’t exceed roughly 2.5–3.0 bar.
This completes radiator maintenance.
If Bleeding Doesn’t Work: Balance, Valves, Sludge
Your radiator should now heat evenly and the boiler pressure should stay within the manufacturer’s normal range, but a cold spot or lukewarm radiator can still persist even with no air left to vent.
You’ll then check balancing: if nearby radiators get hotter first, partially close their lockshield valves and open the cooler radiator’s lockshield slightly to share flow across the Heating system.
Next, verify valves. Ensure the TRV or manual valve turns freely and the pin isn’t stuck; isolate power to the boiler before removing a TRV head.
Confirm the lockshield hasn’t been closed after Radiator maintenance.
If the radiator stays cold at the bottom, suspect sludge. Don’t drain a sealed system without competence; arrange a power flush, inhibitor dosing, and filter cleaning.
Frequently Asked Questions
How Often Should I Bleed My Living Room Radiator?
As a rule of thumb, you should bleed it once a year, or whenever it’s cold at the top or noisy. For Radiator maintenance and Heating efficiency, turn heating off, depressurize safely, use a key, tighten.
Can Bleeding a Radiator Reduce My Heating Bills?
Yes, bleeding can lower bills by restoring Heating efficiency and reducing boiler run-time. You’ll improve heat output if air’s trapped. Perform Radiator maintenance safely: shut system down, cool, vent slowly, catch water, re-pressurize.
Is It Safe to Bleed a Radiator in a Rented Property?
Yes, it’s generally safe if you follow your lease and building rules. Like a valve, like a vent, you’ll practice Radiator maintenance: turn heat off, use a key, protect floors, guarantee Plumbing safety, report leaks.
What if I Don’T Have a Radiator Key Available?
If you don’t have a radiator key, you can’t safely open the bleed valve; don’t improvise. Use DIY tools only if they fit precisely, or try alternative methods: ask your landlord, borrow one, or call maintenance.
Should I Bleed Radiators Upstairs or Downstairs First?
Bleed downstairs first, then upstairs—steady, systematic steps. You’ll protect pressure and promote proper circulation. Close the Radiator valve, follow the Bleeding procedure slowly, vent air, tighten securely, and verify boiler pressure stays within limits.
About the Author