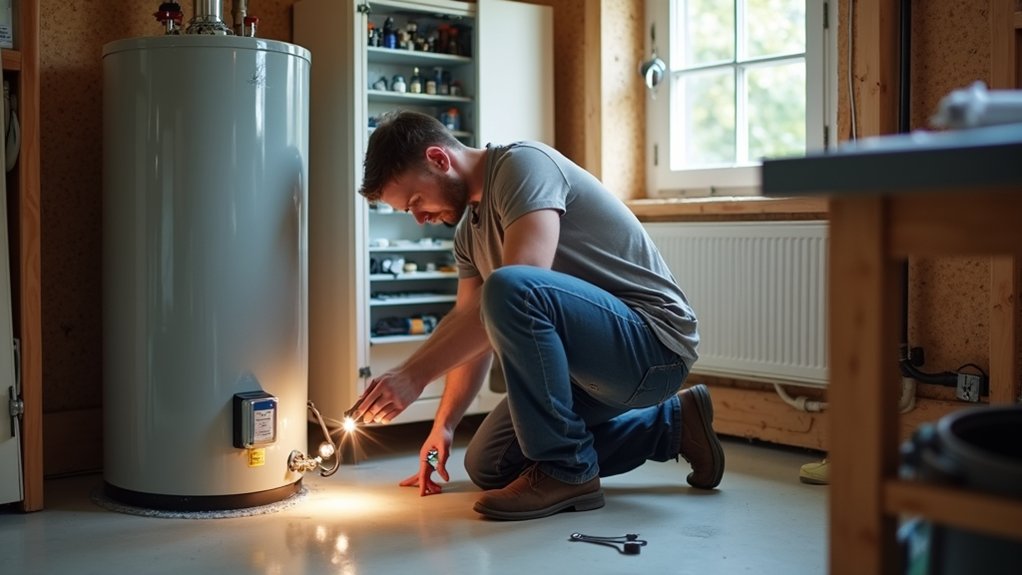
Nearly 1 in 60 insured U.S. homes files a water-damage claim each year, and many start with a small, ignored leak. You can avoid expensive surprises by running a monthly 10-minute checklist: scan under sinks, check ceilings for stains, confirm smoke and CO alarms, note HVAC noises, and look for roof or gutter overflow after storms. Seal gaps where pipes and wires enter, but don’t stop there—one overlooked area causes outsized damage.
Key Takeaways
- Test smoke/CO alarms monthly, check door/window locks, and replace HVAC filters on schedule to prevent safety issues and system strain.
- Detect hidden leaks by checking the water meter, inspecting pipes and fixtures, and dye-testing toilets to stop costly water damage early.
- Inspect roof shingles and flashing, clear and flush gutters/downspouts, and verify downspout extensions move water away from the foundation.
- Check attic for stains or damp insulation, confirm ventilation is open, and ensure bath fans exhaust outdoors to prevent mold and rot.
- Seal gaps around foundations and utility penetrations with proper materials, prioritizing openings over 1/4 inch to block pests and moisture intrusion.
Quick Monthly Home Checks (10-Minute Routine)

Even if you don’t have time for a full inspection, you can prevent most small issues from becoming expensive repairs by running a consistent 10-minute monthly check.
Start at the entry: verify door and window locks latch cleanly and weatherstripping isn’t torn. Test each smoke and CO alarm using the built-in button; replace weak batteries immediately for home safety.
Next, walk the exterior perimeter. Clear debris from downspouts, and confirm gutters aren’t pulling away. Scan siding, trim, and caulk lines for gaps or peeling paint.
Inside, confirm GFCI outlets trip and reset, and check that the electrical panel area stays clear. Replace HVAC filters if loading is visible.
Log results in a dated checklist to support seasonal planning and follow-up.
Home Maintenance Checks for Hidden Water Leaks
Next, you’ll check for hidden water leaks by verifying your water meter for unexplained flow and inspecting accessible piping for dampness, staining, or corrosion that indicates silent pipe leaks.
You’ll then test fixtures by running each tap and flushing each toilet while you look for drips, seepage at supply lines, and moisture around shutoff valves.
Finally, you’ll confirm seals by examining caulk and grout at sinks, tubs, and showers for gaps or soft spots and resealing any areas that don’t meet a watertight condition.
Detecting Silent Pipe Leaks
While obvious drips are easy to spot, silent pipe leaks require a disciplined check that relies on measurements and observable indicators rather than guesswork. Start with a baseline: record your water meter reading, then stop all water use for 60 minutes and recheck. Any movement indicates flow you didn’t authorize.
For Detecting silent pipe leaks, repeat the test at night to reduce intermittent use and confirm consistency.
Next, review usage data from your utility portal; flag unexplained, steady consumption.
For Identifying hidden water sources, inspect areas above supply runs and below bathrooms for staining, peeling paint, warped flooring, or musty odor. Use an infrared thermometer to map cool anomalies along walls and ceilings.
Document findings and retest after isolation valves.
Checking Fixtures And Seals
Because fixtures and their seals fail gradually, you should verify them with a consistent inspection routine that targets common leak points: faucet bases and cartridges, supply stops and braided connectors, toilet fill/flush components, tub/shower escutcheons, and sink P-trap joints.
During each fixtures inspection, dry all surfaces, then run water for two minutes and recheck with a tissue for weeping. Confirm supply stops turn fully off and don’t drip at the stem; tighten packing nuts 1/8 turn if needed.
Under sinks, check P-trap slip nuts for mineral tracks and ensure washers seat squarely.
At toilets, add dye to the tank and watch the bowl for 10 minutes.
Finish with controlled sealant application: remove failed caulk, clean, dry, and apply a continuous bead, then tool it.
Roof and Gutter Checks Before Rain and Snow
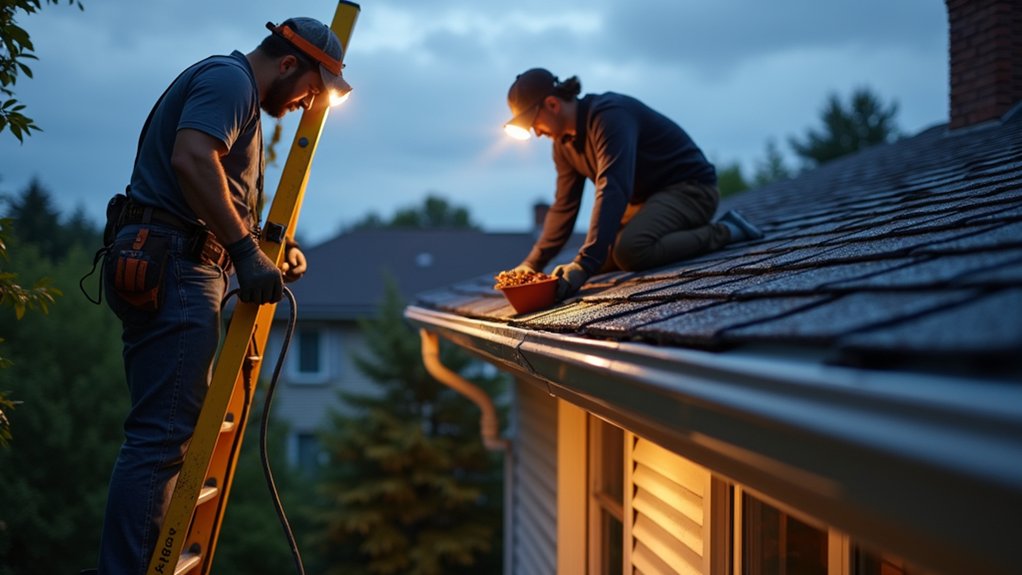
Before rain or snow hits, you should inspect shingles and flashing for cracks, lifting, and failed sealant at joints and penetrations.
You’ll clear gutters and downspouts of debris and confirm water discharges away from the foundation without overflow or backflow.
You should also check the attic for damp insulation, staining, or active drips so you can correct issues before they spread.
Inspect Shingles And Flashing
As the seasons shift toward heavier rain and snow, inspect your shingles and flashing so water can’t exploit small gaps. Work safely: use a stable ladder, wear non-slip shoes, and avoid wet or icy roofs.
Scan slopes for missing, cracked, curled, or blistered tabs that compromise shingle durability. Check for exposed nail heads, popped fasteners, and granule loss near valleys and eaves.
Next, examine flashing at chimneys, skylights, vents, and wall intersections. Look for lifting edges, open seams, punctures, and sealant that’s brittle or separated.
Identify flashing corrosion, especially at galvanized joints and aluminum-to-steel contact points. Verify step flashing overlaps correctly, counterflashing is embedded, and kickout flashing directs runoff away from siding.
Replace damaged components promptly to maintain a continuous, watertight plane.
Clear Gutters And Downspouts
Where does roof runoff go when leaves and grit choke the drainage path? It backs up under edges, spills over fascia, and saturates soil at your foundation line.
Before rain or snow, you should clear gutters end to end. Use gloves and a scoop, then bag gutter debris so it doesn’t wash back in. Flush each run with a hose to confirm continuous flow and no standing water, which signals improper pitch or hidden blockage.
Inspect hangers for spacing, corrosion, and pullout; resecure loose sections to keep the gutter line straight. Verify every downspout attachment at the outlet and wall straps, and tighten fasteners.
Confirm extensions discharge away from the house and won’t ice-dam walkways. Recheck after storms.
Check Attic For Leaks
Once you’ve cleared the gutters and downspouts, inspect the attic for active leaks and early moisture signs that often appear before staining shows indoors. Bring a bright flashlight, then scan roof sheathing, rafters, and fasteners for darkened wood, water tracks, or shiny nails.
Check around chimneys, valleys, skylights, and vent penetrations; probe suspect areas with a screwdriver for softness.
Verify attic insulation isn’t compressed or wet, since reduced R-value and mold risk follow quickly. Replace any damp batts and correct the water source first.
Complete a Ventilation inspection: confirm soffit and ridge vents are open, baffles keep airflow paths clear, and bath fans discharge outdoors.
Seal small gaps at penetrations, document findings, and schedule roof repair before the next storm.
Home Maintenance Checks to Keep HVAC Running
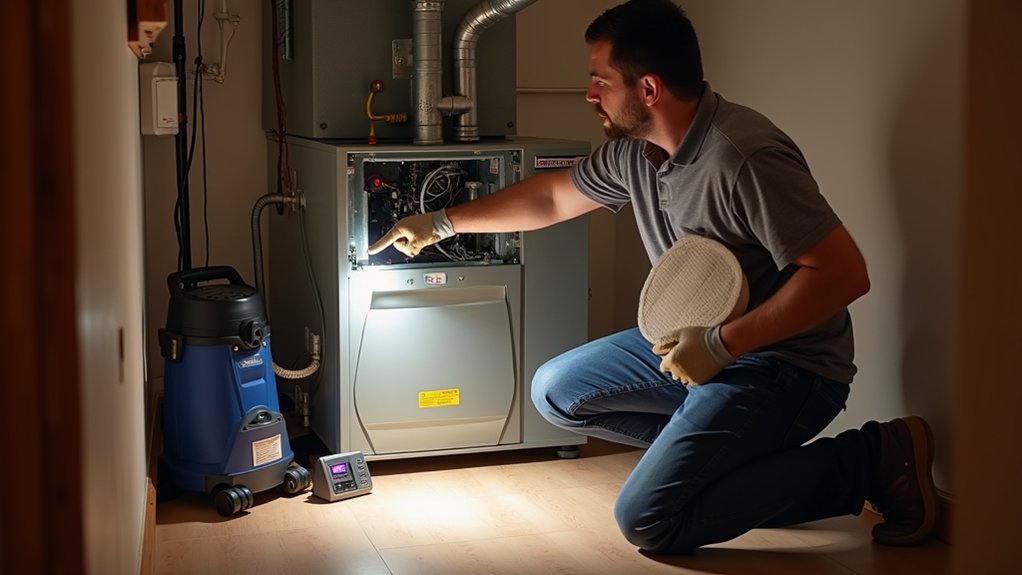
How often do you verify the small, preventable issues that can shorten your HVAC system’s life? Start with the HVAC filter: inspect monthly, replace per the manufacturer’s interval, and confirm correct size, MERV rating, and airflow direction. A restricted filter drives static pressure up and efficiency down.
Next, confirm thermostat calibration by comparing its reading to a reliable thermometer; adjust settings or recalibrate if it’s off by more than 1–2°F.
Keep supply and return registers clear, and verify each room delivers steady airflow.
Outside, clear debris from the condenser coil area and maintain proper clearance for ventilation.
Inspect condensate drain lines for clogs and confirm the trap and drain pan stay clean and dry.
Electrical and Fire-Safety Checks (Test and Replace)
After you’ve confirmed the HVAC system breathes freely and drains correctly, shift to the checks that reduce shock and fire risk.
For Electrical safety, press TEST on every GFCI and AFCI device monthly; verify you get a trip, then press RESET. Replace any unit that won’t trip or won’t reset.
Test smoke alarms and CO alarms; replace batteries on schedule and replace alarms at end-of-life (typically 10 years for smoke, 5–7 for CO).
For Fire prevention, inspect cord condition, plug fit, and outlet faceplates; replace cracked, warm, loose, or buzzing devices.
Open the panel door and look for corrosion, scorch marks, or water staining; if present, call an electrician.
Keep a rated extinguisher accessible.
Pest Checks: Where to Look and What to Seal
Even if you don’t see droppings or live insects, you should run a quick, repeatable pest check along the building envelope and at all utility penetrations. Start at the foundation: scan sill plates, slab edges, and crawlspace vents for Pest entry points, soil contact, and wood rot.
Move upward: inspect siding laps, brick weeps, soffit returns, and roof-to-wall intersections.
At penetrations, verify tight seals around hose bibs, HVAC line sets, dryer vents, gas piping, and electrical conduit. Use a flashlight to spot daylight, frass, or rub marks.
Prioritize sealing gaps larger than 1/4 inch. Pack small voids with copper mesh or steel wool, then cap with exterior-rated sealant. For larger holes, install backer rod plus polyurethane sealant, or metal flashing and fasteners.
Frequently Asked Questions
How Often Should I Schedule a Professional Whole-Home Inspection?
Schedule a professional whole-home inspection annually, and sooner after major storms, renovations, or before buying/selling. Use an Inspection checklist to verify scope and document findings; prioritize DIY safety, and follow code-referenced, manufacturer-specific standards for repairs.
Which Home Repairs Increase Resale Value the Most?
You’ll get the biggest resale boost by tackling high-impact essentials—start with a Roof inspection and targeted Plumbing updates; then refresh kitchens, baths, and curb appeal. Don’t cut corners: document permits, warranties, and compliant workmanship throughout.
What Maintenance Tasks Are Best Handled by a Licensed Contractor?
You should hire a licensed contractor for Roof inspections, panel and wiring work, and any Electrical safety corrections. You’ll also need pros for gas lines, structural changes, plumbing behind walls, and permitted HVAC replacements.
How Do I Create a Yearly Home Maintenance Budget and Timeline?
Like a roadmap, you’ll create a yearly maintenance budget by listing DIY projects and seasonal preparations, pricing materials/labor, adding a 10–20% contingency, then building a month-by-month timeline aligned to manufacturer schedules, warranties, and local climate.
What Documents Should I Keep to Track Repairs and Warranties?
You should keep Warranty documentation, itemized receipts, contractor invoices, permits, inspection reports, manuals, and photos. Maintain Repair logs with dates, costs, parts, and contacts. Store digitally and in binders; back up annually; label by system.
About the Author