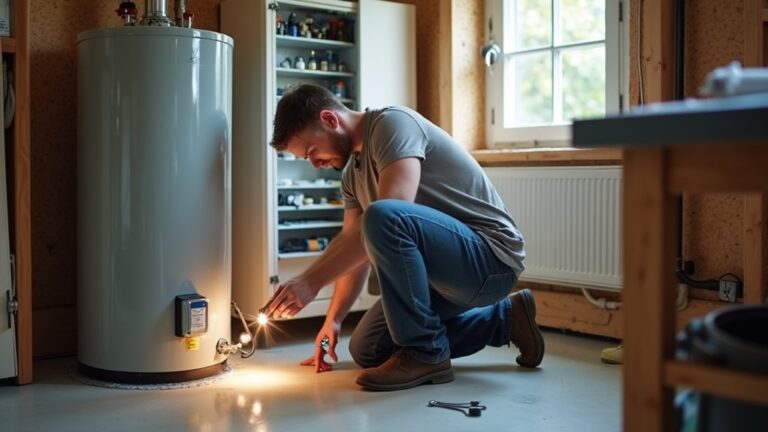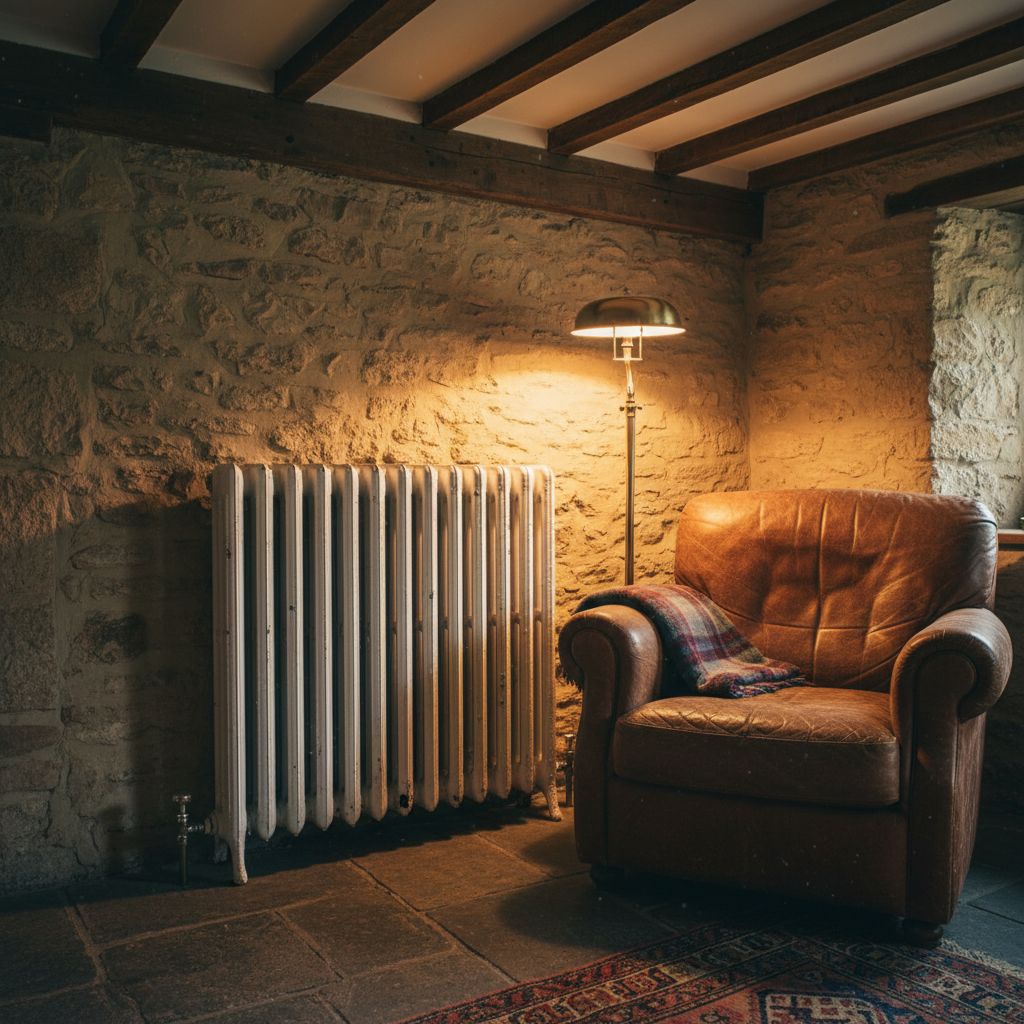
During winter months, your energy bills soar, thanks in part to uneconomical heating and poor insulation. By coincidence, you might notice your boiler cycling hard just as certain rooms stay lukewarm, and that’s a clear sign your radiators are wasting heat. You can’t fix this with guesswork; you need output checks, flow balancing, and safe valve operation to stop energy loss and uneven comfort. If your panels are undersized or designed for high flow temperatures, you’re paying for heat you don’t feel—so the next step matters.
Key Takeaways
- Replace old radiators with modern high-output panels to deliver comfort at 45–55°C flow temperatures and reduce boiler fuel use.
- Add TRVs and balance lockshield valves to fix uneven heating, prevent overheating, and cut wasted energy room-by-room.
- Check for sludge, airlocks, and poor circulation; bleed radiators, flush if needed, and verify correct pump speed to stop short-cycling.
- Reduce distribution losses by insulating exposed pipework and keeping radiators clear of curtains or furniture to maintain proper convection.
- Calculate room heat loss and match radiator sizes to actual demand, avoiding oversizing while preparing for efficient heat pump or solar integration.
Signs Your Heating System Is Wasting Heat
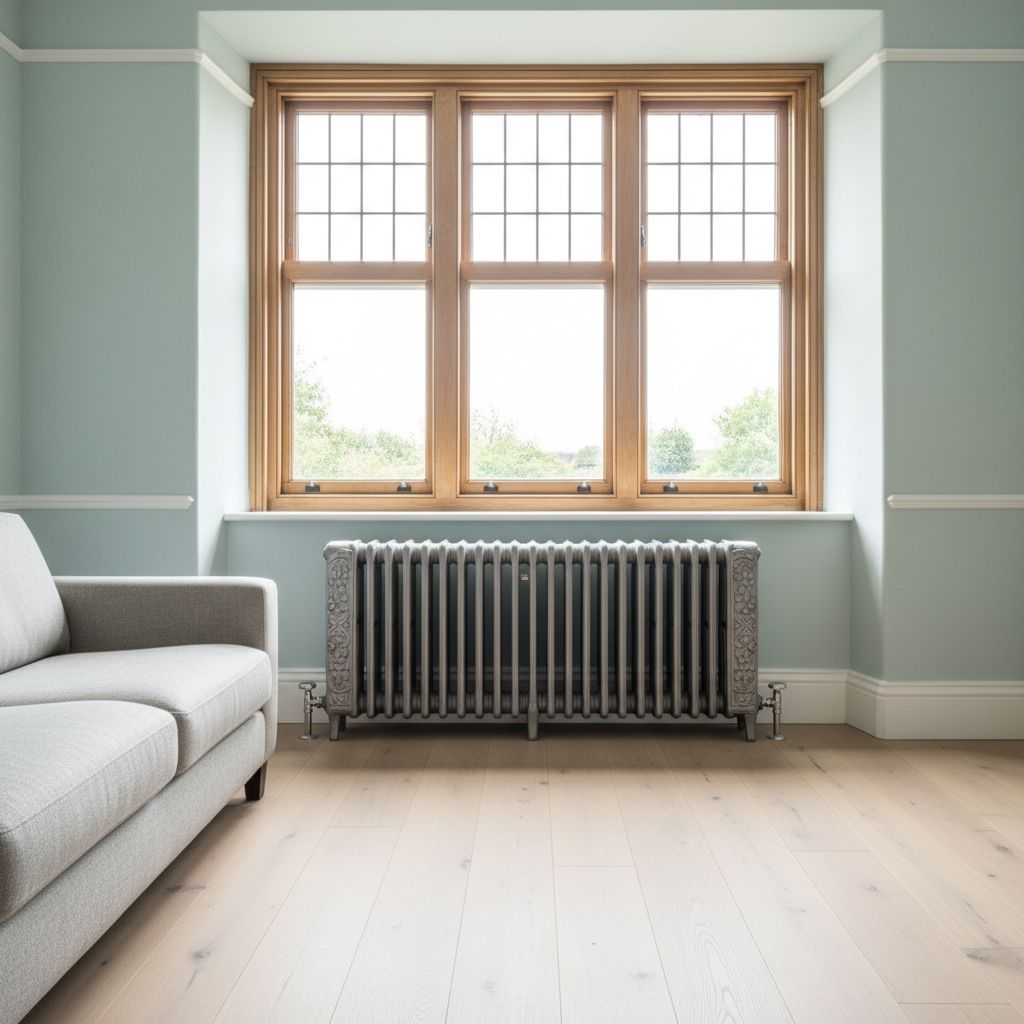
Although your boiler may still reach set temperature, several operating clues can show you’re bleeding heat into unheated spaces or losing it through inefficient distribution.
If rooms heat unevenly, you’re likely seeing poor balancing, airlocks, or undersized emitters.
Check radiators: cold tops indicate trapped air; cold bottoms suggest sludge restricting flow.
Frequent boiler cycling or long warm-up times point to low system volume, stuck valves, or mis-set pump speed.
Feel pipework—hot flow lines running through voids or uninsulated cupboards mean avoidable losses.
Radiator placement behind curtains or tight furniture blocks convection and raises return temperatures.
Outdated radiator design with low surface area forces higher flow temps, increasing standby losses.
If pressure drops or you smell fumes, isolate power and call a qualified technician.
Boiler vs Radiators: What to Upgrade First
Start by evaluating your boiler’s efficiency and condition—check its age, service history, flue integrity, and combustion performance so you’re not pushing an unsafe or wasteful heat source.
Next, verify each radiator’s heat output by measuring flow/return temperatures, checking for cold spots from sludge or trapped air, and confirming the emitters are correctly sized for each room.
With those results, you can prioritise your upgrade budget: fix safety-critical boiler issues first, then target radiator upgrades where output is limiting comfort and efficiency.
Assess Boiler Efficiency First
Before you spend on new radiators, check your boiler’s real-world efficiency, because it sets the ceiling on how much useful heat your system can deliver. Start by confirming the boiler’s age, fuel type, and rated seasonal efficiency, then validate performance with a combustion analysis by a qualified technician.
You’ll want safe flueing, correct draft, and low carbon monoxide risk; fit a CO alarm regardless.
Review control strategy too: weather compensation, load matching, and proper flow temperatures reduce cycling losses.
If you’re planning insulation improvements, re-evaluate heat demand so the boiler isn’t oversized, which wastes fuel and increases wear.
Poor combustion and backdrafting can harm Indoor air quality, so don’t ignore ventilation and flue integrity.
Document service history and compare gas use against degree days.
Check Radiator Heat Output
Once you’ve verified the boiler can produce heat safely and efficiently, you need to confirm your radiators can actually emit that heat into each room at your system’s real flow/return temperatures. Use manufacturers’ outputs at your measured ΔT, not brochure assumptions; lower-temperature systems reduce kW considerably.
Compare each room’s heat-loss calculation to radiator output, allowing for TRV throttling and pipe balancing. Check for cold spots, trapped air, and sludge that cuts surface convection; bleed safely with the pump off and protect electrics from drips.
Inspect Radiator placement: avoid blocking curtains, furniture, or long pipe runs that starve flow. Remove or ventilate Decorative covers, which can reduce output and create overheating at valves and joints.
Validate with infrared readings and stable return temps.
Plan Upgrade Budget Priorities
Although a boiler upgrade often looks like the biggest efficiency win, you’ll get better value by prioritising the component that’s currently limiting safe heat delivery in your home—either an undersized/aging boiler that can’t maintain stable flow temperatures, or radiators and pipework that can’t emit or distribute heat at the lower temperatures modern systems target.
If your boiler short-cycles, locks out, or shows combustion/pressure faults, budget for replacement first and include magnetic filtration, inhibitor dosing, and safety controls.
If rooms stay cold despite stable boiler output, upgrade radiators, balance valves, and consider pipe sizing before fitting a high-efficiency boiler.
Plan Energy conservation by funding insulation improvements early; lower heat loss lets you run lower flow temperatures, reducing scald risk, stress, and fuel use. Homeowners upgrading their heating systems often choose radiators Ireland suppliers for high‑efficiency designs, reliable performance and fast nationwide delivery
How Old Boilers Lose Heat (and Money)
Even if your old boiler still fires up reliably, it can hemorrhage heat through flue losses, jacket losses, and short-cycling, turning expensive fuel into wasted exhaust and unwanted heat in the plant room.
You’ll often see high stack temperatures because aged heat exchangers foul with scale and soot, so combustion heat exits up the flue instead of transferring to water.
If the burner can’t modulate, it cycles on/off, purging warm air each start and stressing seals and controls.
Poorly maintained draught diverters can pull excess air, cutting efficiency and risking spillage.
Without Energy recycling such as condensing recovery, latent heat disappears.
Use insulation techniques on accessible pipework and verify safe flue integrity, combustion setup, and CO alarms.
Efficient Radiators That Cut Running Costs

When you upgrade to efficient radiators, you move more usable heat into the room at lower flow temperatures, so your boiler (or heat pump) doesn’t have to work as hard to hold setpoint. Choose high-output steel panel radiators or low-temperature convectors sized to your room’s heat loss, then run 45–55°C flow where possible to cut cycling and distribution losses.
You’ll also improve efficiency by fitting thermostatic radiator valves with lockable caps, ensuring safe, predictable control in occupied rooms and preventing overheating.
If you’re pairing a Heat pump with solar panels, bigger emitter surface area helps you stay in the pump’s high-COP range, so every kilowatt-hour delivers more heat.
Use inhibitor-treated water, maintain pressure, and bleed safely with the system off and cool.
Radiator Balancing for Even Heat in Every Room
If some rooms overheat while others stay lukewarm, your system likely suffers from poor radiator balance, not a lack of output. You’ll correct it by setting all TRVs fully open, running the boiler, then measuring flow and return temperatures across each radiator.
Start with the closest radiator to the pump and throttle its lockshield valve until you achieve a consistent temperature drop, then repeat outward to the furthest unit. Make small adjustments and wait for stabilisation to avoid chasing readings.
Keep safety in mind: isolate power before removing valve caps, and avoid scald risk on hot pipework.
Proper radiator placement helps airflow, while pipe insulation on exposed runs reduces heat loss and improves balance across the circuit.
Radiator Sizing to Stop Cold, Underheated Rooms
If you’ve balanced your system and rooms still feel cold, you’re likely short on radiator output for the space. You should verify each radiator’s rated wattage (at your system’s flow temperature) against a room heat-loss check that accounts for insulation, glazing, ventilation, and external wall area.
Don’t upsize blindly—confirm pipework capacity and maintain safe clearances from combustibles so higher surface temperatures don’t create burn or fire risks.
Correct Radiator Output
Although a radiator may feel hot to the touch, it can still be undersized for the room, leaving you with cold spots, long heat-up times, and a boiler that cycles inefficiently.
You should match radiator output (watts/BTU) to your system temperatures, not brochure “ΔT50” figures if you’re running lower-flow temps. Check the manufacturer’s correction tables and select a model that delivers the required output at your actual flow/return.
Prioritise safe, stable performance: bleed air, verify balanced lockshield settings, and confirm the TRV isn’t sticking.
Radiator placement matters; don’t box in panels or block convective airflow with furniture. Use pipe insulation on exposed runs to reduce distribution losses and prevent accidental contact burns.
If output remains low, upgrade size or add a second emitter.
Room Heat Loss Checks
Why does a room stay chilly even when the radiator runs hot? You’re likely losing heat faster than the emitter can replace it.
Run a room heat-loss check: measure floor area, ceiling height, window and door sizes, and wall construction. Note insulation level, air leakage at frames, and any unused chimney flues.
Use a BTU/W calculator and add a safety margin for exposed walls or large glazing. Then compare required output with your installed radiator’s rating at your system’s flow temperature.
Radiator materials matter: steel panels respond fast, aluminium boosts output at lower temps, cast iron holds heat longer.
Finish with heating system maintenance—bleed air, balance lockshields, verify pump speed, and keep valves unobstructed.
Thermostats, Timers and Zoning for Quick Savings
Because your heating system responds only as well as its controls allow, you can cut wasted energy quickly by setting an accurate thermostat, programming timers around real occupancy, and zoning heat to the rooms you actually use.
Verify the room stat is away from radiators, sunlight, and drafts, then set a stable target and use a 1–2°C night setback to avoid long recovery runs.
Use timers for morning/evening demand only; don’t “leave it on” for safety against frost—use a dedicated frost-protect setting instead.
Fit TRVs and balance radiators so flow matches room need; combine with zoning strategies such as separate upstairs/downstairs circuits or programmable room controls.
Smart thermostats add optimum-start and weather compensation, but wire them to boiler interlocks and test fail-safe operation annually.
Heating Upgrade Plan by Budget and Payback
When you map upgrades to a realistic budget and a measured payback window, you’ll prioritise changes that cut kWh first, protect system safety, and avoid spending on capacity you don’t need.
Start under €300 with thermostat calibration, TRVs, and timer optimisation; verify setpoints with a reference thermometer and lock out unsafe boiler short-cycling.
In the €300–€1,200 bracket, address radiator placement and balancing: keep emitters clear of furniture, fit reflective foil on external walls, and commission hydraulic balancing to prevent overheated zones and pump stress.
At €1,200–€4,000, insulate primary pipework, upgrade controls to weather compensation, and service combustion with flue-gas analysis and CO checks.
Beyond that, replace oversized boilers, add low-temperature emitters, and size heat pumps to measured heat loss, not guesswork.
Frequently Asked Questions
What SEAI Grants Are Available for Radiator or Boiler Upgrades in Ireland?
You can access SEAI grants for heat pumps (often requiring radiator upgrades), boiler controls, and insulation; boiler replacements typically don’t qualify. Why pay to lose heat? Improve Energy efficiency, deliver Cost savings, and guarantee compliant, safe installation.
Do I Need Planning Permission to Replace Radiators or Upgrade My Boiler?
You typically don’t need planning permission to replace radiators or upgrade your boiler. Make sure radiator design meets system specs, improve heating efficiency, and comply with Irish building regulations, gas safety certification, and flue/venting requirements.
How Disruptive Is a Full Radiator Replacement in a Lived-In Home?
You’ll face moderate Heating disruption: installers isolate circuits, drain and flush, remove units, and fit new brackets and valves. Radiator installation typically takes 1–3 days; expect noise, dust, limited heat, and safety checks throughout.
Can New Radiators Work With My Existing Pipework and Heating Controls?
Yes—new radiators can usually connect to your existing pipework and controls; old valves meet modern emitters. You’ll verify compatible systems, then follow a safe installation process: measure centres, match threads, pressure-test, bleed, balance.
What Warranties and Aftercare Should I Expect From Radiator Outlet Ireland?
You should expect clear warranty coverage on radiators, valves, and finishes, plus documented aftercare support. You’ll get install guidance, safe pressure-testing advice, radiator maintenance tips, and a defined claims process with response times, exclusions, and parts availability.
About the Author