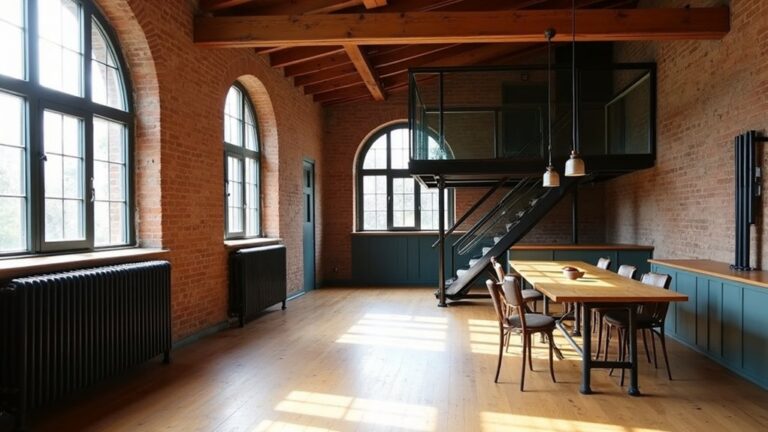
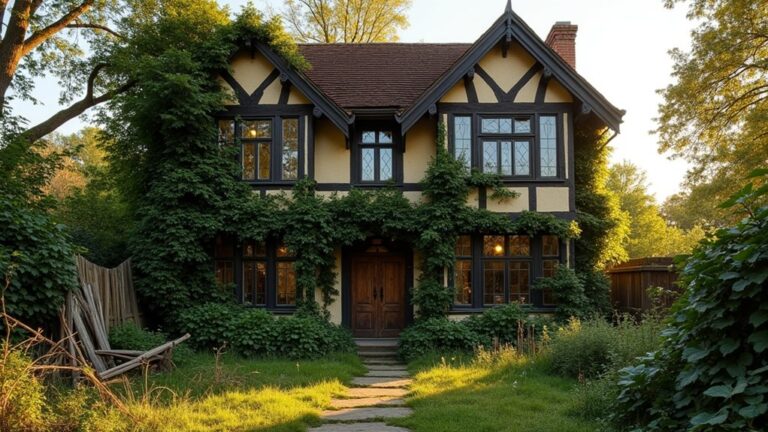
You walk into a 1920s stone cottage that’s sat empty for 15 years, and the musty air tells you the envelope’s already failing. You don’t start with paint; you start with a feasibility checklist: foundation level checks, roof load paths, damp mapping, pest traces, and a permit/heritage constraints scan. You’ll sequence work like a build pipeline—stabilize, weatherproof, rough-ins, then finishes—because one wrong step can brick your budget. Next, you’ll need to verify what’s actually salvageable…
Key Takeaways
- Start with a feasibility sprint: confirm zoning, heritage constraints, target use-case, capex vs value, and IRR hurdle checks.
- Build a permit matrix covering planning, building, environmental, fire, and historic review, with responsibilities, timelines, and compliance checks.
- Validate structure first: foundation stability, load paths, roof framing, wall bowing, and floor settlement; pause and engage an engineer if movement worsens.
- Detect hidden damage early: moisture mapping, rot probing, pest indicators, and mold checks behind finishes, then fix moisture sources before sealing.
- Sequence renovations logically: weatherproof and repair envelope, complete rough MEP and inspections, then air-seal, insulate, and finish with durable wet-area assemblies.
Decide If the Abandoned Cottage Is Worth Saving
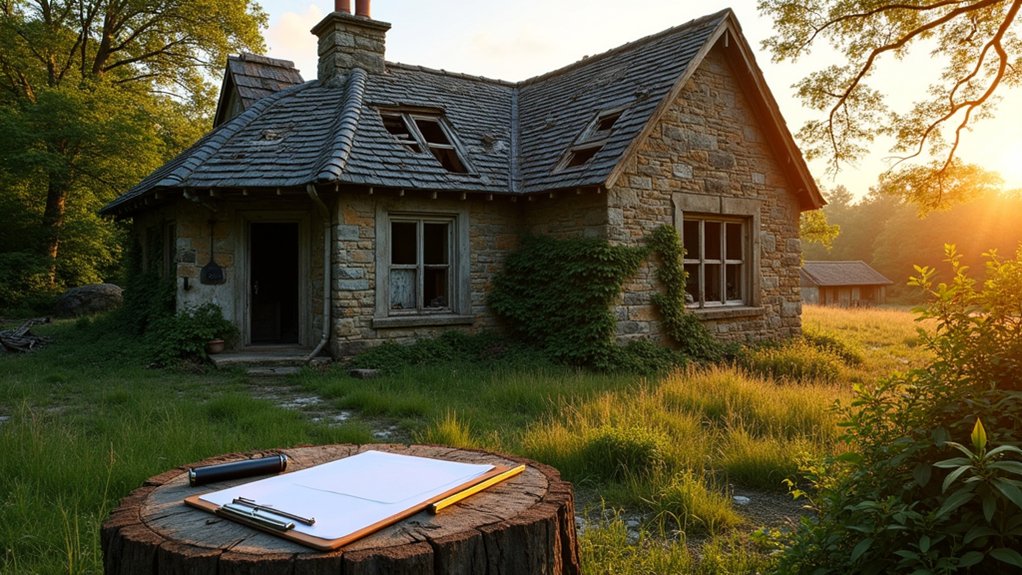
Where do you start when you’re staring at a boarded-up cottage and a blank renovation budget? You run a feasibility sprint: define your target use-case, then build a decision matrix that scores legal, financial, and social constraints.
Pull parcel data, zoning, and heritage listings; confirm permits you’ll need and whether conservation rules cap alterations. Estimate capex with unit rates, then compare against after-repair value and rental comps; if the IRR won’t clear your hurdle, don’t romanticize it.
Next, quantify Historical significance and community value. Interview the local historical society, check archives, and log any protected features. Model externalities: streetscape uplift, local goodwill, grant eligibility.
If incentives, salvageable materials, and timeline fit your plan, you’ve got a viable candidate.
Check Foundations, Roof, and Structural Movement
Once your feasibility math clears, you need to validate the building’s load path before you spend a dollar on finishes. Start at the footings: probe for voids, measure plumb at corners, and map cracks with a gauge to verify Foundation stability. Check that sills bear continuously and that any piers align under concentrated loads.
Move up to the roof: confirm ridge and rafter lines are straight, collar ties exist where required, and connections are strapped or nailed per local code tables. Sight along exterior walls for bowing, then use a laser level to quantify floor slope and differential settlement.
Document Structural movement with dated photos and reference marks, and stop if you see progressive displacement. Engage a structural engineer before altering load-bearing elements.
Find Hidden Damage: Damp, Rot, Pests, Mold
After you’ve verified the shell, you’ll run a hidden-damage scan for damp and rot: meter the wall baseplates (<20% moisture), probe suspect timber with an awl, and log soft spots by bay.
You’ll also detect pests by checking frass, mud tubes, and gnaw marks in voids, then set traps or monitoring stations before you seal anything up.
For mold, you’ll inspect behind impermeable finishes, sample if needed, and treat any active growth while you fix the moisture source so it doesn’t respawn.
Spot Damp And Rot
How do you spot damp and rot before you rip out half the cottage? Start with a moisture map. Scan walls and floors with a pinless moisture meter; log readings >18% as “risk,” >22% as “wet.” Cross-check with an IR camera: cold blooms plus high meter values usually mean active moisture, not just shade.
Probe timber with an awl; if it sinks past 3–5 mm or pulls out dark, spongy fibers, you’ve got rot. Check end grain at joist bearings, sill plates, and window heads. Sniff for musty VOCs near enclosed voids.
Trace water paths: gutters, flashing laps, pipe chases, capillary rise at masonry. Plan fixes with mold prevention in mind: ventilate, dehumidify, and specify moisture barriers only after you’ve stopped the source.
Detect Pests And Mold
Before you open up cavities, run a fast “biohazard” pass for pests and mold because they’ll change your demo plan, PPE, and containment.
Start outside: probe sill plates, eaves, and soffits for frass, galleries, mud tubes, and entry gaps; note any pest infestation before you disturb it.
Inside, pull outlet covers and use a borescope to scan stud bays and rim joists; listen for hollowed members, and check for droppings, nests, or carcasses.
For mold inspection, map musty zones, then confirm with moisture readings (target <16% wood MC) and a particle/air sample if you’re unsure.
Under IRC/IECC best practice, isolate work zones with 6-mil poly, run a HEPA negative-air unit, and bag debris immediately.
Build an Abandoned Cottage Renovation Budget and Buffer
Although the cottage looks like a simple cosmetic project, you’ll burn cash fast unless you model a renovation budget with a hard contingency buffer from day one. Build a line-item spreadsheet: structure, envelope, MEP, interiors, sitework, waste, rentals, and labor.
Tag each item with risk (low/med/high) and a confidence score; then compute contingency = base_cost * risk_factor (0.10/0.20/0.35). Add a separate “unknowns” buffer of 5–10% for hidden rot, damp, and wiring surprises.
Track scope decisions that preserve Historical significance and match Architectural style; those choices shift material and craftsmanship costs.
Price in cash-flow timing: deposits, milestone draws, and lead times. Freeze a max spend, then gate changes through a simple diff-based change-order log.
Sort Permits, Surveys, and Listing Restrictions Early
Locking a budget and buffer only works if the project is legally buildable on your timeline, so run the compliance checks next: pull the parcel record and confirm zoning, setbacks, septic/well status, floodplain, and access rights.
Then map every required approval (planning, building, environmental health, fire, historic review) into a permit matrix with owner/contractor responsibility, submittal artifacts, fees, and review SLAs.
Order a boundary/topo survey and stake corners so your site plan matches recorded bearings.
If there’s a recorded easement or shared drive, get a title report and drafted access agreement now.
Check deed covenants, HOA rules, and any historic or conservation listing restrictions; they can trigger materials, window, and demolition limits.
Build a critical path for permit processes, and validate zoning laws against your intended use and occupancy class.
Plan a Cottage Layout Around Plumbing and Electrics
Where should you start when you’re sketching a cottage layout—walls, or the pipes and wires that make the rooms legal? Start with services. Map the incoming water, stop tap, soil stack, and existing drain runs; then position kitchen, bath, and utility to minimize new penetrations and keep fall on waste lines. Good plumbing placement clusters “wet” rooms and preserves access for cleanouts, valves, and venting.
Next, do electrical planning around the consumer unit location, cable routes, and zoning. Plot required circuits (lighting, sockets, cooker, immersion/boiler, extract fans) and allocate breaker capacity, RCD/RCBO protection, and safe zones for concealed cabling. Keep outlets clear of splash zones, plan equipotential bonding, and reserve routes for data/alarms.
You’ll draw walls last, not first.
Do Essential Repairs in the Right Renovation Order
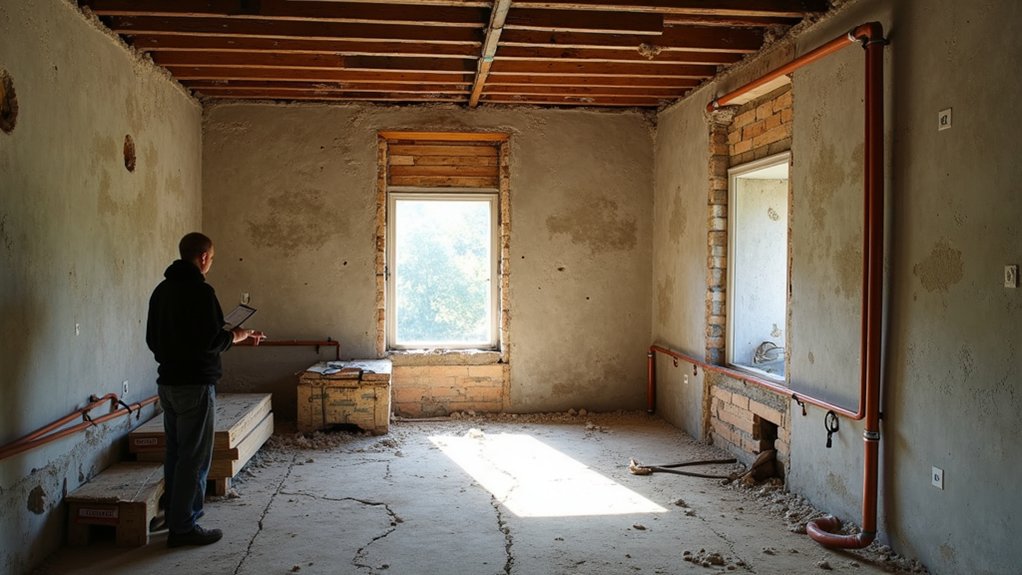
Before you touch finishes or build new partitions, sequence the essentials so the structure stays stable and every inspection point remains accessible. Start with temporary weatherproofing, then document defects and pull permits.
Shore sagging floors, replace rotten sills, and correct bearing points before any rough-in.
Next, address envelope failures: repair roof framing, flashing, and gutters; then patch sheathing and reseal penetrations.
After that, run rough plumbing, electrical, and ventilation, maintaining required clearances, nail plates, and fireblocking.
Close only after pressure tests, insulation inspection, and rough-in sign-off.
Then install subfloors, drywall backing, and final air-sealing so your interior decor won’t hide unresolved leaks.
Last, restore grading and drainage first among landscaping options to keep the foundation dry year-round.
Choose Durable Cottage Materials and Subtle Upgrades
Although the cottage may look “rustic,” you’ll get a longer-lasting result by upgrading to durable, code-compliant materials that tolerate moisture, movement, and intermittent heating without changing the character.
Choose pressure-treated sill plates where wood meets masonry, and install a capillary break (sill gasket or membrane) to meet moisture-control best practice.
Use mineral-wool insulation and a smart vapor retarder for mixed climates; don’t trap damp with polyethylene.
Specify cementitious backer in wet areas, GFCI/AFCI where required, and corrosion-resistant fasteners in coastal zones.
For floors, favor site-finished hardwood or porcelain with uncoupling membrane to handle deflection.
Keep timeless finishes: limewash, oiled wood, simple trim profiles.
Add subtle upgrades like air-sealing, HRV-ready ducting, and low-VOC coatings throughout.
Frequently Asked Questions
How Do I Secure the Cottage Against Theft During Renovation?
Install Security cameras with PoE and motion zones, then deploy Alarm systems on doors/windows and a cellular backup. You’ll harden access: change locks, add temporary steel door, sensor lights, log deliveries, and secure tools nightly.
Can I Live On-Site Legally While Renovation Work Is Ongoing?
You can’t always live on-site legally during renovations; it depends on Legal restrictions and required occupancy permits. For a “temporary camp,” check zoning, CO status, utilities, and safety inspections; log approvals like config flags.
How Do I Find Trustworthy Local Tradespeople for Remote Cottages?
Query local directories, parish forums, and neighbors; score candidates by Local reputation. Verify Trade certifications, insurance, and references. Run a contract+scope checklist, then start with a small paid test job, logging outcomes.
What Insurance Do I Need for an Unoccupied Renovation Property?
Insurers often see ~60% higher losses in vacant homes, so you’ll need specialist insurance coverage: unoccupied property plus renovation policies covering public liability, contractor works, tools/materials, and fire/theft. Add optional legal expenses, too.
How Can I Preserve Original Features Without Breaking Modern Building Codes?
You’ll preserve original features by documenting conditions, using reversible preservation techniques, and matching materials for historical accuracy, then coordinating with your AHJ for variances. Upgrade hidden systems (wiring, egress, fireblocking) to meet code.
About the Author