You’ll get a smooth, pro-looking door finish by controlling prep and paint flow from the start. Pick a self-leveling enamel, then decide if you’ll leave the door hung or pull it onto sawhorses. Remove knobs and hinges, mask jambs, and drop-cloth the floor. Degrease with a cleaner, scuff-sand with 180–220 grit, and spot-fill dings. Prime only where stains or gloss demand it—then the roll-and-tip method changes everything.
Key Takeaways
- Use a self-leveling interior enamel (acrylic-alkyd/waterborne alkyd) and test the color/finish on primed scrap in different lighting.
- Remove hardware, protect floors and jambs, and ideally take the door off to paint flat for the smoothest finish.
- Clean thoroughly, sand lightly with 180–220 grit, fill dents, then remove all dust before priming or painting.
- Spot-prime stains or glossy areas with the right primer, let it dry fully, and scuff-sand if needed for adhesion.
- Apply thin coats using “roll and tip,” keep a wet edge, avoid overworking, and respect dry/recoat times and 7–14 day cure.
Pick a Door Paint That Levels Smoothly
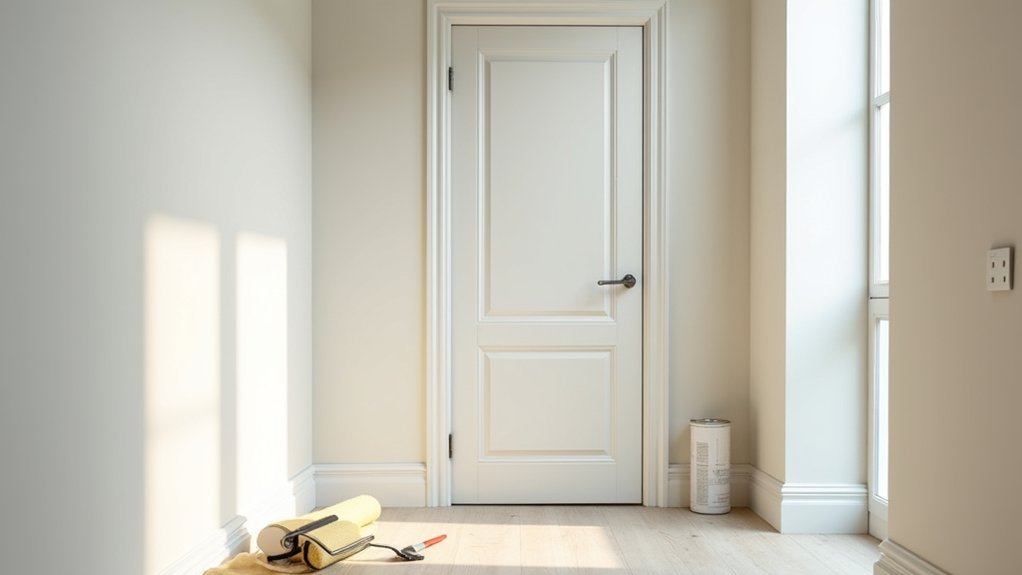
Before you open a can of paint, choose a door-specific formula that levels as it dries so you don’t lock in brush marks and roller stipple. Pick an interior enamel labeled “self-leveling” or “trim and door,” in acrylic-alkyd or waterborne alkyd for harder cure.
For Color selection, sample on a primed scrap or the hinge edge, then check it under daytime and lamp light.
Decide between Finish options: satin hides flaws and cleans easily; semi-gloss resists fingerprints but highlights dents; matte looks modern but scuffs faster.
Use a paint pail and strainer, then mix with a paddle for two minutes. Add the maker’s conditioner only if recommended, and keep a wet edge as you work.
Decide: Leave It Hung or Take It Down
Start by deciding whether you’ll paint the door in place: tape hinges and the jamb with painter’s tape, slip a drop cloth under the edge, and use a foam roller and angled sash brush to cut in cleanly.
If you want more control and a flatter finish, pop the hinge pins with a nail set and hammer, lift the slab off, and set it on sawhorses so you can roll and tip without runs.
Weigh your space and time—tight hallways and shared rooms favor removal, while quick touch-ups and limited setup favor leaving it hung.
Paint Doors In Place
Although you can get a good finish either way, decide up front whether you’ll paint the door while it’s hung or take it down and lay it flat.
If you’re painting in place, start by protecting the floor with a canvas drop cloth and masking the hinges, latch, and strike plate with painter’s tape. Slide a piece of cardboard under the door edge to catch drips.
Score the paint line at the door frame with a sharp utility knife, then tape the frame to keep crisp margins.
Lightly sand with a 220-grit sanding sponge, vacuum, and tack-cloth.
Cut in panels and profiles with a 2-inch angled sash brush, then roll flats with a 4-inch foam roller.
Maintain a wet edge, and match paint sheen door-to-trim.
Remove Doors For Control
When should you take an interior door down instead of painting it in place? Do it when you need tighter control considerations: you’re spraying, the door rubs the jamb, hinges are sloppy, or you must coat all six sides for uniform sheen.
For door removal, score paint at hinge leaves with a utility knife. Set a doorstop under the slab, then tap hinge pins up using a nail set and hammer. Back out hinge screws with a #2 Phillips or impact driver, supporting the door’s weight.
Carry it flat to sawhorses and add painter’s pyramids or 2×4 blocks. Label hinges and screws in a bag. Now you can sand edges, prime end grain, and roll or spray without runs.
Weigh Space And Time
Before you pull hinge pins, measure the space you’ve got and the time you can realistically give each coat. If you can set up two sawhorses, 2×4 rails, and painter’s pyramids in a dust-free room, take the door down for flatter flow and fewer runs. Label hinges with masking tape, bag screws, and carry the slab with a helper.
If you’re tight on space, leave it hung and protect the floor with rosin paper and a drop cloth. Use a door wedge, remove the knob, and tape the latch.
Consider door material: hollow-core dries faster than dense solid wood, which holds moisture and extends drying time. If you can’t keep pets, kids, and HVAC drafts off it, don’t rush coats.
Remove Hardware and Protect Floors and Hinges
Back out the knob, latch, and strike-plate screws with a Phillips screwdriver, then drop every piece into a labeled zip-top bag.
Slide a canvas drop cloth or rosin paper under the door, and tape the edges down with painter’s tape so you don’t track paint onto the floor.
If you’re painting with the door hung, wrap each hinge leaf with painter’s tape (or cover with foil) and press the tape tight along the knuckles to keep paint out of the joint.
Remove Knobs And Latches
First, grab a Phillips screwdriver (and a small flathead for stubborn trim rings) and remove the door knob, latch, strike plate, and any hinges you’re not painting—back out the screws, bag them with the matching parts, and label everything so reassembly goes fast.
For clean knob removal, loosen the two through-bolts on the interior side, pull both knobs straight off, then slide off the rose plates. If a trim ring won’t budge, slip the flathead under the edge and twist gently.
Next, remove the latch: undo the two faceplate screws, then pull the latch body out of the door edge. Check the latch tongue for paint buildup or burrs, and note its orientation for reinstall.
If the latch was sticky, plan a quick latch adjustment later by centering the strike alignment and snugging screws.
Mask Floors And Hinges
Once the hardware’s off, protect everything you don’t want painted by taping off the floor and masking any hinges you’re leaving in place. Lay rosin paper or a canvas drop cloth for floor protection, then run 2-inch painter’s tape along the baseboard and door jamb, pressing it down with a putty knife to seal edges.
If the door’s still hanging, slide a piece of cardboard under it to catch drips. For hinge masking, cut painter’s tape into thin strips and wrap the hinge leaves and pin, or cover each hinge with a small plastic bag and tape the edges tight.
Use a utility knife to trim tape cleanly around knuckles. Finally, tape the strike plate recess so paint can’t pool there.
Clean Off Grease, Wax, and Hand Oils
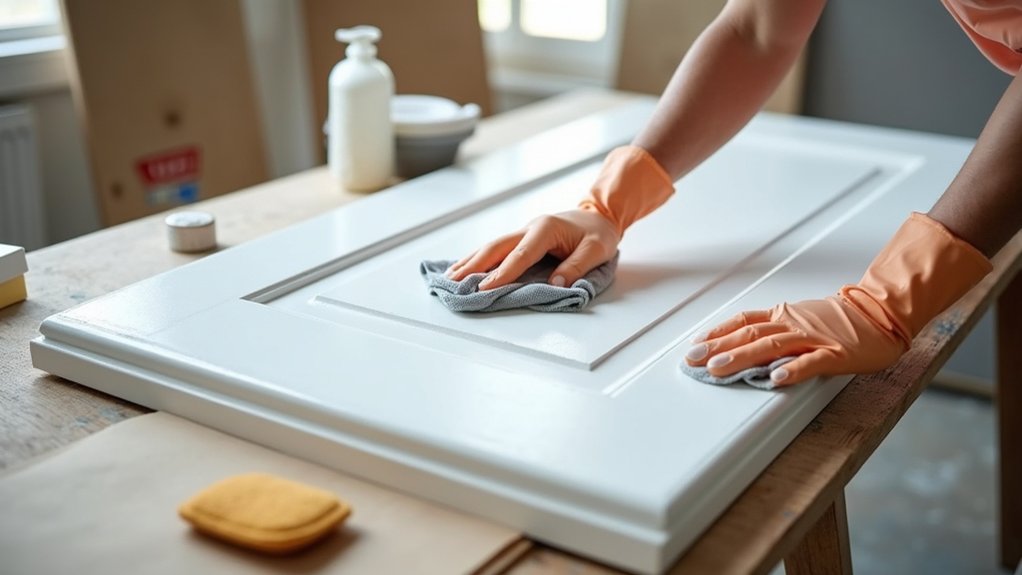
Before you sand or prime, strip off any grease, wax, and hand oils so the new paint can grip. For solid surface preparation, gather nitrile gloves, microfiber rags, a non-scratch scrub pad, a spray bottle, and a degreaser (TSP substitute) or denatured alcohol.
Open a window and wear gloves. Vacuum the door first to remove grit. Spray cleaner onto the rag (not the door) and wipe top to bottom, focusing on knobs, edges, and push areas.
For waxy buildup, switch to denatured alcohol on a fresh rag and wipe again. Use the scrub pad only on stubborn spots, keeping pressure light. Rinse with a damp cloth if using TSP substitute, then dry with a clean towel.
Let it air-dry 10 minutes.
Scuff-Sand for Adhesion (and Fix Dents)
With the door clean and dry, scuff-sand it to give primer something to bite into and to spot any damage that needs filling. Use a 180–220 grit sanding sponge for profiles and a random-orbit sander with 220 grit for flat panels. Sand lightly until the sheen turns uniformly dull; don’t cut through veneer or round over crisp edges.
Vacuum dust, then wipe with a tack cloth or microfiber dampened with water.
For dent repair, press a putty knife over the area to feel low spots. Fill dents and nail holes with vinyl spackle or a 2-part wood filler; overfill slightly. Let it cure, then block-sand flush with 220 grit.
Re-dust thoroughly—this Surface preparation step prevents bumps and telegraphs later.
Prime Only Where Needed (Oil, Stains, Gloss)
Even if you’re not priming the entire door, hit trouble spots—oil, stains, and slick gloss—so the topcoat doesn’t fisheye, bleed through, or peel.
As part of surface preparation, wipe greasy areas with a degreaser and a lint-free rag, then rinse and dry.
Spot-seal stains (tannin, marker, water) with a stain-blocking primer using a 2″ angled sash brush, feathering edges thin.
If the old paint is glossy or enamel-slick, scuff again and apply a bonding primer only on those panels and rails with a small foam brush or mini pad.
Choose primer for paint compatibility: shellac or oil for heavy stains, bonding acrylic for slick latex/oil coverages.
Let it dry fully, then lightly scuff.
Roll and Tip for a Brush-Mark-Free Finish: Then Cure
Once your primer and scuff-sand are done, you’ll get the smoothest, brush-mark-free finish by “roll and tip”: load a 4″–6″ high-density foam roller (or microfiber mini roller for light orange peel) with a thin coat, roll one section at a time (stiles, rails, then panels), and immediately “tip” it off by lightly dragging a high-quality 2″ angled sash brush in long, single-direction strokes to pop bubbles and level the paint.
Keep a wet edge, don’t overwork, and reload the roller lightly. Use consistent brush technique: tip with barely any pressure, and don’t brush back into tacked paint.
After the first coat, let it level, then follow the drying process on the label—usually 4–6 hours to recoat. Cure 7–14 days before rehanging or washing.
Frequently Asked Questions
How Long Should I Wait Before Rehanging the Door After Painting?
Wait 24 hours before rehanging; coincidentally, that’s when color matching looks truest and paint sheen settles. Use a tack cloth, then a screwdriver: test dryness with a fingernail, rehang gently, tighten hinges.
Can I Repaint a Door Without Sanding if It’s Already Painted?
Yes, you can repaint without sanding if the existing paint finish is sound. Clean with degreaser, scuff with a sanding sponge if glossy, spot-prime chips, then roll with a foam roller—proper paint preparation prevents peeling.
What’s the Best Way to Avoid Paint Sticking to Weatherstripping or Door Seals?
Tape seals with painter’s tape, then dust them with talc or apply a light silicone spray. During Paint preparation, cut in with an angled sash brush, avoid flooding. After Surface priming, remove tape before curing.
How Do I Prevent the Door From Sticking to the Jamb After Repainting?
Let paint cure fully, then close on waxed jamb edges. Remove door, sand contact points, and feather with paintbrush techniques. Lubricate hinges for door hinge maintenance. Use a razor to break paint bridges.
Should I Paint Both Sides of the Door the Same Day or on Separate Days?
Paint on separate days: picture wet paint gleaming like glass. For door preparation, remove hardware, sand, tack-cloth. Use a foam roller; let paint drying time reach overnight. Flip using sawhorses, repaint tomorrow.
About the Author