You’ll get a multi‑level garden right when you plan tiers around slope, runoff, and access before you buy a single block. Lay out each level’s footprint, set target elevations, and map where water must exit so you don’t trap it behind walls. Then you can choose hardscape materials that fit your budget and climate, and build retaining walls, steps, and drainage that won’t shift. Next comes planting, lighting, and finishes—but the key decision comes first…
Key Takeaways
- Map tier footprints, elevations, and uses; stake terrace lines and set consistent step heights for safe circulation and easy maintenance.
- Grade each level 1–2% to shed water; route runoff to swales, inlets, or dry wells as a connected drainage plan.
- Choose hardscape by total system cost and durability; favor low-absorption pavers or stone in freeze-thaw climates to reduce heave.
- Build retaining edges on compacted gravel with slight batter; add drain rock, perforated pipe, and filter fabric to relieve hydrostatic pressure.
- Integrate conduits for lighting and drip irrigation before backfill; finish with erosion control, mulch, and tier-appropriate plants for stability.
Plan Your Multi‑Level Garden Tiers and Drainage

Before you break ground, map each tier’s footprint, elevation change, and purpose so the layout works with your site’s slope instead of fighting it. Set finished grades and step heights, then stake terrace lines to confirm circulation, sightlines, and maintenance access. Keep each tier slightly crowned or sloped 1–2% away from structures to control runoff.
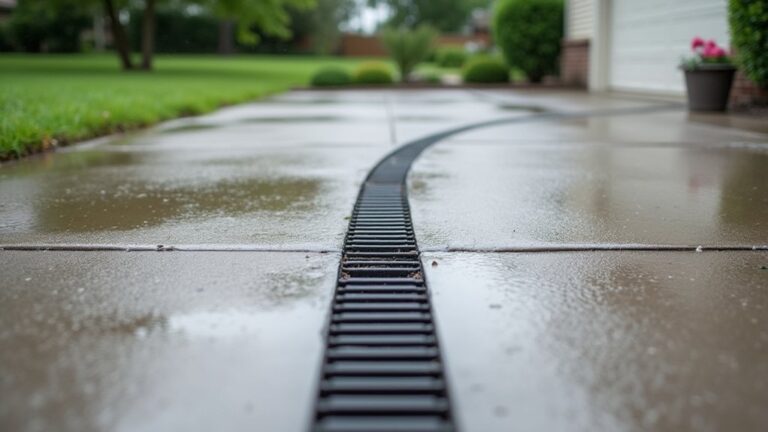
Design drainage as a system: route surface flow to swales, inlets, or a dry well; use perforated pipe behind retaining edges and daylight it where allowed. Add filter fabric and free‑draining gravel to prevent clogging.
For soil stabilization, specify geogrid reinforcement, proper compaction, and planting pockets that won’t saturate. Your water management plan should prevent ponding, reduce erosion, and protect adjacent foundations and neighboring lots.
Pick Hardscape Materials by Cost and Look
Once your tiers and drainage plan are set, choose hardscape materials that balance upfront cost, long-term durability, and the look you want across retaining edges, steps, and paths.
Start by pricing the full system: base prep, caps, treads, edging, and delivery, not just unit costs.
Concrete block is budget-friendly and uniform; natural stone costs more but elevates garden design with unique texture.
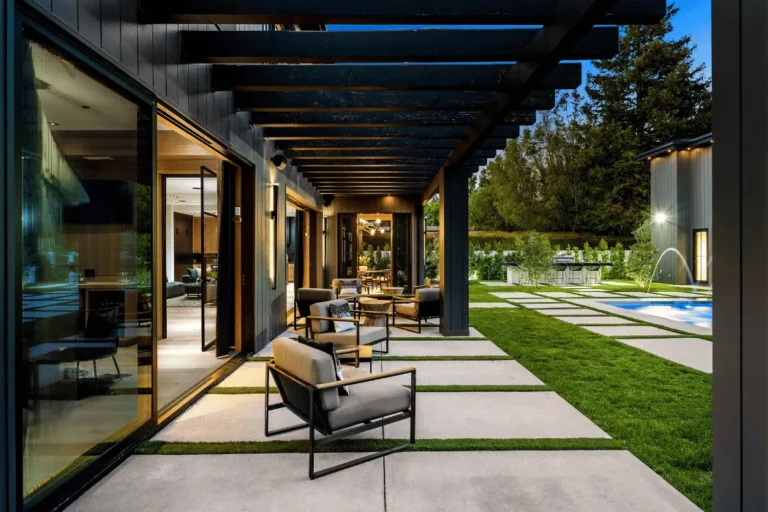
Poured concrete and large-format pavers sit midrange and give clean lines with predictable dimensions.
In freeze-thaw zones, prioritize low-absorption stone, dense pavers, and rated jointing products to reduce spalling and heave.
Match color temperature and surface finish across levels for aesthetic harmony, and repeat one “anchor” material while varying accents to control spend.
Request samples and view them wet/dry conditions.
Build Retaining Walls and Steps Safely
With hardscape materials selected, you can shift focus to building retaining walls and steps that handle soil pressure, water, and foot traffic without creeping, cracking, or tipping.
Start by excavating to undisturbed soil, then place a compacted gravel base and a level first course. Batter walls slightly back, interlock units, and use geogrid when height or slope demands it.
Install drain rock and a perforated pipe to daylight, keeping fines out with filter fabric so hydrostatic pressure can’t build.
Set step risers on the same compacted base, keep tread depth consistent, and pin caps where specified.
Before backfill, sleeve conduits for garden lighting and locate irrigation systems away from wall cores to prevent leaks and washout.
Verify local setbacks, permits, and load ratings.
Plant and Finish Each Level (Erosion, Paths, Lighting)
After you’ve locked in stable walls and steps, treat each terrace as its own mini-site by controlling erosion, defining circulation, and adding utilities that won’t compromise drainage.
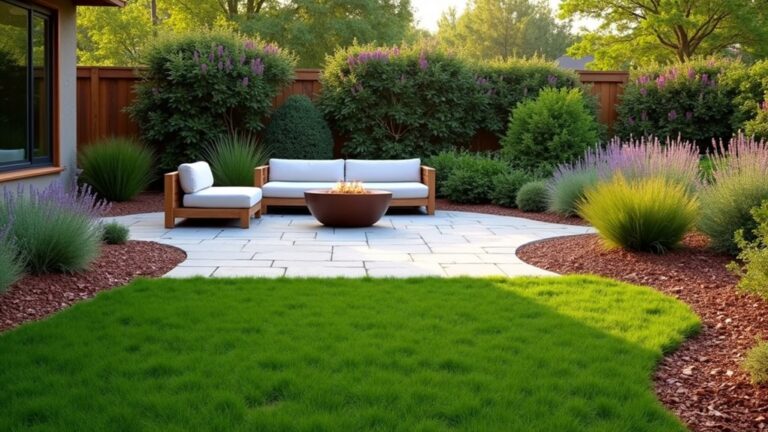
Start with soil armoring: pin jute netting on slopes, cap edges with stone, and topdress with shredded mulch to break raindrop impact. Your plant selection should match exposure and rooting needs—deep-rooted grasses for banks, drought-tolerant perennials on upper tiers, and moisture lovers near downspout outlets.
Define paths with a compacted base and permeable fines or pavers, and pitch them 1–2% to daylight, not toward walls.
Install drip lines before planting, then conceal valves in access boxes.
For lighting design, run low-voltage cable in conduit, set step lights to prevent glare, and keep fixtures above splash zones.
Frequently Asked Questions
How Long Does a Multi-Level Garden Hardscape Project Typically Take?
It can feel like forever, but you’ll typically need 2–8 weeks, depending on grading, walls, and permits. Plant selection and irrigation systems can add days, while weather, access, and inspections can extend timelines.
Do I Need Permits or HOA Approval for Terraces or Retaining Walls?
Yes—you often do. Check local codes for building permits tied to wall height, setbacks, and drainage; then confirm HOA approval for appearance, materials, and access. Submit stamped plans early to avoid stop-work orders.
What Maintenance Will Retaining Walls, Steps, and Pavers Require Annually?
Like tuning a bike, you’ll annually inspect retaining walls for bulges, clear weep holes, and regrade for Erosion prevention. You’ll reset steps, top up joint sand, seal pavers, and manage Plant integration roots/drainage.
How Can I Make Tiered Garden Areas Accessible for Strollers or Wheelchairs?
You’ll need ramps or gently graded Accessible pathways (aim for 1:20 slope; max 1:12), firm non-slip surfacing, 36–48” clear width, and frequent landings. Add Wide steps with handrails, contrasting edges, and lighting.
Will Multi-Level Hardscaping Increase My Property Value or Affect Resale?
Yes, it can boost resale if you design it well. You’ll raise appeal with solid Material selection and Landscape durability. But you’ll hurt value if drainage, permits, and maintenance seem risky. Keep access compliant.
About the Author