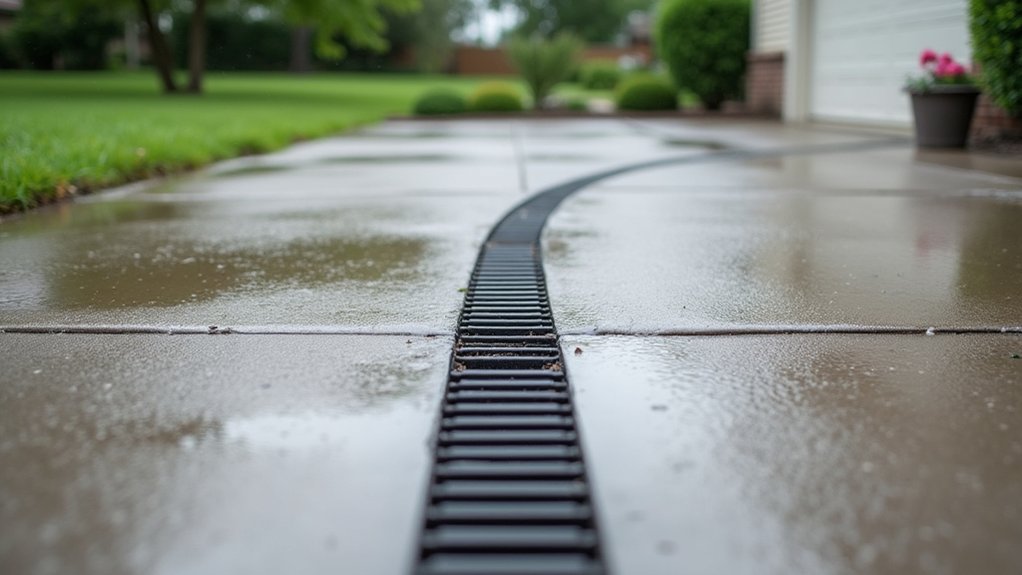
If you’re dealing with puddles on your driveway, you can’t fix it with guesswork—you need to track where the water starts, where it stalls, and where it should exit. You might be fighting a bad slope, roof runoff from short downspouts, or a low spot that needs a drain, not more patch. The cheapest fix isn’t always the right one, and the next step depends on your site’s layout…
Key Takeaways
- Identify pooling causes by watching light rain, marking low spots, clogged joints, and flow clues like silt lines or algae.
- Redirect downspouts with extensions or solid pipes to pop-up emitters, discharging into gravel beds away from the driveway.
- Regrade to 1/8–1/4 inch per foot slope, adding compacted fill to low areas and maintaining a subtle crown.
- Install channel drains at low points, connect to solid 4-inch outlet pipe, and use vehicle-rated grates with a stable base.
- Add edging or shallow curbs to stop washouts, and use catch basins at low points tied into the drainage outlet.
Find What’s Causing Driveway Pooling

If water keeps pooling on your driveway after a rain, start by figuring out what’s steering it there. Walk the site during a light storm and note where the first puddle forms, how fast it grows, and which edge overflows. Check for low spots, heaved slabs, clogged joints, or a crown that’s worn flat. Look for silt lines, algae, and tire-splash marks that reveal flow direction.
Next, test the soil beside the drive: dig a small hole and fill it with water to gauge drainage capacity. Slow percolation points to compaction or clay.
Inspect nearby slopes for soil erosion, rills, or exposed roots that can send sediment onto the surface and block runoff paths. Mark problem areas with paint.
Redirect Downspouts Away From the Driveway
Because roof runoff often dumps more water than your driveway can shed, start by checking where each downspout discharges and whether it’s aiming at the slab or the edge joint. If it is, add a hinged splash block, an elbow, or a 4-inch extension to push flow past the concrete and into a safe area.
For tight lots, run a solid drainpipe to a pop-up emitter in the yard, or tie into an approved storm line if codes allow. Keep the outlet away from walkways and neighbor fences, and use gravel or a small rock bed to prevent erosion.
For landscape integration, hide piping along foundation plantings. Balance performance with aesthetic considerations by matching blocks to stone or mulch and keeping lines neat.
Regrade the Driveway for Proper Slope
Downspout extensions help, but the driveway still needs the right pitch so water can’t pond or run back toward the garage. Aim for a consistent slope away from the house—about 1/8 to 1/4 inch per foot—and verify it with a long level or string line.
If low spots collect water, peel back loose gravel or cut down high edges, then add fill where needed.
Don’t skip Soil compaction: wet the base lightly and compact in thin lifts so it won’t settle and recreate dips.
For gravel drives, use Gravel layering—larger stone at the bottom, then smaller, then fines—to lock in shape and shed water.
Keep the crown subtle so tires don’t push material aside.
Add a Driveway Channel Drain (and Outlet)
When regrading and extensions still leave water crossing the slab or pooling at the garage, a channel drain gives you a hard “cutoff” line that captures runoff and sends it somewhere safe. Set it perpendicular to the flow at the low spot, typically in front of the garage door or where the driveway meets a walk.
Choose durable drainage materials: polymer concrete or HDPE channels with a rated grate for your vehicles. Tie the outlet into solid 4-inch pipe and daylight it downslope, or connect to a storm inlet where allowed—never to a neighbor’s yard.
Keep the trench shallow but stable with compacted base and concrete haunching. Build maintenance routines: lift the grate, clear sediment, and flush the outlet after big storms.
Install a French Drain for Constant Runoff
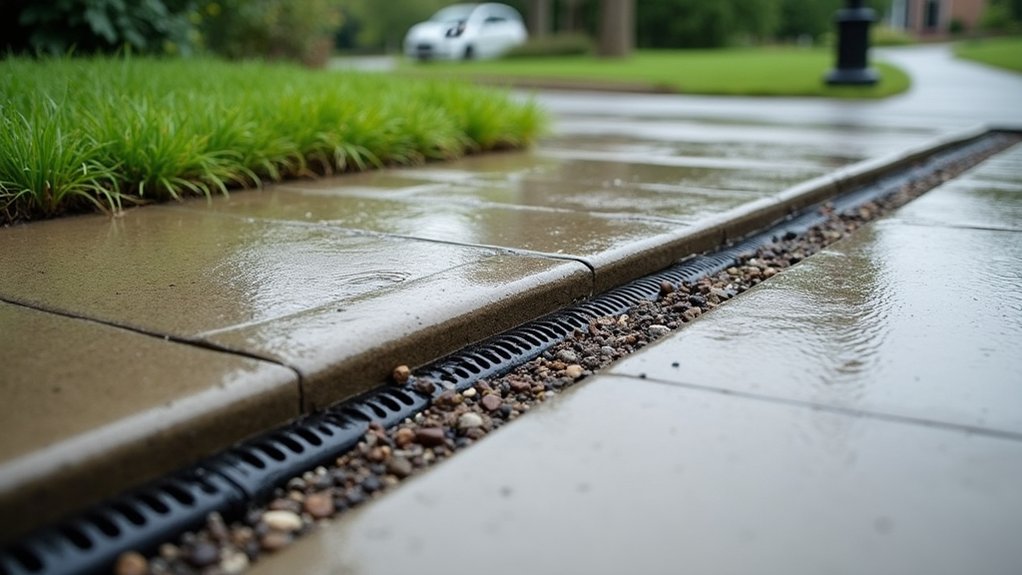
If you deal with steady runoff along the driveway edge or constant seepage toward the garage, a French drain gives you a simple, budget-friendly way to intercept that water below grade and move it downhill.
Mark the wet line, then trench 8–12 inches wide, 18–24 inches deep, keeping 1% slope to daylight or a solid pipe outlet.
Line the trench with geotextile, add 2–3 inches of clean stone, lay perforated pipe holes-down, then cover with more stone and wrap the fabric to block silt.
Near foundations, add Waterproof membranes on the wall before backfilling.
Finish with sod or Gravel landscaping to blend the edge and keep surface water from re-entering. Use clean, washed rock only.
Install Catch Basins for Low Spots
Because driveway low spots act like shallow bowls, a catch basin gives that trapped water a direct exit instead of letting it pond and creep toward the slab or garage. Set the basin at the lowest point you can confirm with a hose test, then cut the asphalt or concrete neatly so the grate sits flush and won’t snag tires or shovels.
Bed it in compacted gravel for stability and connect the outlet to solid pipe that ties into your existing drainage system or a daylight discharge. If you can’t outlet downslope, run it to a dry well sized for your soil; slow-draining clay needs more volume because soil absorption is limited.
Choose a removable grate so you can clear leaves and grit quickly.
Add Edging/Curb to Stop Driveway Washouts
Although water usually follows the easiest path, it’ll happily cut a new one along your driveway edge and wash out gravel, soil, or asphalt. Add edging or a low curb to lock the edge in place and keep runoff from undercutting it.
On gravel drives, install pressure-treated timber, steel, or recycled-plastic edging on the downhill side, anchored with rebar stakes every 3–4 feet.
For asphalt or concrete, set a shallow concrete mow-strip or paver curb on compacted base, tied into the shoulder so it can’t tip. Keep the curb slightly higher than the driveway edge, but notch a few spots where you want water to exit safely.
These landscaping tips also boost driveway aesthetics by creating clean lines and protecting adjacent beds.
Choose the Right Driveway Drainage Fix (DIY vs Pro)
When you match the fix to your driveway’s slope, surface, and soil type, you’ll spend less and get results that last. Start DIY if water only sheets across pavement: regrade the shoulder, add a shallow swale, clean gutters, or extend downspouts. These are low-cost and protect landscaping aesthetics without heavy equipment.
If you see erosion channels, heaving, or water pooling against the garage, call a pro. You’ll likely need a trench drain, catch basin tied to solid pipe, or a re-pour with proper pitch—mistakes get expensive fast.
For gravel drives on clay, a pro can add geotextile and a crowned base. Finish with driveway sealing once drainage works, so water can’t penetrate and freeze-split.
Frequently Asked Questions
Do Driveway Drainage Fixes Require a Permit or Inspection in My Area?
You might need a permit or inspection; it depends on your city and whether you alter runoff, curb cuts, or pipes. Check local building and stormwater rules before Driveway grading. Start Drainage planning with your inspector.
Which Drainage Solutions Work Best in Freezing Climates With Heavy Snowmelt?
In freezing climates, you’ll love trench drains to a dry well—because who doesn’t want an ice rink? Add buried solid pipe below frost, proper slope, and cleanouts for snow melt management and freeze thaw resilience.
How Can I Prevent Clogs From Leaves, Silt, and Driveway Debris?
Prevent clogs by installing Debris barriers at inlets, adding a removable grate, and setting a weekly Gutter cleaning routine. You’ll also shovel leaves before storms, vacuum silt seasonally, and flush lines with a hose.
What Maintenance Schedule Keeps Drains Working Year-Round Without Backups?
You’ll keep drains working year-round by checking monthly, after big storms, and each spring/fall. Use a Maintenance checklist: clear grates, flush lines, inspect slope, remove silt. This boosts Drainage system longevity and prevents backups.
Will Adding Drainage Features Affect My Driveway’s Warranty or Home Resale Value?
Adding drainage can affect warranties and resale impact if you ignore specs. You’ll protect value by using permitted materials, licensed installers, and documented plans. Check your builder’s terms, HOA rules, and local soil/slope conditions.
About the Author