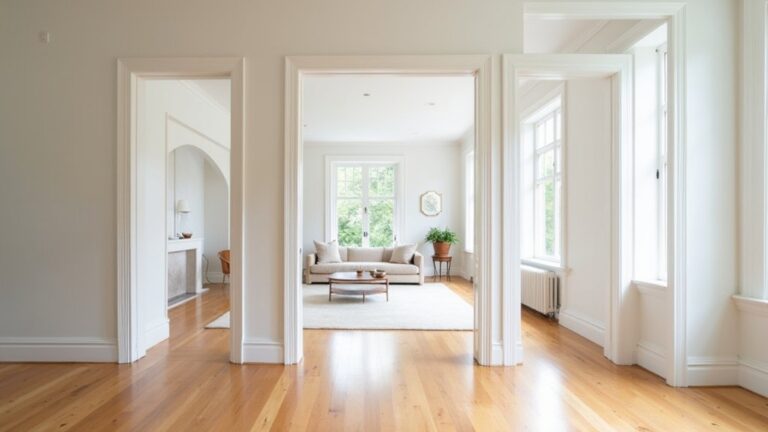
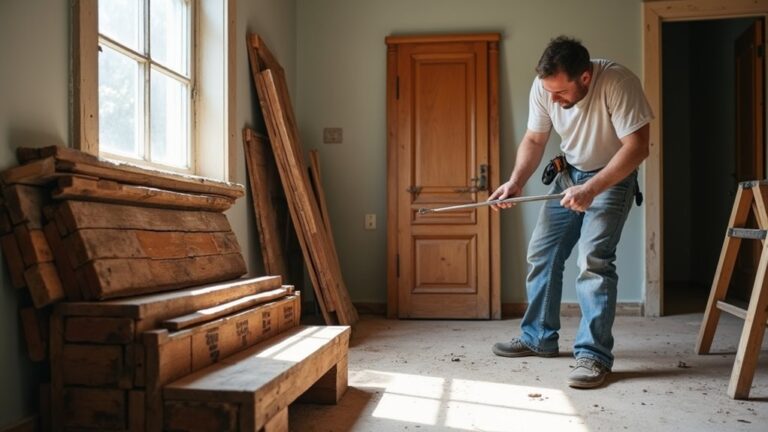
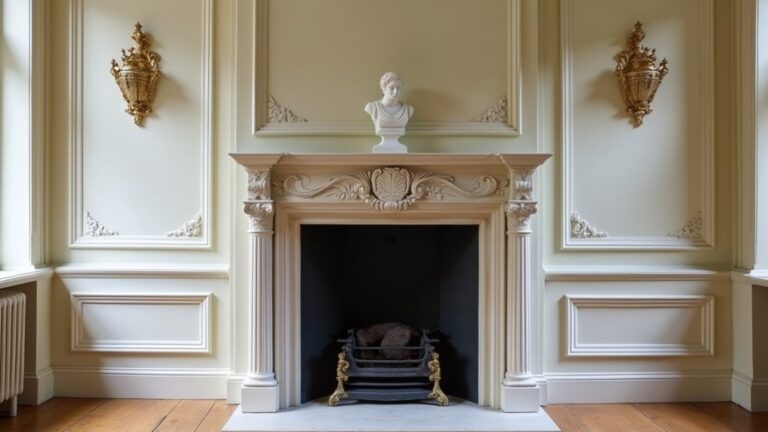
In a 1920s bungalow, you find fir boards with a deep amber tone, tight grain, and a few soft squeaks near the hallway. You don’t need aggressive sanding to make them “new”; you need controlled cleaning, selective board stabilization, and repairs that match species, cut, and wear pattern. Then you choose a low-sheen, breathable finish that protects without sealing in plastic shine. The question is which steps you take first—and which mistakes you avoid.
Is Your Solid Wood Floor a Candidate for Restoration?
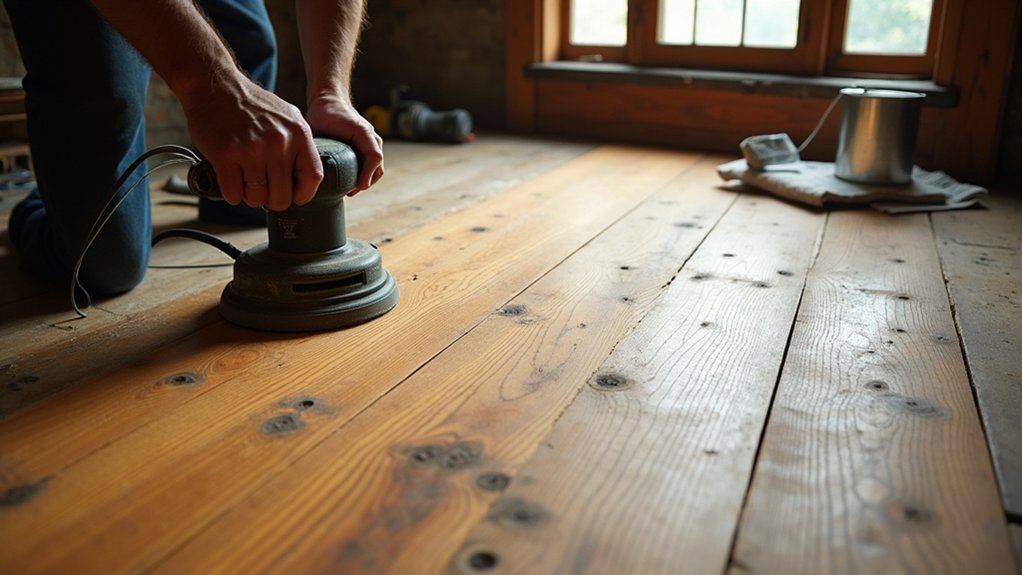
Before you plan a refinish, you need to confirm your solid wood floor still has enough material—and structural stability—to justify restoration. Measure remaining wear layer above the tongue: you’ll want roughly 3–4 mm for safe sanding, more if boards are cupped.
Check for active movement, springy joists, or widespread delamination at seams; you can’t “finish” your way out of a failing substructure. Probe for rot at exterior doors, plumbing runs, and chimney lines, and map moisture with a meter to verify the source is solved.
Identify species and original cut to protect Historical authenticity and resale value. If you can repair boards selectively, you’ll lower Environmental impact by avoiding full replacement and keeping embodied carbon in place.
Clean Solid Wood Floors Without Stripping Patina
Although a deep clean can make tired boards look dramatically better, you’ll protect the floor’s value only if you remove grime without erasing the patina that signals age, species character, and prior handwork.
Start with Dust prevention: vacuum with a soft brush, then dry-mop microfiber to pull grit from pores and joints.
Spot-test every cleaner in a closet; avoid high-alkaline products, steam, and soaking water that can lift historic oxidation.
Use a pH-neutral wood soap diluted exactly, applied with a barely damp pad, and wipe dry immediately.
For black heel marks, use mineral-spirits on a cloth, not a scrub pad.
Track Color matching by cleaning one bay at a time so you can compare sheen and tone before proceeding, and stop once the grain reads clean.
Stabilize Loose Boards and Quiet Squeaks
When boards shift underfoot, they don’t just telegraph neglect—they grind fasteners, widen joints, and accelerate edge wear that’s expensive to reverse. Start by finding movement: walk slowly, mark squeak points with painter’s tape, and note whether the noise comes from board-to-joist friction or board-to-board rub.
For board tightening, re-seat boards with finish nails or trim screws driven into joists, but pre-drill to avoid splitting and keep heads below the surface. Where you can access from below, add blocking or shims to eliminate deflection without disturbing the face.
For squeak repair, apply powdered graphite at tight seams, and use a construction-adhesive bead between joist and subfloor from underneath. Confirm silence before moving on.
Patch and Blend Repairs So They Disappear
Once the floor feels solid underfoot, you can make repairs vanish by treating patches as part carpentry, part color-matching. Start by cutting damage back to sound, square edges, then fit a donor piece with the same species, grain direction, and growth-ring density. Plane thickness to sit flush; a proud patch telegraphs in raking light and hurts value. Use hide glue or a reversible adhesive so future work stays serviceable.
For Color matching, test stains or dyes on offcuts, then tune with glaze-like wipes until the patch reads as “aged,” not “new.”
For Seam blending, undercut edges slightly, burnish the joint, and fill hairline gaps with tinted wax or shellac stick. Finish with light abrasion to equalize sheen and texture.
Choose Finishes That Protect and Keep Patina
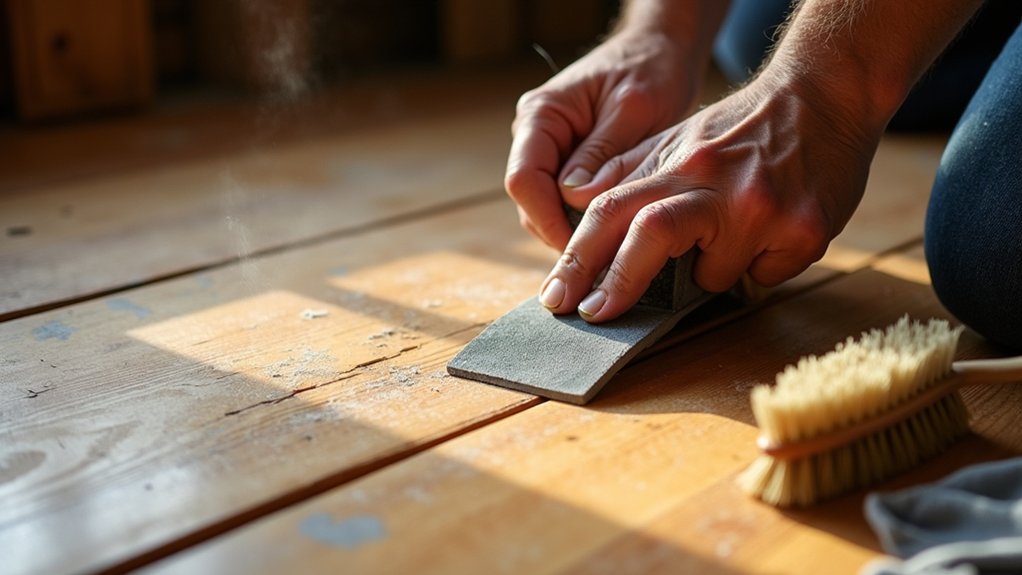
Clean patches and invisible seams only hold their value if the finish protects the floor without erasing its age. You’ll preserve patina by choosing films and oils that add abrasion resistance while staying optically thin, not plastic-looking. Favor matte or low-sheen; high gloss telegraphs repairs and devalues period character.
For Historical preservation, match the original system when practical: shellac or wax where historically appropriate, or a breathable hardwax oil for lived-in warmth. If you need maximum durability, use a high-quality waterborne polyurethane in matte; it won’t amber like old varnish and it keeps grain legible.
Prioritize Eco friendly finishes with low VOCs, and confirm compatibility with existing residues before coating. Always test samples under final lighting.
Frequently Asked Questions
How Much Does Solid Wood Floor Restoration Typically Cost per Square Foot?
You’ll typically pay $3–$8 per square foot, depending on Floor sanding intensity, repairs, and Finish options. You’ll boost home value most when you choose durable coatings and minimize board replacement to control costs.
How Long Does Restoration Take, and When Can Rooms Be Used Again?
You’ll need 3–7 days; you can walk in socks after 24 hours, move furniture in 72, and rugs after 7–14 days. Like my neighbor’s “cookie bake,” patience sets value. Plan timeframe expectations and room usability.
Can I Restore Floors Safely While Living in the Home?
Yes, you can, but you’ll need strict dust control, ventilation, and room-by-room isolation. Use low-VOC finishes, avoid DIY techniques that spread dust, and hire professional contractors to protect health, time, and resale value.
Will Restoration Increase My Home’s Resale Value or Appraisal?
Yes—restoration often boosts resale and appraisal when you document work and match buyer expectations. You’ll maximize value by choosing durable floor finish options and justifying restoration vs replacement with comparable sales and inspector notes.
Do I Need Permits or Historic Approval for Restoring Original Wood Floors?
You might not need permits, but you must check local Historic regulations and Permit requirements. If you’re in a designated district, get commission approval. Document work scope; compliant restoration protects appraisal credibility and resale value.
About the Author