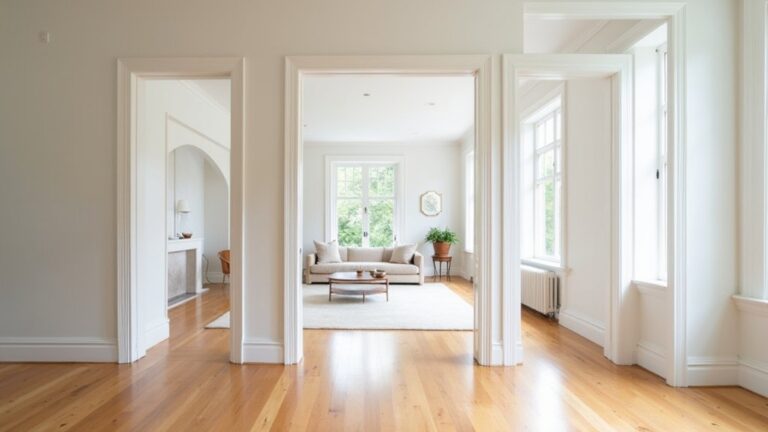
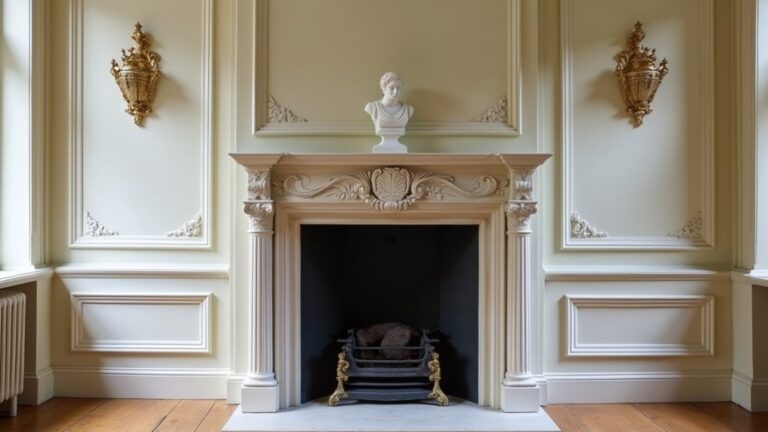
In many UK homes, a worktop-and-doors swap can deliver around 70% of the visual impact of a full kitchen refit for a fraction of the cost. You keep the layout, upgrade the surfaces, and sharpen the detailing where your eye lands most. You’ll compare quartz, timber, and modern laminates on thickness, edge profiles, and maintenance, then pair them with slab or slim Shaker fronts, soft-close hinges, and low-profile pulls. The key decision comes next…
Key Takeaways
- Confirm cabinet boxes are square, stable, and layout stays unchanged before investing in new fronts and worktops.
- Measure every opening, hinge position, and filler requirement, and finalise worktop thickness early to avoid fit and alignment issues.
- Choose modern slab or slim-Shaker fronts with soft-close hinges and consistent handle spacing for a clean, contemporary look.
- Select a durable worktop—quartz, wood, or quality laminate—and template after cabinets are aligned and first-fix electrics are complete.
- Phase the job (demo, services, fitting, snagging), manage dust and access, and label parts to streamline reassembly and finishing.
Is a Worktop-and-Doors Refresh Right for You?

If your cabinet boxes are still square, stable, and well-anchored, a worktop-and-doors refresh can deliver a near-new-kitchen look without a full rip-out. Check carcass edges for swelling, hinge-side screw bite, and plinth alignment; if they hold, you’re a strong candidate.
You’ll get maximum impact when layouts work but surfaces look dated, or when you want trend-forward slab fronts, reeded panels, or slim Shaker profiles paired with a 20–30 mm quartz, sintered stone, or compact laminate top.
Plan tolerance around sinks and hobs, confirm end panels, and spec soft-close hinges to match existing drilling. If you’re keeping Vintage appliances, you can colour-match fronts and coordinate metal finishes.
Skip it if wall removal will change runs.
Plan the Refresh Without Moving Kitchen Units
Because you’re keeping the cabinet runs exactly where they are, you’ll get the cleanest result by treating this refresh like a precision overlay project: measure every opening (width, height, reveal gaps, and end-panel returns), map hinge positions and drilling patterns, and lock in worktop thickness before you order fronts.
Confirm your Kitchen layout works with today’s clearances: check door swing arcs, drawer pull-outs, and corner-unit access against handles and adjacent panels.
Audit appliance placement in detail—integrated fridge and dishwasher door heights, oven cut-out alignments, and hob-to-wall offsets—so new fronts don’t foul vents or service voids.
Square and level runs with packers, then template for scribe lines at walls and floors.
Finally, plan fillers, cover panels, and plinth heights for a seamless, contemporary shadow-gap look.
Choose Kitchen Worktops: Quartz vs Wood vs Laminate
Once your cabinet runs are square, levels are packed out, and filler panels are set, the worktop becomes the main visual line that modernises the whole kitchen.
Pick quartz when you want crisp edges, minimal veining, and high material durability; it resists staining and heat, and it suits slim profiles with undermount sinks and tight 1–2mm joints.
Choose wood for tactile warmth and on-trend Scandinavian or Japandi schemes, but plan for oiling, careful wipe-downs, and extra protection around hobs and sinks.
Go laminate for budget-led updates: modern HPL gives realistic stone or timber prints, soft-matt textures, and easy DIY trimming, yet it’s weakest at exposed edges and hot pans.
Match thickness, colour temperature, and splashback height for design compatibility.
Update Kitchen Cabinet Doors (Fronts) and Hinges
To modernise your kitchen fast, you’ll get the biggest visual lift by swapping cabinet doors for flat-slab or thin-shaker fronts in matte lacquer, textured laminate, or veneered oak.
You can pair them with concealed, soft-close hinges (clip-on, 110–155° opening, 3D adjustment) to tighten reveals, improve alignment, and eliminate door slap.
Finish the upgrade with streamlined pulls or true handleless rails, and spec consistent hole spacing so your hardware looks intentional and current.
Choosing Modern Cabinet Fronts
How do you make dated cabinets read instantly modern without tearing out the boxes? Start by selecting new fronts that match your kitchen’s architecture and worktop profile.
For a crisp, contemporary look, choose flat slab or thin-shaker doors with tight reveals and minimal edge radii.
Prioritise Cabinet material: matte lacquered MDF for seamless colour, thermofoil for wipe-clean durability, or veneered plywood for warm grain and stable cores.
Specify consistent thickness and a clean perimeter profile so light lines stay sharp.
Nail style coordination by echoing worktop undertones—cool grey with white quartz, honey oak with beige stone—and repeating one finish across tall units and base runs.
Order samples and view them under both daylight and task lighting before committing.
Upgrading Hinges And Hardware
Even if you keep the existing cabinet boxes, swapping in concealed soft-close hinges and modern hardware instantly sharpens the “new kitchen” read because it tightens alignment, motion, and sightlines.
Specify 110° or 155° cup hinges to match door overlay and clearance, then use clip-on plates so you can fine-tune height, depth, and side-to-side reveals in minutes.
Add integrated dampers or full soft-close hinges to stop bounce and protect your new fronts.
Upgrade handles with consistent centre-to-centre drilling; slim pulls in brushed brass, black, or stainless suit current minimal profiles.
Prioritise ergonomic design: longer pulls reduce pinch grip, and edge pulls keep lines clean.
For Smart storage, fit lift-up stays, pull-out larder runners, and soft-close drawer slides for quieter, smoother access.
Match Colours, Finishes, and Handles to Your Worktop
Because your worktop covers the largest horizontal surface in the room, it should set the palette and hardware spec rather than compete with them.
Start with Color coordination: pull two tones from the slab’s veining or speckle, then apply one to door fronts and the other to splashback paint or a feature panel.
Keep contrast intentional—high-contrast quartz suits flat matt doors; busy granite works best with quieter fronts.
For finish matching, align sheen levels: pair polished stone with satin lacquer or glass, and honed or matte worktops with super-matt or soft-touch fronts to avoid patchy reflectance.
Choose handles that echo the worktop’s undertone: warm brass for beige/cream, brushed nickel for grey, black for dramatic white.
Keep one metal throughout.
Measure and Template Kitchen Worktops and Doors
Once you’ve locked in the worktop material and door style, measure and template with installation tolerances—not showroom dimensions—in mind. Verify wall straightness, corner squareness, and floor level, then decide where you’ll scribe or pack out.
Template cut-outs for sinks, taps, and hobs from manufacturer specs, not nominal sizes, and mark service voids for appliance integration.
For cabinet fronts, record carcass widths, hinge cup positions, and reveal gaps so modern tight-shadow lines stay consistent. Check plinth heights and filler panels at tall units to avoid binding doors.
If you’re adding a decorative backsplash, confirm finished worktop height plus splash thickness, grout line, and any upstand so mitres align cleanly with end panels and returns.
Keep Costs, Timelines, and Disruption Under Control
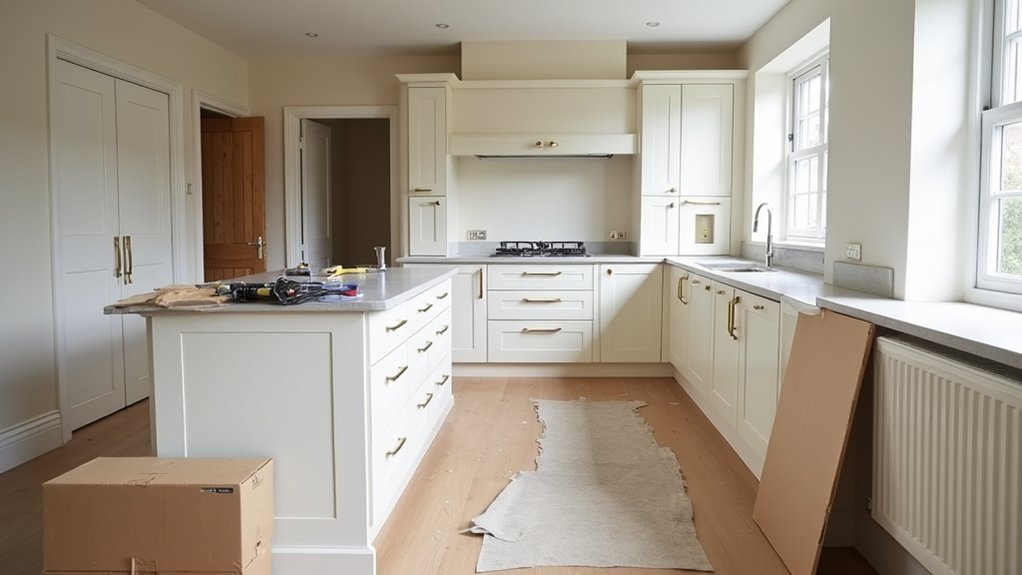
You’ll keep a modern kitchen upgrade on track by setting a realistic budget that covers fixtures, labour, contingencies, and today’s longer lead times for cabinets and appliances.
You can cut overruns by sequencing installation into efficient phases—demo, first-fix services, floor/wall finishes, then fit-out—so trades don’t clash and rework stays minimal.
You’ll also minimise day-to-day disruption by setting up a temporary prep zone, scheduling utility shutdowns in short windows, and keeping dust and noise controlled with barriers and extraction.
Set A Realistic Budget
Before you pick finishes or appliances, set a realistic budget that reflects today’s material inflation, labour availability, and lead times. Then bake in a 10–20% contingency for hidden issues like uneven subfloors, outdated wiring, or plumbing reroutes.
Start with budget planning that itemises worktops, cabinet fronts, templating, edge profiles, splashbacks, sink cut-outs, and disposal of old materials, plus VAT and delivery.
Drive material selection with lifecycle value: quartz and sintered stone resist staining and heat, while hardwood needs sealing and maintenance.
Compare laminate-front upgrades versus bespoke doors, and price hinges, soft-close runners, handles, and internal storage inserts.
Use realistic allowances for fabrication tolerances, colour-matched silicones, and filler panels so you don’t get hit with “small” extras later.
Plan Efficient Installation Phases
Although a kitchen refresh can look like a single project on paper, you’ll keep costs and downtime predictable by breaking the work into tight, sequenced installation phases with clear handoffs between trades. Start with laser-measured templating, then schedule cabinet-front swapping before worktop fit so carcasses stay square and fixings align.
Lock lead times for Eco friendly materials early (FSC ply, recycled composite, low-VOC finishes) and confirm batch numbers to avoid colour drift. Next, coordinate first-fix electrics for Innovative lighting—under-cabinet channels, toe-kick LEDs, and driver locations—before final worktop scribing and sealing.
Plan one inspection checkpoint per phase: substrate flatness, moisture, and silicone cure. Finish with hardware, edge trims, and snagging, and close out with warranty docs and photos.
Minimise Everyday Kitchen Disruption
While the trades modernise your kitchen, keep daily life running by setting up a temporary “micro-kitchen” (kettle, microwave/air fryer, washing-up tub, and a sealed food tote) and ring-fencing one uninterrupted access route to the sink or an alternate wash station.
Lock in a written sequence: templating, worktop fit, plumbing reconnect, then cabinet-front swaps, so you don’t pay for repeat visits.
Ask for dust control (zip-wall, negative-air fan, tack mats) and schedule loud cutting mid-day.
Label every drawer box and hinge plate, then park them in Smart storage bins to prevent mix-ups.
Choose Eco friendly materials with low-VOC adhesives and factory-finished fronts to cut curing time.
Protect floors with Ram Board, cap services nightly, and confirm tomorrow’s access points before the crew leaves.
Frequently Asked Questions
Do I Need Planning Permission to Replace Worktops and Cabinet Fronts?
You typically don’t need planning permission to replace worktops and cabinet fronts. Check building regulations and structural considerations if you move plumbing, electrics, or walls. Follow fire-safety clearances, ventilation specs, and material certifications for compliance.
Can I Reuse Existing Sinks, Taps, and Appliances With New Worktops?
Yes, you can reuse them if you verify sink compatibility and appliance integration. You’ll confirm cut-out sizes, mounting clips, tap hole diameters, and hose reach, then check clearances, ventilation gaps, and service access before templating.
What Warranties Come With Quartz, Wood, or Laminate Worktops?
You’re in safe hands: quartz typically includes 10–25-year warranties; wood offers 1–10 years, often finish-limited; laminate runs 2–10 years. Compare warranty coverage exclusions, and tie terms to material durability, heat, stains.
How Do I Dispose of Old Worktops and Cabinet Doors Responsibly?
You’ll dispose of old worktops and cabinet doors responsibly by sorting materials, using recycling tips, and choosing proper disposal methods: council bulky-waste pickup, licensed skip, or reuse. Salvage hinges, separate MDF, wood, metal, laminate.
Should I Upgrade Kitchen Lighting When Updating Worktops and Doors?
Yes, you should—it’s like swapping a lantern for LEDs. A Lighting upgrade boosts task visibility and delivers aesthetic enhancement, aligning with new surfaces. Specify 3000–3500K, high-CRI downlights, under-cabinet strips, and dimmers for layered control.
About the Author