A stone wall is your garden’s backbone, and if you build it wrong, it’ll fail under frost and runoff. You’ll choose dry-stack or mortar based on budget, soil movement, and how much drainage you can install. You’ll cut costs by using local stone, but you can’t skip a compacted trench, gravel base, and safe lifting practices. Before you set the first course, you need to decide one thing that determines whether the wall stays straight or starts to lean…
Key Takeaways
- Choose dry-stack or mortared construction based on budget, drainage needs, climate, and your skill level.
- Excavate a trench below frost line or at least 6–8 inches, wider than the wall, and compact the soil.
- Add 4–6 inches of compacted angular gravel; use filter fabric and perforated drain pipe in wet soils to relieve pressure.
- Stack from largest stones upward, keep courses level, stagger joints, maintain batter, and add tie stones every 3–4 feet.
- Repair by dismantling to stable courses, rebuild the base with gravel drainage, reset stones with batter, and finish with solid capstones.
Choose Your Garden Stone Wall Style (Dry-Stack vs. Mortar)
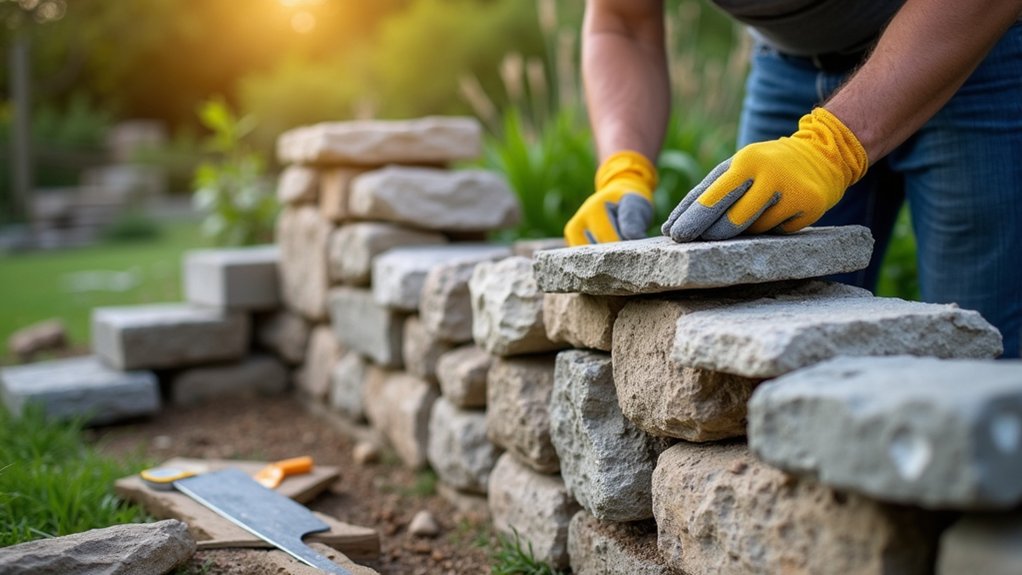
Before you buy stone or schedule equipment, you’ll need to choose between a dry-stack wall (no mortar) and a mortared wall, because that decision drives your material costs, labor time, drainage needs, and failure risks.
Dry-stack uses gravity, tight stone fit, and batter; you’ll spend more time sorting and shaping, but you’ll save on mortar, mixers, and cleanup.
Mortared walls go up faster once you stage stone, yet you’ll pay for cement, sand, additives, and skilled labor, and you must control curing and joint quality.
For garden wall materials, match stone hardness to climate and load: softer limestone chips, while granite lasts.
Compare decorative stone options by thickness and face finish; thin veneer needs a stable backing.
Wear eye, glove, and dust protection always.
Dig the Trench: Depth, Gravel, and Drainage
Once you’ve picked dry-stack or mortar, you can’t cut costs by skimping on the trench—its depth, gravel base, and drainage determine whether the wall settles, heaves, or holds. Excavate below frost line where required; otherwise, dig at least 6–8 in. plus a buried base course, and widen the trench 2–3 in. per side to reduce edge sloughing.
Keep sides stable; wear eye protection and gloves, and call utility locating before digging.
For foundation preparation, rake level, then achieve soil compaction with a hand tamper or plate compactor, especially in fills. Add 4–6 in. of angular 3/4-in. crushed gravel, compact in lifts, and slope slightly to daylight.
Install perforated drain pipe and filter fabric in wet soils to prevent hydrostatic pressure.
Stack Stones: Batter, Tie Stones, and Capstones
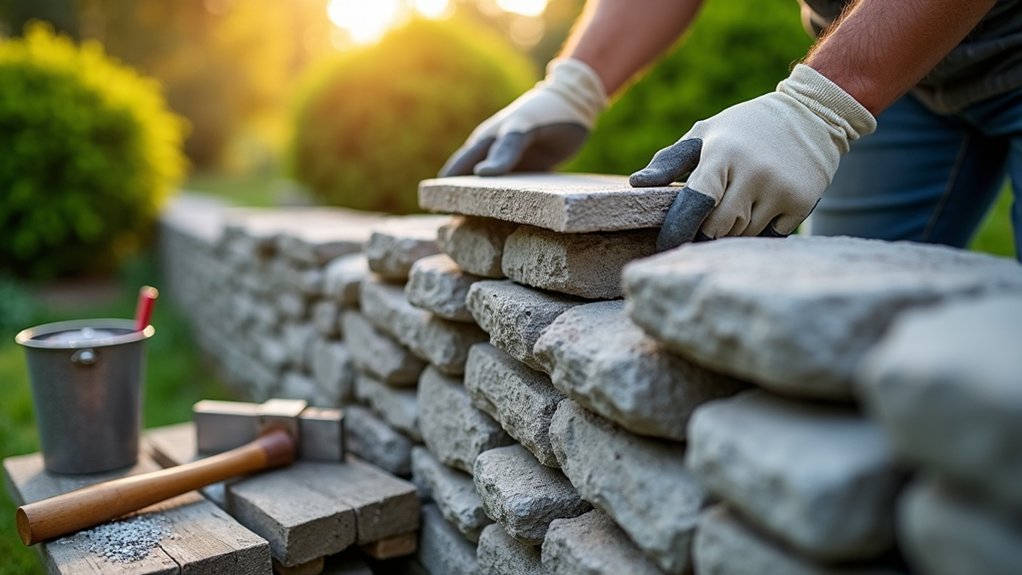
With the trench leveled, compacted, and draining properly, you can start stacking stone in a way that resists bulging without wasting material. Set the largest, flattest stones first, tight to the face, and keep each course level.
Maintain a consistent batter angle by stepping the face back slightly every course; a simple string line saves time and prevents rework.
Stagger vertical joints and pack hearting stone into voids to lock pieces without buying extra rock.
Plan tie stone placement every 3–4 feet and at least every other course. Use long stones that run from face to back, bridging the wall’s width for strength.
Finish with heavy capstones, bedded solidly, and avoid overhangs.
Wear gloves, lift with legs, and keep fingers clear.
Repair a Garden Stone Wall: Leaning, Loose, or Cracked
Although a stone wall can look solid for decades, a lean, loose stones, or cracking usually means the base has shifted or the wall has lost interlock, and patching the face won’t last. Rope off the area, wear gloves and eye protection, and dismantle down to stable courses.
Reuse sound stones to cut cost, but replace spalled units and any failed caps. Excavate to frost depth if movement is seasonal, then rebuild on compacted gravel with drainage fabric to prevent washout.
Reset stones with proper batter and add tie stones every few feet for stiffness. After rebuild, do Moss removal with a stiff brush, not acids that weaken mortar. Finish with breathable stone sealing only where water ingress drives damage.
Frequently Asked Questions
How Do I Estimate the Total Cost of a Garden Stone Wall?
You estimate total cost by measuring wall length/height, calculating stone and mortar volumes, then running cost estimation and material budgeting. Like a careful quartermaster, you add labor, base prep, drainage, delivery, permits, PPE, contingency.
Do I Need a Permit or HOA Approval to Build a Stone Wall?
You might need Building permits and HOA regulations approval, depending on wall height, setbacks, and location. You should check your municipality and HOA first; skipping approvals can trigger fines, teardown costs, and safety liability issues.
What Stone Types Are Best for My Climate and Freeze-Thaw Cycles?
Picture it first—you won’t waste money: in freeze-thaw climates, choose dense granite, basalt, or quartzite; avoid porous limestone/sandstone. Focus on Choosing durable materials and Selecting regional stone types; you’ll cut hauling costs and reduce spalling hazards.
How Can I Prevent Weeds, Moss, or Insects From Inhabiting the Wall?
You’ll stop weeds, moss, and insects by tightening joints, adding gravel backfill and geotextile for weed control, improving drainage for moss prevention, and sealing caps. Wear gloves, use low-tox borate, budget sealant reapplication.
How Do I Safely Move and Lift Heavy Stones Without Injury?
Over 1 in 4 back injuries happen during lifting; you’ll avoid that by planning lifts, keeping stones close, and using legs. Apply proper lifting techniques, wear safety gear, and rent a dolly to cut costs.
About the Author