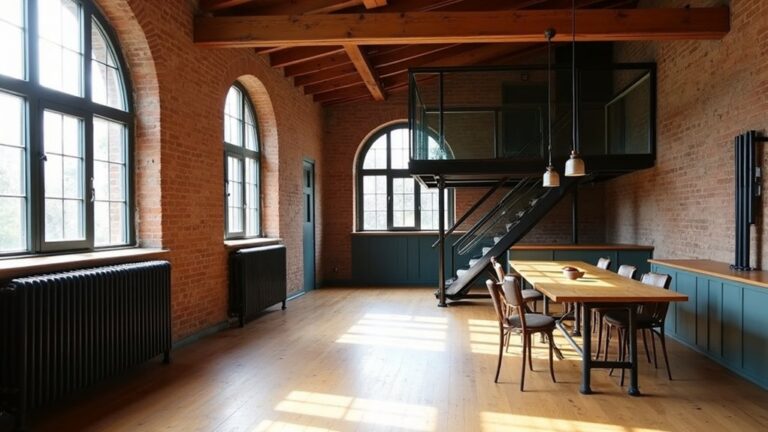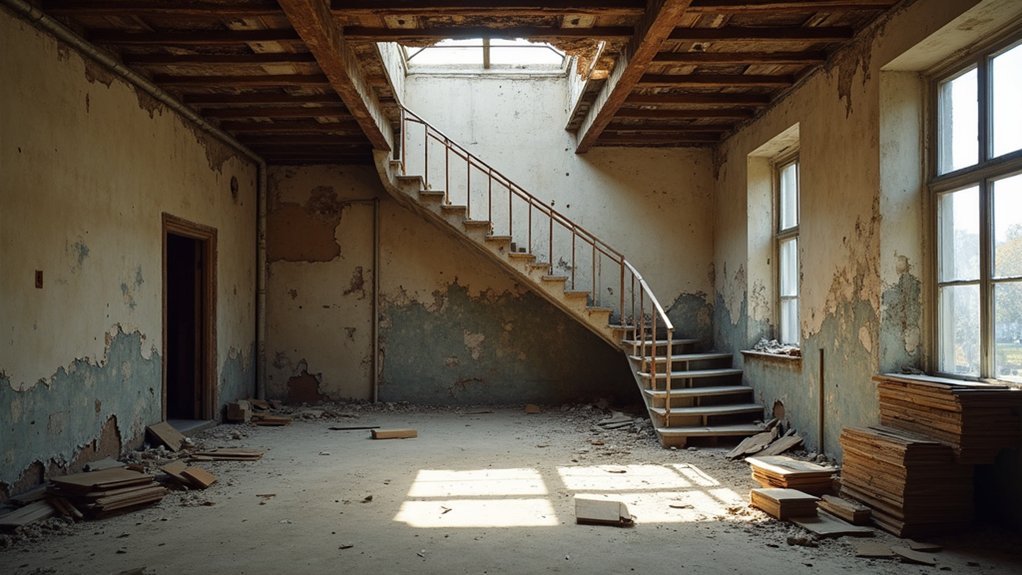
By coincidence, the day you find a vacant brownstone is also the day a roof leak shows up on your inspection photos. You start with a safety walkthrough, secure entries, and log hazards with dates and locations. You bring in a structural engineer, licensed electrician, and abatement pro before you touch plaster or wiring. You map load paths, document original fabric, and plan system upgrades with minimal demolition and permits in mind—but the first critical decision comes sooner than you expect.
Key Takeaways
- Start with daylight hazard and structural assessments; photograph, measure, and label cracks, rot, standing water, mold odors, and unsafe stairs.
- Secure and control the site: change locks, board openings, post “No Entry” signs, log entries, and keep egress routes clear.
- Verify gravity and lateral load paths before demolition; map beams, bearing walls, columns, and foundations to prevent unintended collapse.
- Test and manage lead, asbestos, and mold using accredited labs; isolate zones with poly, negative pressure, HEPA filtration, and licensed abatement when required.
- Engage licensed pros and plan approvals early: structural engineer and electrician reports, permits/landmarks, 15–25% contingencies, and phased minimal-demolition system upgrades.
Do a Safety Walkthrough and Secure the Site
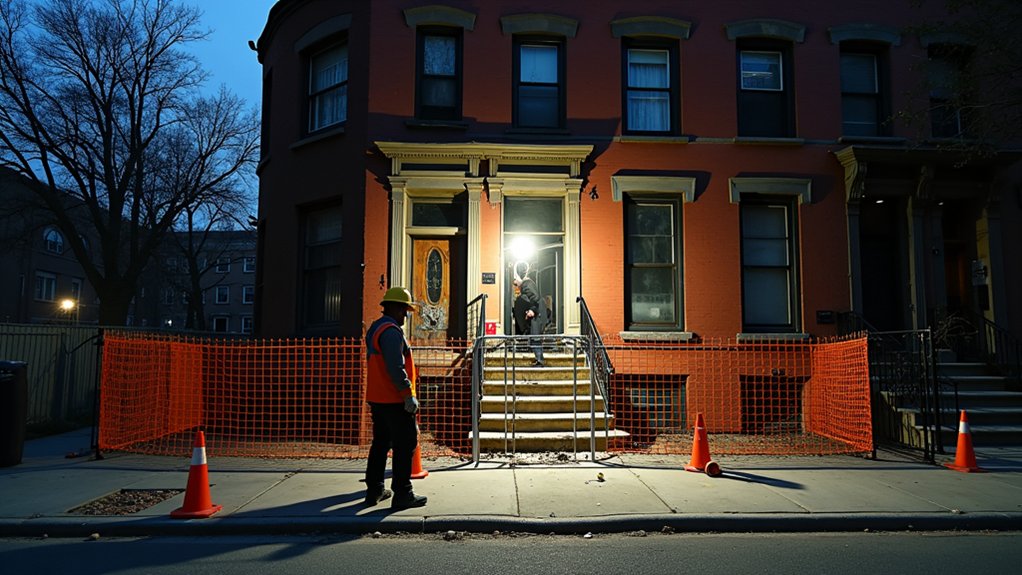
Before you pick up a trowel, you need to confirm the site won’t injure you or anyone nearby. Start with a daylight Hazard assessment: photograph each room, note sagging joists, spalled brick, loose lintels, standing water, and mold odor.
Test every stair and landing with a firm heel tap before committing weight. Trace overhead risks—plaster keys, ceiling cracks, unsecured chimneys—and mark no-go zones with tape. Verify ventilation and exits; keep a clear egress path and a charged extinguisher.
Then implement security measures. Change or add temporary locks, board broken openings from the inside, and post “No Entry” signage. Use battery lights for visibility, log entries, and secure tools to deter theft.
Call the Right Pros: Engineer, Electrician, Abatement
Once you’ve stabilized access and documented hazards, bring in licensed professionals to validate what your walkthrough can’t: structural capacity, electrical safety, and regulated contaminants.
Hire a structural engineer to review visible distress, moisture impacts, and foundation movement, then issue a stamped report you can permit against. For Historic preservation, ask them to flag character-defining elements and note temporary shoring needs without altering original fabric.
Bring a licensed electrician to test service integrity, panel condition, knob-and-tube remnants, and ungrounded circuits; insist on written load calculations that support Modern integration.
Finally, contract certified abatement crews to sample for asbestos, lead, mold, and vermin waste using lab results, containment plans, and clearance documentation. Require certificates, insurance, and city-compliant disposal manifests.
Map Structure and Load Paths Before Demolition
Before you remove anything, you map how gravity and lateral loads travel from roof and floors through beams, bearing walls, columns, and down to foundations.
You document what’s actually there—member sizes, spans, connections, material condition, and any prior alterations—using measured notes, photos, and markups on the plan.
You then choose temporary shoring locations that intercept those primary load paths and sequence them so loads stay supported throughout the demolition.
Identify Primary Load Paths
Even if you’re enthusiastic to start pulling finishes and opening walls, you’ll get safer, cleaner results by first mapping the structure’s primary load paths—how gravity and lateral forces travel from roof and floors through beams, joists, bearing walls, columns, and foundations to the ground.
Begin with a quick load path analysis: ask what elements “collect” floor/roof loads, what “transfer” them, and what “deliver” them into masonry footings.
Use structural mapping to flag likely bearing lines: party walls, front/rear masonry walls, stair hall walls, and any aligned posts or girders.
Then consider lateral stability: which walls act as shear panels, where diaphragm forces go, and how openings interrupt them.
Before you cut, verify continuity—misaligned members and rot can reroute loads suddenly.
Document Existing Structural Elements
Now that you’ve traced the primary load paths in your head, lock them down on paper so demolition doesn’t erase the evidence. Start with a room-by-room sketch plan and a simple section per party wall, labeling joist direction, beam sizes, bearing points, and masonry thicknesses.
Photograph every intersection: beam pockets, ledger boards, lintels, stair stringers, and any spliced or notched members; include a tape measure in-frame. Mark cracks, out-of-plumb walls, rot, insect galleries, and prior repairs with dates and locations for your Structural assessment.
Pull permits, old tax photos, and fire insurance maps as Historical documentation, then reconcile them with what you see. Number elements, tag photos to that index, and store everything in a shared folder with backups.
Plan Temporary Shoring Locations
Once you’ve indexed the existing structure, lay out temporary shoring on the same drawings by tracing each load path to a safe landing point and marking where demolition could interrupt it.
Identify bearing walls, joist directions, girder seats, and any masonry arches that rely on shared support.
Next, choose shoring points that transfer loads straight down to sound elements: intact foundations, party walls, or new pads you’ll cast and cure.
Specify post spacing from tributary widths so load distribution stays within allowable limits, and note jack capacities and cribbing dimensions.
Verify floors can take point loads; if not, spread with needle beams and plates.
Mark clear access routes, bracing, and monitoring points for deflection and cracking during work.
Document Originals: Millwork, Brick, Plaster, Floors
Before you strip paint or pull a single board, document what’s original in the millwork, brick, plaster, and floors by treating the building like a primary source. Photograph every room from all corners, then shoot tight frames of profiles, joints, fasteners, and wear patterns.
For Original millwork, measure casings, baseboards, and stair parts with calipers or a rule; sketch cross-sections and note species, tool marks, and nail types.
For historic brick, map bond patterns, mortar color, and repairs; record dimensions, stamps, and efflorescence locations.
On plaster, log crack direction, lath spacing, and patch materials.
On floors, chart board widths, direction changes, and squeaks.
Label files by floor, room, and wall. Add date, scale, and compass orientation.
Decide What to Salvage, Restore, or Replicate
You’ll assess each historic material by recording condition, wear patterns, tool marks, and mortar or paint composition.
Then, rank pieces by structural integrity and rarity.
You’ll salvage what’s sound and distinctive, restore what’s repairable without erasing evidence of age, and replicate only what’s missing or too compromised to keep.
When you replicate, you’ll match the period by copying profiles, dimensions, species or clay body, and finish schedules, using your documentation as the control set.
Assess Historic Materials
How do you decide whether an old brick, beam, or window deserves a second life? You start with Historic preservation priorities and disciplined Material analysis, not guesswork.
Photograph each element in place, label it, and note location, orientation, and exposure to water.
Probe wood with an awl to map rot depth; measure moisture content; check for insect frass and bearing cracks.
For masonry, record spalling, salts, and mortar hardness; run a simple acid fizz test to distinguish lime-rich from cement-heavy mixes.
Inspect windows for racked frames, failed joints, and paint buildup that masks checks.
When you find movement, staining, or delamination, trace the cause—leaks, settlement, or corrosion—before deciding the material’s fate.
Document everything for permits and budgeting.
Match Period Replications
Once you’ve logged condition and context, match period replications by treating salvage, restoration, and replacement as evidence-driven choices, not aesthetic guesses.
Start with a room-by-room matrix: original, altered, missing, unsafe. Salvage components that retain profile, joinery, and tool marks; you’ll preserve irreplaceable reference data for period matching.
Restore pieces with stable substrate and repairable losses, using reversible methods and compatible materials.
When replication’s unavoidable, base it on measured drawings, paint stratigraphy, and dated comparables from the same builder or block.
Specify species, grain orientation, fastener type, and edge details so new work reads correctly at close range.
Document every decision with photos, tags, and invoices to defend historical accuracy during inspections and future rehabs.
Upgrade Electrical, Plumbing, and HVAC With Minimal Demo
Because aging urban buildings often hide outdated wiring, corroded supply lines, and undersized ductwork behind finished plaster and tile, the most reliable way to upgrade electrical, plumbing, and HVAC without major demolition is to start with targeted diagnostics and route planning. You’ll map circuits, stacks, and chases using panel tests, inspection cameras, and thermal scans, then pick paths that reuse closets, soffits, and abandoned flues.
For Electrical upgrades, you can pull new home-runs through existing conduits, add AFCI/GFCI protection at the panel, and cut only strategic access ports you’ll patch later.
For Plumbing enhancements, you’ll isolate zones, replace failing branches with PEX via crawlspaces or risers, and add shutoffs at each fixture group.
For HVAC, you’ll favor ductless heads or slim-duct runs, minimizing ceiling drops while meeting airflow targets.
Handle Lead, Asbestos, and Mold Safely
Even if your renovation plan calls for minimal demolition, you’ll still disturb legacy materials that can release hazardous dust and spores, so treat lead paint, asbestos-containing materials (ACM), and mold as controlled risks from day one.
Start with a room-by-room Hazard assessment and document suspect surfaces: flaking trim, old window wells, pipe insulation, floor tiles, and damp plaster.
Schedule Material testing through accredited labs: XRF or paint chips for lead, PLM/TEM for ACM, and tape/lift or air samples when mold sources aren’t obvious.
Until results return, isolate work zones with 6-mil poly, maintain negative pressure, and use HEPA filtration.
Wet-scrape and bag debris; never sand lead paint dry.
Don’t disturb ACM; encapsulate or hire licensed abatement.
Fix moisture fast, then clean with HEPA vacuuming.
Permits, Landmark Approvals, Budget, and Timeline

With hazardous materials identified and work zones controlled, you can now map what you’re legally allowed to change and how long it’ll take. Start by confirming zoning, occupancy classification, and whether the facade, stoop, or interior features trigger landmark approvals.
Compile existing drawings, photos, and a conditions survey; you’ll reuse them in permit applications and reduce reviewer back-and-forth.
Sequence filings: structural and underpinning first, then MEP, then energy, sprinklers, and final certificate of occupancy.
Budget with line-item contingencies: 15–25% for unknown conditions, plus separate allowances for expediting fees, testing, and utility upgrades.
Build a timeline from agency cycle times and procurement lead times; lock milestones to inspection checkpoints and cash-flow releases.
Frequently Asked Questions
How Do I Research the Brownstone’s Ownership History and Past Renovations?
Of course, nothing says “mystery” like paperwork: you’ll trace ownership via deeds, tax rolls, and census Historical records. Then pull Renovation permits, contractor filings, and inspection reports from city archives, and cross-check dates against photos.
What Insurance Coverage Do I Need Before Buying and Renovating?
Before buying and renovating, you’ll need builder’s risk, general liability, property, and workers’ comp; add vacancy and pollution riders. Verify Historical preservation requirements and zoning regulations, then require contractor certificates and endorsements. Document everything.
How Can I Work With Neighbors to Minimize Noise and Disruption?
Like a steady drumbeat, you’ll reduce disruption by hosting community meetings, sharing schedules, and setting quiet hours. Use noise mitigation: acoustic barriers, low-decibel tools, staged deliveries. Document complaints, respond within 24 hours, adjust.
What Financing Options Exist for Abandoned Brownstone Rehabilitation Projects?
You can use construction loans, rehab mortgages (FHA 203(k)), private lenders, and municipal programs. Pair them with Historic preservation tax credits and Sustainability practices grants. Document scope, bids, and inspections to satisfy underwriting and disbursements.
How Do I Choose a Design Style That Fits the Neighborhood’s Character?
Choose your style by surveying nearby façades, materials, cornice lines, and window proportions, then match dominant patterns. Consult local guidelines for historic preservation, document precedents with photos, and prioritize architectural consistency while integrating discreet modern upgrades.
About the Author