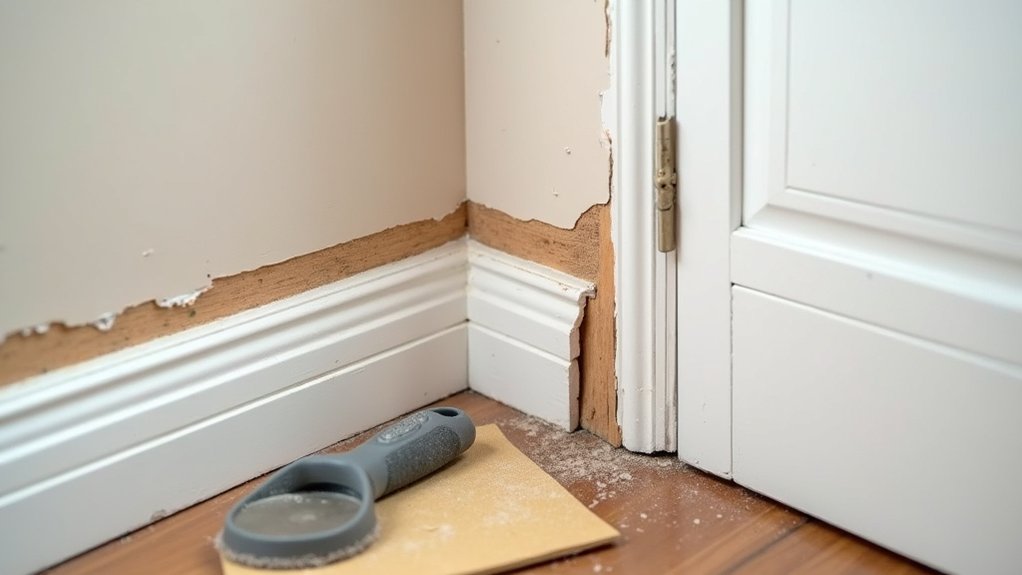
Your skirting boards and architraves have seen better days. You start by checking for loose fixings, splits, soft spots, and swollen edges, then you probe with a sharp chisel to find what’s sound. You choose filler, epoxy, or caulk based on depth and movement, and you keep profiles crisp with a sanding block and a knife-edge. Next, you’ll need to decide what to cut out and what to pin back before it spreads.
Key Takeaways
- Inspect skirting and architraves for cracks, rot, swelling, loose fixings, and open joints; measure gaps and identify moisture sources before repairing.
- Remove damaged wood to sound timber, dry the area thoroughly, and treat remaining fibers with liquid wood hardener to stop rot spreading.
- Fill dents and chips with appropriate filler; use two-part epoxy for deep gouges, overfill slightly, then sand flush once fully cured.
- Reattach loose trim by locating studs, applying grab adhesive, and fixing with finish nails or trim screws; countersink and set fasteners cleanly.
- Prime bare wood and filler, caulk paintable gaps with acrylic and backer rod if needed, then apply two thin topcoats to match finish.
Identify the Damage (Quick Checklist)
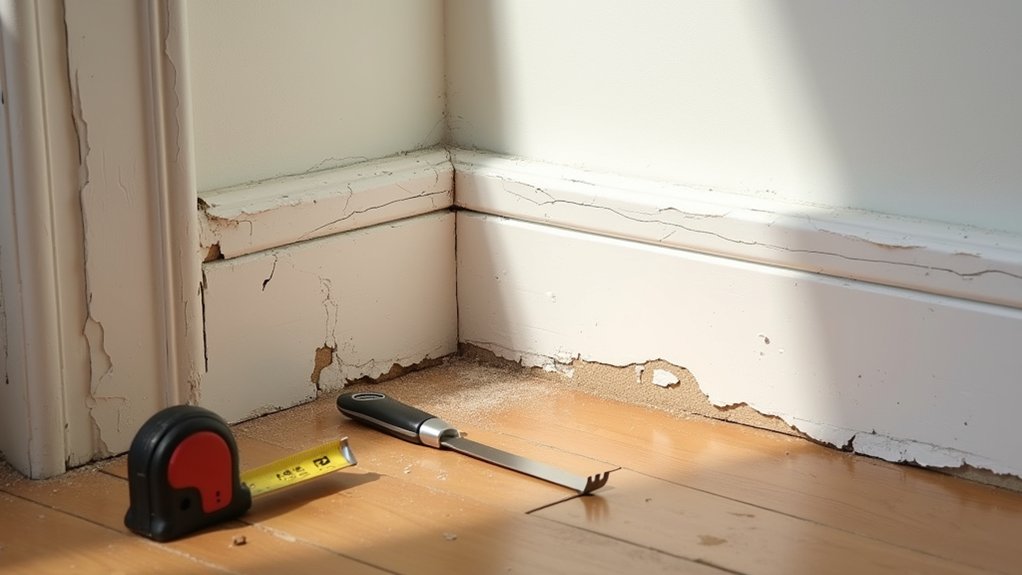
Before you reach for filler or a pry bar, take two minutes to pin down exactly what you’re dealing with: check whether the skirting or architrave is split, dented, swollen from moisture, loose at the fixings, or separating at mitres and caulk lines.
Run a straightedge along the face to spot bows, then press near nail lines to feel movement. Inspect paint for hairline cracks that track joints, and probe suspicious soft spots with a fingernail to flag rot.
Look for staining at floor level, window corners, and behind radiators—signs of leaks or condensation. Note whether damage crosses a profile; ornate decorative molding needs cleaner, profile-matched repairs, especially in historical restoration.
Photograph joints and measure gaps so you can verify improvement later.
Tools, Fillers, and Materials You’ll Need
Once you’ve identified the damage, you’ll get cleaner, longer-lasting repairs by lining up the right hand tools first—scraper, sharp chisel, sanding block, caulking gun, and a decent putty knife.
Match the filler or putty to the job: fast-drying wood filler for chips and nail holes, flexible gap filler for movement joints, and two-part epoxy for deep rot or missing corners.
Finish strong with the correct primer, a durable trim paint, and paintable sealant to lock out moisture and hide fine gaps.
Essential Hand Tools
Although skirting boards and architraves look simple, clean repairs depend on having the right hand tools and consumables ready to go: a sharp utility knife for cutting paint lines, a scraper or 5‑in‑1 tool for lifting loose filler, a small pry bar and hammer for gentle removal, a nail punch for sinking fixings, and a combination square and tape for accurate marking.
Add a fine-tooth pull saw or flush-cut saw for trimming patches without tearing fibres, plus a sharp chisel for squaring corners and matching Decorative accents. Keep a block plane and sanding block to true edges and feather repairs.
For fixing, use a cordless drill/driver with countersink bit, plus clamps to hold small returns. During Historical restoration, a profile gauge helps copy mouldings accurately.
Finish with a dust brush and vacuum nozzle for clean work.
Best Fillers And Putty
Because skirting boards and architraves take knocks right at floor and door height, you’ll get better-looking repairs if you match the filler or putty to the damage and the finish: keep a lightweight ready-mix filler for small dents and nail holes, a two-part epoxy wood filler for deep chips, rotten edges, and corners that need rebuilding, and a stainable solvent-based wood putty (or hardwax sticks for colour-matching) where the timber will stay visible.
Use a flexible filling knife for quick spreads and a narrow palette knife to pack profiles on decorative molding. Mix epoxy on a scrap board; press it in, then shape with a sharp chisel once it firms.
For historical restoration, choose reversible, fine-grain fillers for hairline gaps, and keep wax sticks to blend scratches without sanding.
Primers, Paints, And Sealants
If you want repairs on skirting boards and architraves to disappear after painting, you’ll need the right primer, topcoat, and sealant—not just filler.
Start with Surface preparation: sand flush (120–180 grit), vacuum dust, then wipe with a damp cloth or degreaser.
For primer selection, match the substrate and stain risk: use stain-blocking shellac or solvent primer over knots, water marks, or tannin bleed; use acrylic bonding primer for sound, previously painted trim; use MDF primer on bare MDF edges.
Choose a durable trim enamel (water-based for fast recoat, oil/alkyd for tougher leveling).
Finish gaps with paintable acrylic or hybrid caulk, tooled smooth, then spot-prime caulk and filler before topcoats.
Use good-quality sash brush or mini-roller.
Repair Dents, Chips, and Gouges (Trim Filler)
Start by choosing a trim filler that matches the damage: lightweight spackle for small dents, solvent- or epoxy-based filler for deep chips and gouges.
Press it in with a filling knife, slightly overfill, and shape edges tight to the profile.
Once it’s cured, sand flush with 120–180 grit on a sanding block until the repair disappears to the touch.
Choosing The Right Filler
While it’s tempting to grab the nearest tub of filler, choosing the right product for skirting boards and architraves comes down to the depth of the damage, the material (painted MDF vs timber), and whether the area will take knocks.
For shallow dents and pin chips, use lightweight decorator’s filler; it spreads fast with a 25–50mm filling knife and won’t clog paper.
For deeper gouges or missing corners, switch to a two-part epoxy or resin filler you mix on a board with a putty knife; it cures hard and resists impacts near doors and vacuums.
On timber, pick a stainable wood filler if you’re not repainting; on painted trim, focus on choosing a color that matches your topcoat.
Adjust filler consistency so it holds shape without sagging.
Filling And Sanding Smooth
Once you’ve chosen the right filler, pack it firmly into the dent or gouge using a 25–50mm filling knife, pushing across the grain and slightly overfilling so you can sand back flush. Feather the edges with the knife to minimise sanding.
Let it cure fully; if it shrinks, apply a second skim. For deep chips, build in layers and use a corner tool to reform decorative edging.
Mask adjacent paintwork with low-tack tape, especially on architraves.
Sand with a cork block: start 120–150 grit to level, then 180–240 grit to refine. Keep the block flat so you don’t dish the profile.
Vacuum dust and wipe with a tack cloth. In historical restoration, stop at the original line, not beyond.
Fix Cracks, Gaps, and Open Joints (Caulk/Adhesive)
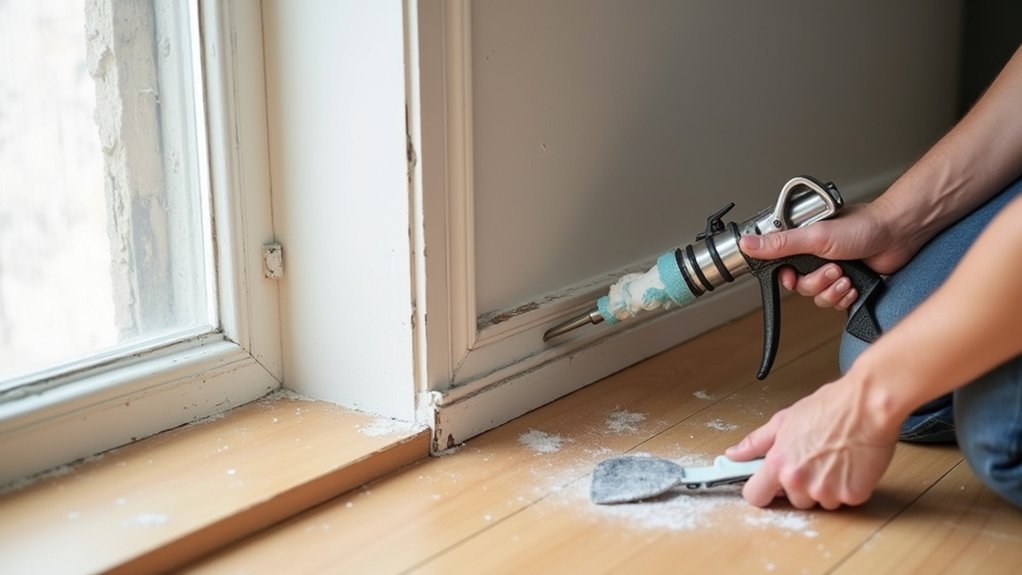
Where do those hairline cracks and open joints come from? Timber movement, seasonal humidity, and minor knocks pull mitres apart, especially around decorative molding in historical restoration work. Before you caulk, cut old paint bridges with a sharp utility knife, then vacuum dust so sealant bonds cleanly.
For paintable gaps, load a caulk gun with acrylic latex (or hybrid polymer for wider joints). Mask both sides with painter’s tape, run a steady bead, then tool it with a wet caulk-smoothing tool or damp finger.
For joints that need strength, use a cartridge adhesive (grab or wood adhesive), inject it with a nozzle, and wipe squeeze-out with a damp rag. Let it cure fully, then spot-prime so the crack won’t telegraph through paint.
Reattach Loose Skirting Boards and Architraves
Caulk will hide small gaps, but it won’t stop a skirting board or architrave that’s started to pull away from the wall.
First, find what’s failed: loose nails, missing adhesive, or a bowed section. Run a stud finder, mark studs, then gently lever the trim with a wide putty knife to avoid denting decorative molding.
Scrape old caulk, vacuum dust, and dry-fit the piece tight to the wall.
Apply grab adhesive in a zigzag, then clamp or pin it in place. Refix into studs with finish nails or trim screws and countersink.
If it’s masonry, use plugs and screws. Set nails with a nail set, fill, sand flush.
For historical restoration, save original profiles.
Repair Water Damage: Swollen MDF or Rotten Wood
If a leak or mop water has swelled MDF or started wood rot, you’ll get a longer-lasting repair by fixing the moisture source first and then deciding whether to patch or replace the trim.
Start with Water damage assessment: probe with an awl or screwdriver, looking for soft fibres, crumbling edges, or a hollow sound.
For MDF that’s only slightly raised, cut back loose material with a sharp chisel, dry the area with a fan or dehumidifier, then rebuild with two-part epoxy filler and a wide putty knife.
For rotten timber, saw out all punky sections to sound wood, treat remaining fibres with liquid wood hardener, and splice in new timber with exterior-grade glue and brads.
Seal end grain for Wood rot prevention.
Sand, Prime, and Paint for a Seamless Finish
Once the MDF or timber repair has fully dried and cured, focus on finishing work that hides the patch and locks out future moisture. Start by sanding flush with 120-grit on a sanding block, then refine with 180–220 grit to remove ridges and feather edges into surrounding paint. Vacuum dust and wipe with a tack cloth so primer bonds.
Spot-prime bare timber, filler, and MDF with a stain-blocking or MDF-specific primer using a 2-inch synthetic brush; cut clean lines along Decorative molding profiles.
Lightly sand the primed area with 220 grit, then apply two thin topcoats with a mini-roller and brush out laps. Match sheen and color to adjacent trim, especially on Historical restoration jobs where profiles and paint build must stay crisp.
How to Stop Scuffs, Gaps, and Moisture Damage
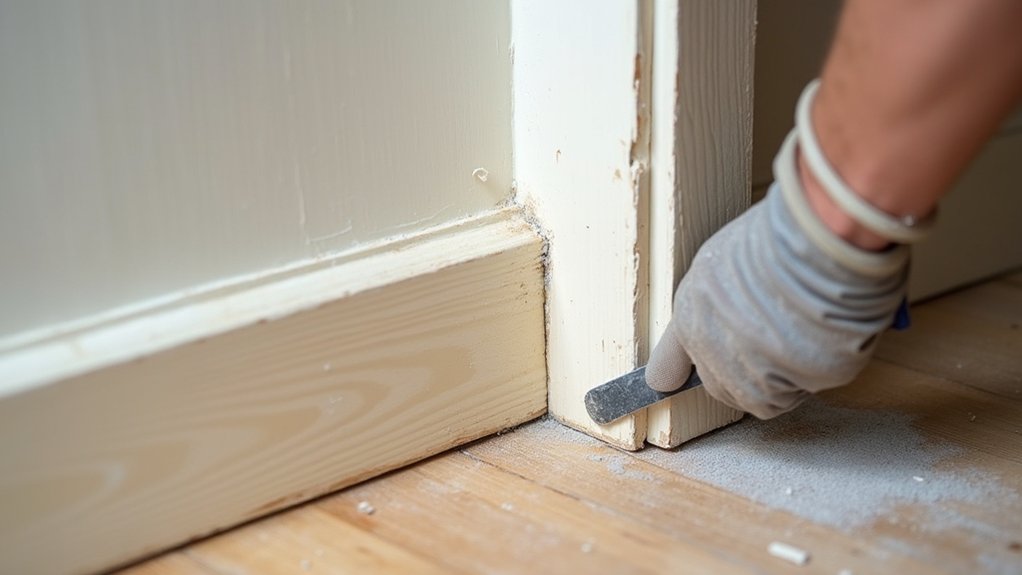
After you’ve painted, lock in the job by tackling the small failure points that invite scuffs, open joints, and water ingress. Run a caulk gun with paintable acrylic along mitres and wall junctions, then tool it with a damp finger or caulk smoother. For wider gaps, pack foam backer rod first so the bead doesn’t split. Add clear silicone only where splash is likely, but don’t paint it.
Stop scuffs by fitting a low-profile corner guard or applying a tough floor enamel on skirting edges. Check nail pops; re-pin with 18g brads and set them with a nail punch.
In Decorative molding, match profiles and seal end grain with shellac. For Historical restoration, keep joints reversible by using linseed putty where appropriate.
Frequently Asked Questions
Can I Repair Ornate Profiles Without Losing Detail?
Yes—you can repair ornate profiles without losing detail if you use careful repair techniques: clean, mask, and use a two-part epoxy putty, then shape with profile scrapers, fine files, and sandpaper, sealing afterward.
Should I Replace Skirting or Architrave Instead of Repairing?
You should replace when damage spans long sections, rot spreads, or profiles won’t align after patching. For Skirting replacement, use a pry bar and multi-tool. For Architrave replacement, scribe, mitre, nail, then caulk.
How Do I Match Old Paint Colours and Sheen Accurately?
About 90% of the time, you’ll nail it by scanning a clean chip at a paint store. For Color matching, bring a sample; for Sheen matching, use a gloss meter and test swatches.
What’s the Best Way to Fix Damage Around Radiators and Pipes?
Cut back loose material, fill with two-part epoxy, sand flush, then caulk. Use a pipe escutcheon for Pipe concealment. Add Radiator insulation behind the unit. Prime and repaint. You’ll need a multitool, putty knife.
How Long Should Repairs Cure Before Refitting Carpets or Flooring?
You’ll usually wait 24–72 hours; test the theory that it’s “dry” by pressing a fingernail—no dent, you’re safe. Check Curing time on the tube, use a fan, then start Flooring refit.
About the Author