You can turn a forgotten off-grid cabin into a reliable retreat, but you’ve got to treat it like a controlled recovery, not a weekend project. You start with a safety triage to spot rot, sag, wildlife, and hidden hazards, then you clear debris so real repairs can begin. Next, you stabilize the foundation and framing before you seal the roof and shell against weather. After that, security and off-grid systems come last—but one early step changes everything.
Key Takeaways
- Triage hazards first: inspect roofline, walls, porch boards, wildlife signs, and exposed wiring; mark dangers with tape and photos.
- Set up keep/recycle/trash zones, clear paths room-by-room, bag soft goods early, and store salvage in sealed totes after photographing.
- Stabilize the structure: probe sills and joists, jack with cribbing, replace piers/footings, sister weak framing, and plumb/brace walls.
- Weatherproof the shell before interior work: repair roofing, add underlayment and flashing, seal penetrations, patch siding, and install gutters to shed water.
- Restore and secure openings: square and shim windows, reglaze and weatherstrip, foam and seal gaps, and upgrade doors with Grade 1 deadbolts and strike plates.
Inspect the Off-Grid Cabin Safely (Triage)
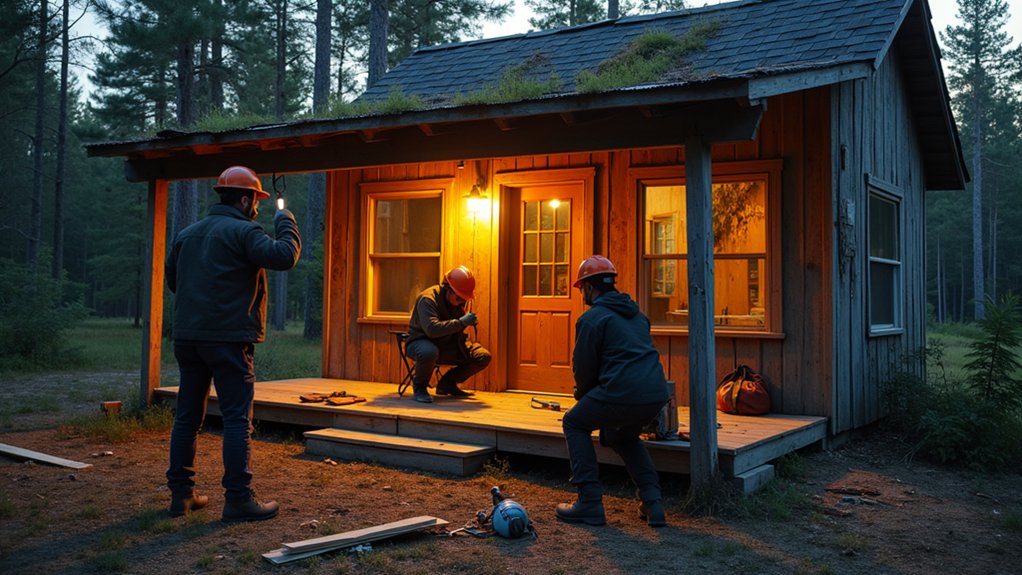
Before you pick up a pry bar or start hauling materials inside, you need to triage the cabin like a jobsite—assume it’s unstable until you prove otherwise. Walk the perimeter first: check roofline sag, leaning walls, and missing supports. Probe porch boards with a screwdriver, and don’t step onto anything that flexes or sounds hollow.
Look for fresh droppings, nests, chew marks, and tracks; plan Wildlife management before you seal gaps or disturb a den. Crack the door from the hinge side, keep your body out of the swing path, and listen for buzzing or skittering.
Inside, scan for moldy ceilings, compromised chimneys, and exposed wiring. Only after you map hazards should you plan Interior decoration. Mark unsafe zones with tape, and document everything.
Clean Out the Abandoned Off-Grid Cabin
Once you’ve marked hazards and confirmed the structure won’t surprise you, start the clean-out with a simple rule: move junk out, not deeper in. Set up three zones outside: keep, recycle, trash. Work room by room, top to bottom, so dust and debris don’t recontaminate cleared areas.
Bag soft goods first; they hide pests and odors. Pull loose papers, cans, and glass into lidded buckets for hauling. Photograph anything worth saving for Interior decor, then store it in sealed totes. Strip nails, hooks, and broken fixtures into a “metal” pail to prevent foot injuries.
Outside, clear entry paths and a staging pad for trailers; that’s the first step of Landscaping design. Finish with a sweep, then ventilate overnight.
Shore Up the Foundation and Framing
With the junk cleared and the cabin aired out, you can finally see what’s holding the place up—and what isn’t. Start at the corners: probe sill logs, rim joists, and floor beams with an awl. Mark soft spots, then jack the cabin in small lifts using cribbing and bottle jacks on solid pads. Replace crushed piers, add concrete footings where soil heaves, and sister compromised joists with treated lumber or steel plates.
Move to wall framing next. Plumb each wall, brace it, and swap any rotten studs, especially under windows and around the door. Tie joints with structural screws and metal connectors.
Before you close anything in, run conduit for Interior lighting and plan chases so Cabin aesthetics stay clean. Keep every measurement square.
Fix the Roof and Weatherproof the Shell
Even if the interior still needs work, you’ve got to stop water first because every leak will undo your framing repairs. Start at the ridge and work down: replace missing shingles or panels, re-seat fasteners, and add new underlayment where it’s torn. Flash every penetration, then seal seams with compatible tape or mastic, not guesswork caulk.
Next, weatherproof the shell: patch siding gaps, add housewrap where you can, and tape overlaps so wind can’t pump moisture into cavities. Check eaves and corners for rot, then prime and paint exposed wood.
Install gutters only if you can route runoff away from the foundation. Once the envelope stays dry, you can plan interior decor and furniture placement without risking mildew, stains, or warped floors later.
Repair Windows, Doors, and Cabin Security

Next, you’ll restore your windows so they seal tight, shed water, and stop drafts without wasting materials. You’ll inspect frames and sashes, replace failed glazing and weatherstripping, and caulk where it counts.
Then you’ll reinforce doors with solid hardware and upgraded locks so the cabin stays secure when you’re off-site.
Weatherproof Window Restoration
Because mountain weather will find every weak seam, you’ll want to restore your cabin windows with the same care you’d give the roof. Start by pulling interior trim so you can inspect the rough opening for rot, insect damage, and gaps. Scrape failing paint and old caulk, then dry everything thoroughly.
If sashes stick, square the frame with shims and tighten fasteners. For glass replacement, remove glazing points, lift the pane, and bed the new glass in fresh glazing compound; let it cure before repainting.
Next, focus on window sealing: pack low-expansion foam in deep voids, then apply backer rod and a high-quality exterior sealant at joints. Finish with weatherstripping and a drip cap to shed water.
Reinforced Doors And Locks
Once you’ve sealed the windows, turn to the door—most break-ins and heat loss happen there. Check the slab for rot and delamination, then square the frame with shims and 3-inch screws into the studs. Add a steel strike plate and a reinforced jamb kit so the lock side can’t splinter.
If the door’s hollow, skin it with exterior plywood and carriage bolts, or replace it with a solid-core unit.
For Security enhancements, start with Lock installation: a Grade 1 deadbolt, a locking knob, and hinge pins or security hinges. Use a 1-inch throw and align the bolt cleanly in the strike.
Install a door viewer and a hasp for an interior bar when you’re inside. Weatherstrip the perimeter and add a sweep to stop drafts and prying.
Upgrade Heat, Water, and Solar Off-Grid
Before you close up walls or finish the interior, map out your off-grid utilities so heat, water, and solar work as a single system instead of three separate fixes.
Start with heat: size a wood stove or propane heater to your insulation level, then route safe chimney clearances and add a carbon monoxide alarm.
Next, plan water: protect supply lines from freezing, install a gravity or pump-fed tank, and build in water filtration with a sediment prefilter and an inline carbon stage.
For renewable energy, calculate daily loads, then choose panel wattage, battery capacity, and an inverter with surge headroom.
Run conduit and shutoffs now, label every circuit, and mount components where you can service them.
Finally, test the full system before closing walls up.
Frequently Asked Questions
Do I Need Permits to Renovate an Off-Grid Cabin on Remote Land?
Yes, you’ll likely need permits, even on remote land; check county zoning and building codes first. You’ll plan interior design and choose eco friendly materials, then document scope, utilities, and inspections.
How Do I Verify Legal Ownership and Boundary Lines Before Starting Work?
Before you break ground, soothe your worries: you’ll order a Land survey, then run Title verification at the county recorder. You’ll compare deed descriptions to plats, check liens, and walk marked corners.
What Insurance Options Cover Renovation Projects in Isolated Off-Grid Locations?
You’ll want builder’s risk Insurance coverage plus a vacant/dwelling fire policy, then add liability and equipment theft riders. Ask insurers about off-grid endorsements, access limitations, and customized renovation policies for remote sites.
How Can I Budget and Schedule Materials Deliveries Without Road Access?
You’ll budget by mapping Material sourcing to phased builds and pricing transport upfront. You’ll schedule Delivery logistics around weather windows, staging caches, and backhauls. You’ll order consolidations, add 15% contingency, and confirm handoff points.
What Are the Best Ways to Prevent Future Vandalism After Renovation?
You’ll deter vandalism by layering Security measures and Community involvement; 30% of vacant properties face vandalism annually. Install motion lighting, cameras, tamper-resistant locks, and signage; coordinate neighbor check-ins, report patterns, and schedule regular site visits.
About the Author