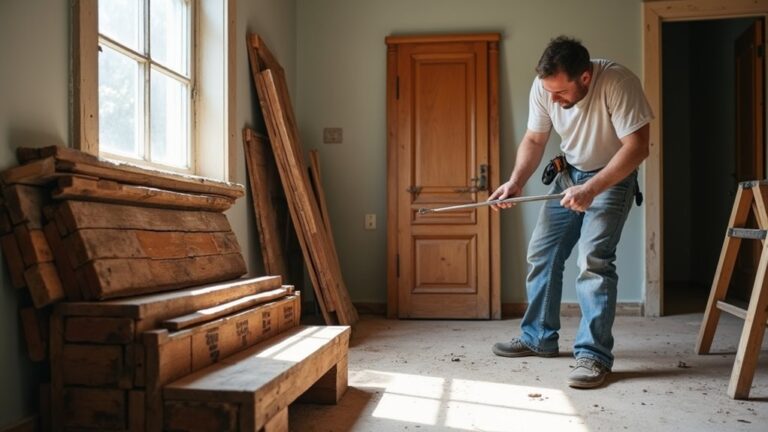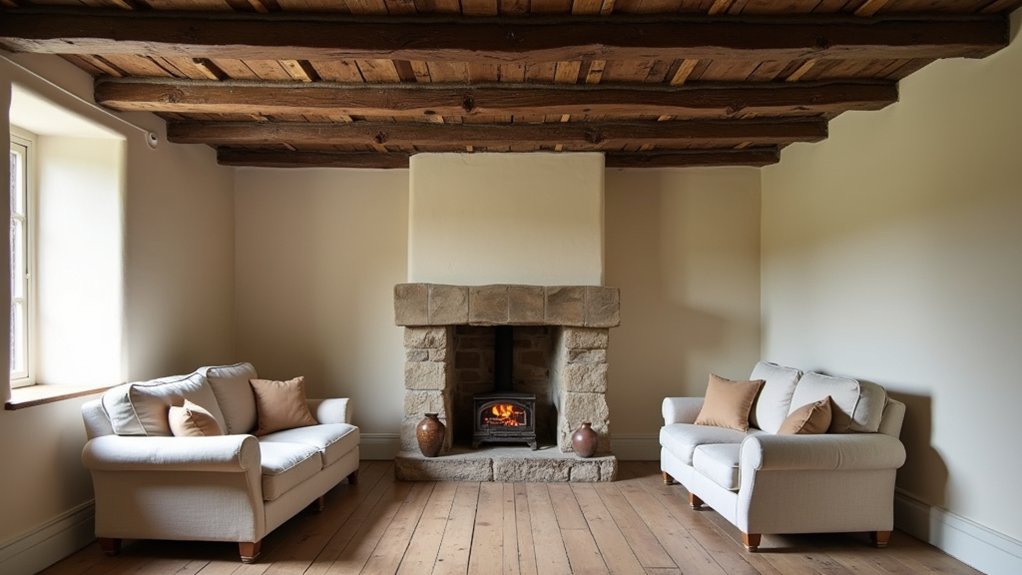
You can’t revive Tudor beams properly until you know what you’re dealing with: original oak, later softwood inserts, or decorative faux work. Start by spotting movement, rot, beetle holes, old paint build-up, and failed past repairs, because each one changes your approach and budget. Clean gently to keep the tool marks and patina, then choose a low-sheen oil or wax that won’t shout “new.” The next decision is where most restorations go wrong…
What Kind of Tudor Beams Do You Have?
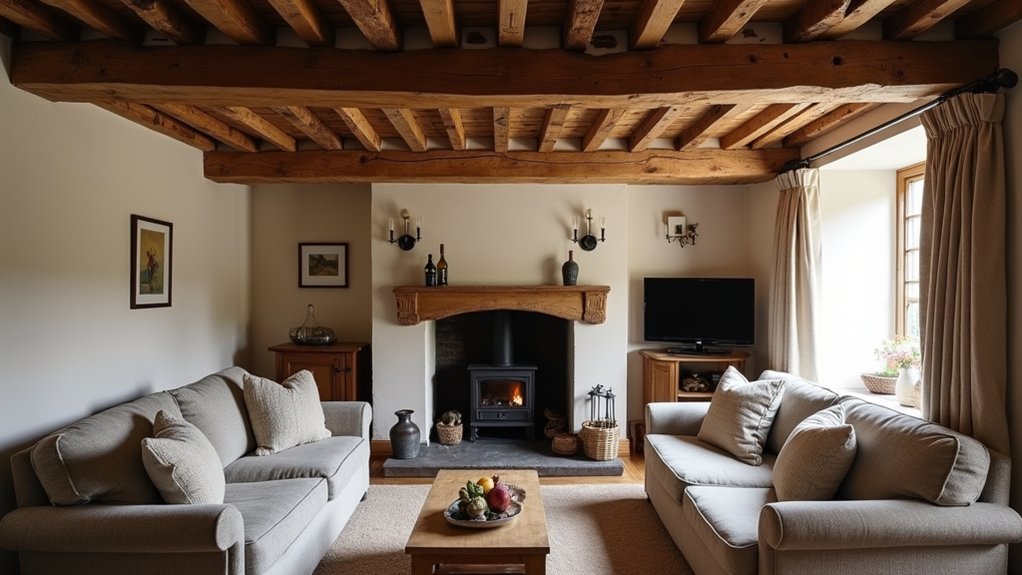
Before you strip, sand, or stain anything, you need to identify which Tudor “beams” you’re actually dealing with—because the right revival method hinges on whether they’re structural oak timbers, later decorative box beams, or even modern polyurethane faux beams.
Start by confirming Beam material: tap for density, inspect end grain, and look for hand-hewn tool marks versus uniform milling. True structural timbers typically show irregular faces, pegged joinery, and deep checking that reads as age, not damage.
Box beams often sound hollow, hide fasteners, and wrap a modern joist or duct.
Faux beams feel light, show repeating texture, and have crisp mold lines at seams.
Matching your approach to Historical authenticity protects resale value and keeps period character credible to buyers.
Spot Beam Problems Before You Restore
Although fresh stain and wax can hide minor scuffs, they won’t fix what’s structurally wrong—so you need to diagnose beam issues first by checking for active woodworm frass, soft punky spots that signal rot, spreading cracks that follow fasteners or joints, and telltale sagging or separation where beams meet plaster or masonry.
Then map defects room by room and photograph them to track change. Probe with an awl at ends and around previous repairs; sound timber resists, compromised wood crumbles. Look for powdery exit holes with fresh dust, not old staining.
Check moisture sources: leaking flashings, trapped condensation, or bridging plaster. If a beam has been boxed or over-skimmed, assume hidden movement.
Historical accuracy demands you distinguish original carpentry marks from damage before any intervention. Material selection follows diagnosis: decide where consolidation, splicing, or replacement truly earns its cost.
Clean Tudor Beams Without Stripping Character
When you clean Tudor beams, you’re really managing surface history—not chasing a “new timber” look—so start with the gentlest method that lifts grime without erasing tool marks, smoke patina, or age-darkened grain.
Begin by vacuuming with a soft brush, then wipe with dry microfibre along the grain to pull soot from pores. For greasy films, use a barely damp cloth with a pH‑neutral wood soap, then immediately dry; avoid soaking end grain and joints.
Test every step in a discreet bay and stop once the surface reads even, not “fresh.” Use natural-bristle brushes to clear carved arrises and mortises, not abrasive pads.
This approach supports Historical accuracy and Authenticity preservation, protecting the patina that drives heritage value and buyer confidence.
Remove Paint From Tudor Beams Safely
Before you strip paint from Tudor beams, you’ll treat lead as a real risk: test first, isolate the area, control dust, and use the right PPE to stay compliant and protect resale value.
You’ll choose gentle, timber-safe methods—low-toxicity gel strippers, careful hand tools, and controlled heat where appropriate—so you don’t gouge aged grain or loosen joints.
Once the paint’s off, you’ll neutralize and dry the surface, address any soft spots, and finish with a breathable system that stabilizes the beam without sealing in moisture.
Lead Paint Precautions
How can you strip old paint from Tudor beams without risking your health—or devaluing your period property? Start by assuming pre-1978 coatings may contain lead and treat lead paint hazards as a live risk until testing confirms otherwise. Use an EPA-recognized lead test kit or hire a certified inspector; keep documentation for buyers, insurers, and conservation officers supporting historical preservation.
Seal the work zone with 6-mil plastic, close vents, and post warning signage. Wear a P100 respirator, disposable coveralls, gloves, and eye protection; keep a dedicated “dirty” exit and HEPA vacuum on hand. Don’t dry-sand or use open-flame heat.
Bag chips and dust, label waste, and follow local hazardous-disposal rules. Wash hands and change clothes immediately.
Gentle Stripping Methods
Although aggressive sanding can seem like the fastest route to “clean” oak, you’ll protect both your lungs and your home’s historic value by choosing controlled, low-dust stripping methods that lift paint without gouging tool marks into the beams. Start with a solvent-free, heritage-grade paste stripper, applied thickly and covered with film to keep it active; you’ll soften layers evenly and reduce airborne debris.
Use plastic or sharpened wooden scrapers to follow the grain and preserve historical accuracy in chamfers and adze marks. In tight corners, switch to nylon brushes or fine bronze wool, not steel, to avoid dark streaking.
If paint is stubborn, use low-heat infrared panels rather than open-flame guns, then lift residue with a dampened microfibre wipe. This protects decorative techniques like limewash shadows and stain.
Post-Removal Beam Care
Once the last paint film comes off, you need to stabilise the oak fast so fresh, exposed fibres don’t wick in moisture, salts, or stripper residue that can later bloom, stain, or soften the surface.
Vacuum dust from checks and joints, then wipe with deionised water on a barely damp cloth; change cloths often so you don’t redeposit contaminants.
Let beams dry slowly with gentle airflow, not heat, to prevent case-hardening and new splits.
Spot-neutralise only if your stripper requires it, and confirm pH with test strips.
Treat insect flight holes with a conservation-grade boron gel, keeping soak-in controlled.
Finish with a vapour-open wax or oil that supports Historical accuracy and respects Cultural significance, while meeting buyer expectations.
Repair Cracks and Holes in Tudor Beams
Before you touch a filler, you’ll assess the beam’s damage—map crack length and depth, probe for rot, and confirm the timber’s moisture level so you don’t trap decay.
Then you’ll patch only with a compatible filler that matches the beam’s movement and finish requirements, not a brittle off-the-shelf putty.
Get these two steps right, and you’ll protect the beam’s integrity while delivering a period-correct result clients will pay for.
Assess Beam Damage
Where do you start when a Tudor beam looks “a bit off”? You begin with a disciplined assessment that protects historical accuracy and material durability.
Scan the full length in raking light to highlight checks, open cracks, and softened edges.
Probe suspect zones with an awl: firm resistance suggests surface weathering; easy penetration signals decay.
Map every defect—location, length, width, depth—and note whether it follows grain, fastener lines, or old joints.
Check for insect frass, pinholes, and damp staining, then confirm moisture with a meter; anything consistently above ~18–20% warrants investigation of the source.
Finally, judge movement: monitor cracks over days, and look for fresh dust or widening that indicates active stresses or settlement.
Patch With Compatible Filler
Although you might be tempted to reach for a generic wood putty, Tudor beams demand a filler that matches the timber’s movement, porosity, and finish behavior so the repair doesn’t telegraph through stain or fail under seasonal swelling.
For Historical accuracy, choose reversible, breathable options: lime-based repair mortar for voids near masonry, or a sawdust-and-hide-glue mix for small checks in oak.
Prioritize Material compatibility by matching species, grain, and hardness; a too-rigid epoxy can create a shiny halo and stress edges as the beam cycles.
Undercut loose fibers, vacuum dust, and dampen the cavity if you’re using lime.
Pack in thin lifts, overfill slightly, then pare flush after cure.
Test stain and wax on a hidden spot before committing.
Choose a Tudor Beam Finish That Looks Right
Because the finish sits front and center, you’ll want to choose one that matches your home’s age, room lighting, and how “honest” you want the beams to feel. Start by evaluating what’s original: tool marks, smoke shadowing, and softened edges signal authentic textures worth preserving, not burying.
When choosing finishes, avoid high-gloss polyurethane; it reads modern and exaggerates repairs. Use a matte oil, hardwax oil, or traditional wax for depth without shine, and test patches on offcuts to confirm undertone.
If the timber looks washed, apply a light fumed or water-based stain to warm it, then seal. Keep grain visible, let knots stay darker, and tint filler to disappear.
You’ll get a credible, sale-ready Tudor profile buyers trust.
Blend Tudor Beams With Modern Lighting and Heat
If you’re upgrading lighting or adding heat, treat your Tudor beams as primary features and design around them rather than forcing them to “disappear.” You’ll get the cleanest, most period-credible result by keeping fixtures off the timber wherever possible: run cables in adjacent plaster voids, drop discreet pendants between bays, and use low-glare, warm LEDs (around 2200–2700K) to echo firelight instead of washing the grain with stark white.
For lighting enhancement, layer sources: wall washers on lime-plaster, picture lights on panels, and dimmers to protect patina. Keep downlights set back from beam edges to avoid scalloping.
For modern heating, prioritize underfloor or slimline radiators, then route pipework through floors, not across joists. If you need a stove, center it between bays and shield beams with a rated heat deflector.
When to Call a Timber Specialist for Beams
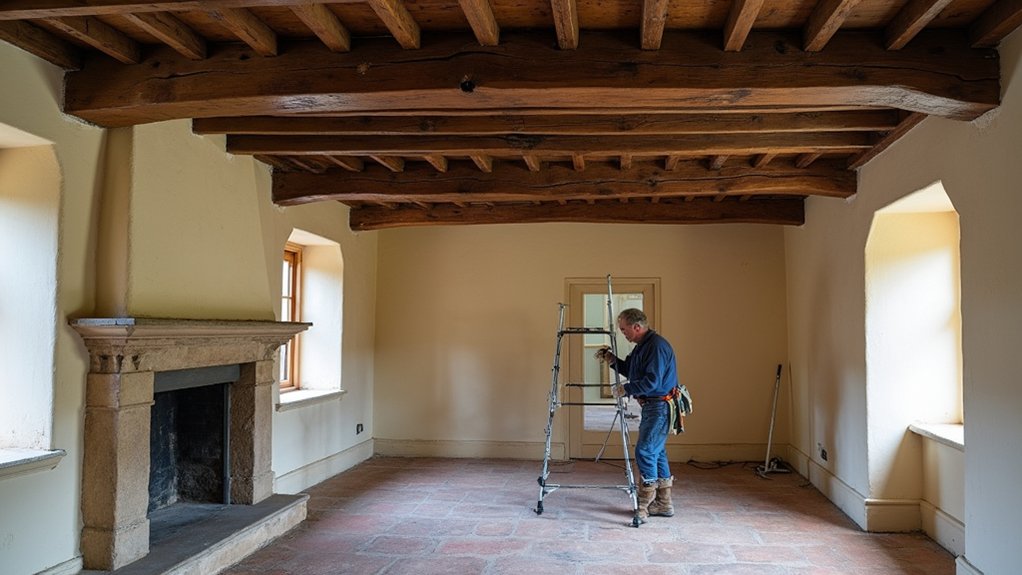
When your Tudor beams show signs that go beyond cosmetic wear, bring in a timber specialist before you sand, paint, or “just tighten” anything. If you see sagging, fresh cracks that widen, powdery frass, damp staining, or soft, spongy fibers, you’re past DIY painting and into structural risk.
A specialist will probe moisture content, identify beetle activity, and map load paths so repairs don’t shift stresses elsewhere. You should also call one when you uncover modern coatings, cementitious fillers, or previous bolt-through plates that compromise breathability and historical accuracy.
Expect a survey, targeted resin or splice repairs, and documentation for insurers or conservation officers. Done right, you protect resale value and avoid costly rework later.
Frequently Asked Questions
How Do I Check if My Beams Are Original or Later Decorative Additions?
Start with beam inspection: check tool marks, mortise-and-tenon joints, pegged holes, and age-darkened end grain. Compare spacing to framing logic. Probe for modern nails, uniform saw cuts, or veneers. Consult records for historical accuracy.
Will Reviving Beams Increase My Home’s Resale Value or Appeal?
Yes—reviving beams typically boosts resale appeal and can lift value, especially in period markets. You’ll attract buyers seeking character, provided you avoid heavy Decorative finishes and disclose repairs versus Modern alternatives accurately.
Do I Need Listed-Building Consent Before Altering Exposed Tudor Beams?
Yes—you’ll likely need listed-building consent before altering exposed Tudor beams, especially for beam restoration or replacement. You should consult your local conservation officer, document historical accuracy, and submit plans; unapproved work can trigger enforcement, costs.
How Can I Reduce Woodworm Risk After Restoration Is Complete?
Sure, invite woodworm to move in—then stop them: control humidity, fix leaks, boost ventilation, and vacuum dust. For Woodworm prevention, apply a borate treatment if needed. Schedule annual inspections and log Restoration maintenance.
What Are the Best Humidity Levels to Prevent Future Beam Movement?
Target 40–55% relative humidity year-round; keep swings under 10% to limit movement. You’ll get better Humidity control with steady heating/ventilation and dehumidification. Prioritize Beam stabilization by sealing drafts and monitoring.
About the Author