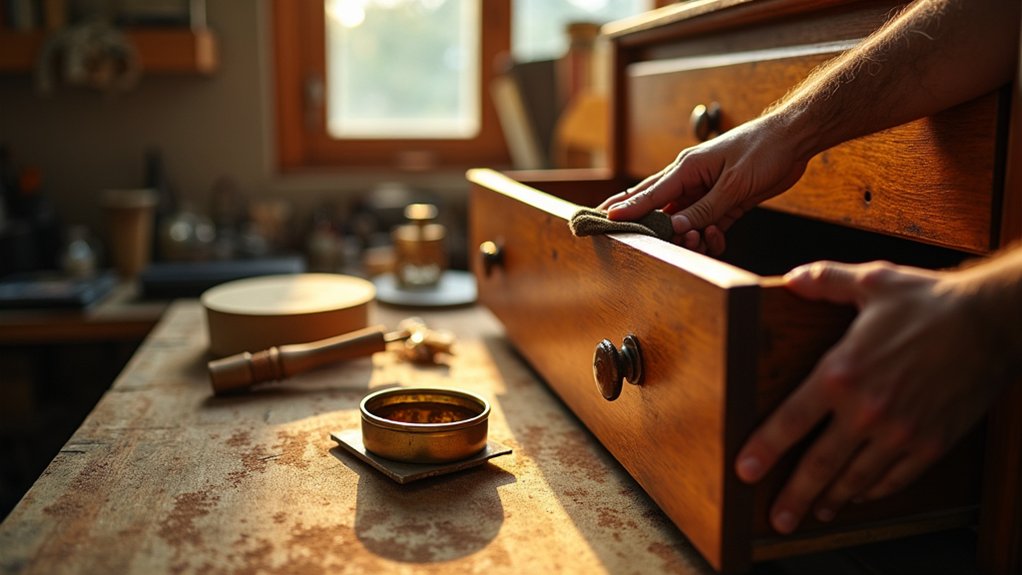
You don’t start by sanding; you start by inspecting. Check every joint for movement, map scratches and dents, and identify the wood and current finish so you don’t trap problems under a new coat. Clean with mild detergent, then wipe with mineral spirits to expose residue and wax. Decide whether you’ll degloss or fully strip based on adhesion and damage. Once you’ve got a plan, the real restoration choices begin.
Key Takeaways
- Inspect the piece for looseness, missing parts, water or insect damage, and identify wood and joinery before choosing repair methods.
- Clean off dirt, wax, and oils using detergent wash and mineral spirits, then degloss or strip only if the old finish is failing.
- Repair dents, scratches, and gouges with steam, sanding, and color-matched fillers, testing all touch-ups on hidden areas first.
- Fix structural wobble by disassembling loose joints, removing old glue, dry-fitting square, then regluing and clamping until fully cured.
- Apply a compatible finish in thin coats, sanding lightly between coats, and rub out after curing to achieve the desired smooth sheen.
Assess the Piece and Plan Your Wood Restoration
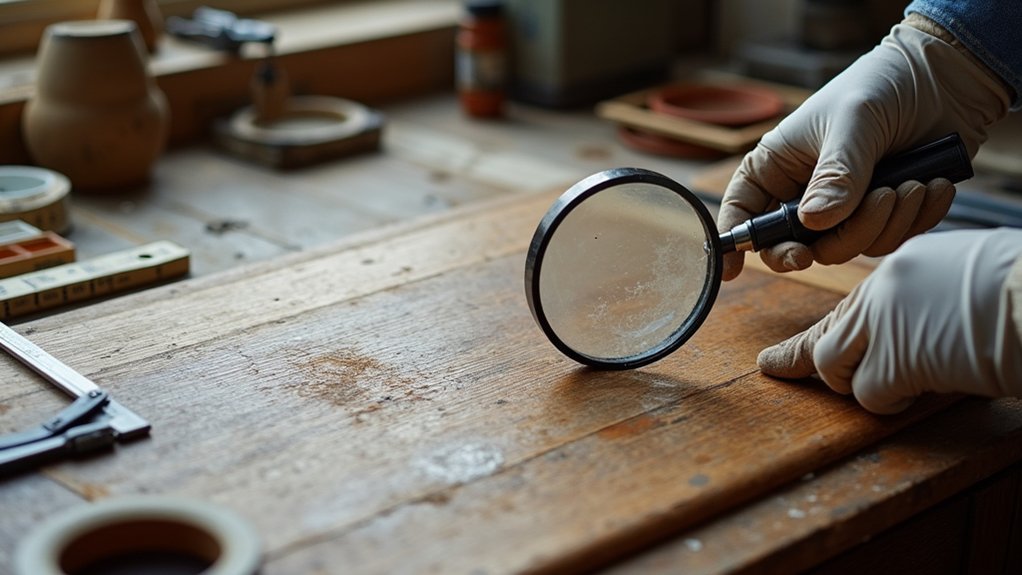
Before you touch sandpaper or solvent, inspect the furniture methodically and document what you find. Photograph every face, joint, and hardware location; note odor, wobble, and missing parts.
Identify wood species, veneer presence, and substrate by checking end grain, edges, and concealed areas. Verify joinery type (dovetail, mortise-and-tenon, dowels) and test for looseness without forcing movement.
Look for active insect damage, water staining, splits, or delamination, and map each defect. Research maker’s marks and construction clues to judge Historical significance and decide what must remain original.
Then define your end state: structural stability, color match, sheen, and touch feel. Select repair adhesives, fillers, and clamps based on Material compatibility with existing wood, veneer, and prior repairs.
Clean, Degloss, or Strip the Old Finish
With your inspection notes and desired end state set, you can now decide whether the existing finish only needs cleaning, needs deglossing for adhesion, or must be fully stripped.
Start with a detergent wash (TSP substitute) and mineral-spirits wipe to remove wax, oils, and silicone. If the film is intact but glossy, scuff-sand with 320 grit or use a liquid deglosser; keep edges crisp and vacuum dust.
If you see alligatoring, peeling, thick brush marks, or incompatible layers, strip: apply a methylene-chloride-free stripper, dwell per label, scrape with a plastic putty knife, then neutralize and rinse.
Remove knobs and pulls before stripping; bag fasteners for Hardware replacement. Track exposed wood tones to plan Color matching.
Fix Dents, Scratches, and Wobbly Joints
Once the old finish is clean and stable, you can correct surface damage and structural looseness so the repairs don’t telegraph through the new topcoat.
Start with Tool selection: use a burn-in knife or wax fill for shallow scratches, and a hard filler for gouges.
For dents, lay a damp cloth over the area and apply a household iron in short bursts to swell compressed fibers; let it dry fully, then level with 220-grit.
Do Color matching before you commit: test fillers and touch-up markers on a hidden edge, adjusting with layered tints.
For wobbly joints, disassemble if possible, scrape old glue, dry-fit, then clamp square while regluing; replace missing dowels or add corner blocks.
Clean squeeze-out immediately.
Choose a Finish and Refinish Wooden Furniture
After you’ve stabilized the surface and tightened the joinery, choose a finish that matches how the piece will be used—oil for a low-build, in-the-wood look, wiping varnish or polyurethane for higher abrasion and water resistance, lacquer for fast build and easy burn-in repairs, and shellac when you need a reversible, stain-blocking sealer.
Strip only if the old film is failing; otherwise scuff-sand 220 grit, vacuum, and tack.
Preserve wood grain by sanding with the fibers and easing edges lightly.
For color matching, test dye or stain on an underside, then seal, and adjust with toner coats.
Apply thin, even coats, maintain a wet edge, and follow cure times.
De-nib 320–400 grit between coats, then rub out to your target sheen.
Frequently Asked Questions
How Do I Identify if My Furniture Is Antique or a Reproduction?
You identify antiques by inspecting joinery, tool marks, and patina; reproductions show uniform machining and faux wear. Check Vintage markings, provenance, and hardware. Use Restoration techniques cautiously; refinishing can erase clues, so document first.
What’s the Safest Way to Remove Mold or Mildew From Wood Furniture?
Sure, invite mold in—then remove it safely: ventilate, wear gloves and an N95. Use gentle cleaning techniques: HEPA-vacuum, then wipe with 70% isopropyl alcohol, minimal moisture. Follow safety precautions; dry fast.
How Can I Match Replacement Hardware to the Original Style?
You’ll nail hardware matching by measuring hole spacing, post size, and projection, then photographing profiles. You’ll verify era cues, finishes, and screw heads for style coordination. You’ll test-fit, then source from salvage, repro catalogs.
When Should I Hire a Professional Furniture Restorer Instead of DIY?
Hire a professional when you face structural damage, veneer delamination, antique value, toxic finishes, or complex repairs beyond your tools. You can handle Furniture cleaning and Wood polishing yourself, but don’t risk irreversible loss.
How Do I Protect Restored Furniture From Future Sun Damage and Fading?
You’ll prevent fading by limiting Sunlight exposure and applying UV protective finishes; that’s no myth—UV photons break lignin and dyes. You should add window film, rotate placement, and maintain topcoats on schedule.
About the Author