You can stop driveway damage from spreading if you inspect it like a job site: map every crack, probe soft spots with a screwdriver, and watch where water pools after a hose test. Then you’ll pick the right fix—crack filler for hairlines, patch mix for wider breaks, and a call for lifting or regrading when the slab’s settling. Clean, dry, repair, and plan to seal—but first you need to confirm what’s causing the movement…
Key Takeaways
- Inspect and map all cracks, ruts, and low spots with chalk, measuring width, depth, and any slab movement.
- Diagnose causes by checking for soft soil, voids, tree roots, and water runoff patterns that feed cracking.
- Fix drainage first by correcting slope, extending downspouts, and adding swales or drains to stop pooling and erosion.
- Repair minor stable cracks under 1/4 inch with crack filler after thorough cleaning and complete drying.
- Call professionals for wide cracks, settlement, or tilting, using mudjacking or foam lifting and proper base compaction.
Inspect Driveway Cracks, Ruts, and Settling
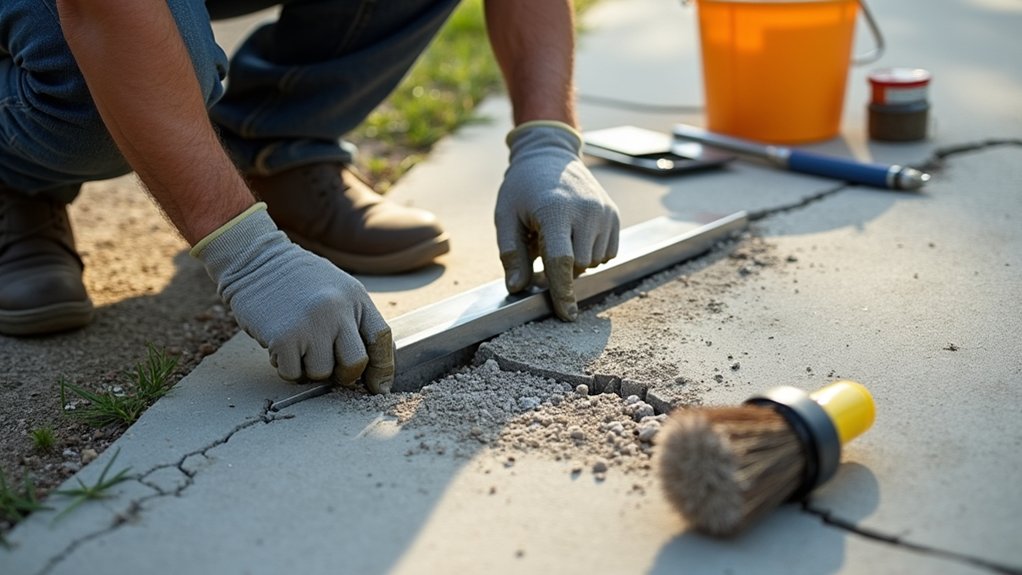
Before you buy patch or sealer, walk the entire driveway and map the damage so you’re fixing the right problem. Bring chalk, a tape measure, a straightedge or 4-foot level, and a notepad.
Mark every crack line, rut, spall, and settled edge, then number each area. Measure rut depth and any low spots by laying the straightedge across them and recording the gap.
Check connectivity points at the garage slab, sidewalks, and street for lips that can trip someone, since driveway safety comes first.
Look for pooling after a hose test or recent rain, and trace where water flows. Photograph each marked zone for reference.
This quick survey protects driveway aesthetics by keeping repairs consistent and prevents missed damage from spreading.
Identify Crack Types and Severity Fast
Grab chalk, a tape measure, and a flashlight, then mark each crack and match it to common patterns like hairline, alligator, longitudinal, transverse, or edge cracks.
Measure width and length, and note depth or movement with a screwdriver tip so you can sort minor surface splits from structural failures.
Watch for severity signs like widening gaps, crumbling edges, standing water, or nearby settling, because they tell you whether you’re sealing, patching, or planning a deeper fix.
Common Crack Patterns
Why guess at a repair when the crack’s shape already tells you what’s going on? Start with crack pattern recognition: sweep debris, then trace lines with sidewalk chalk and a straightedge.
Long, straight cracks that mirror your driveway expansion joints usually track movement at control cuts; plan a flexible filler there.
Spiderweb or “map” cracking shows a network of short, connected lines; mark the boundaries so you can clean and seal the whole field, not single strands.
Diagonal corner cracks often run from slab edges inward; measure length and note direction for targeted routing.
Parallel cracks along one edge suggest repeating stress; follow them with a tape measure and flag their ends.
Photograph each pattern for your repair checklist.
Severity Signs To Watch
As soon as you’ve traced the crack pattern, check severity with three quick tests: measure width with a ruler or crack gauge, probe depth and edge firmness with a flathead screwdriver, and run a 4‑ft level (or straightedge) across it to spot height offset.
If the crack’s under 1/8 in. and edges stay solid, you’re usually in surface-seal territory. At 1/8–1/2 in., plan to rout, clean, and fill; watch for spalling, loose aggregate, or sandy edges.
Over 1/2 in., branching, or any vertical offset means base movement—mark it and consider patching or slab replacement.
Next, check for water staining, weeds, and pumping mud after rain; that signals voids. Use chalk to map growth and stage repair tools without sacrificing Driveway aesthetics.
Find the Root Cause of Driveway Cracking
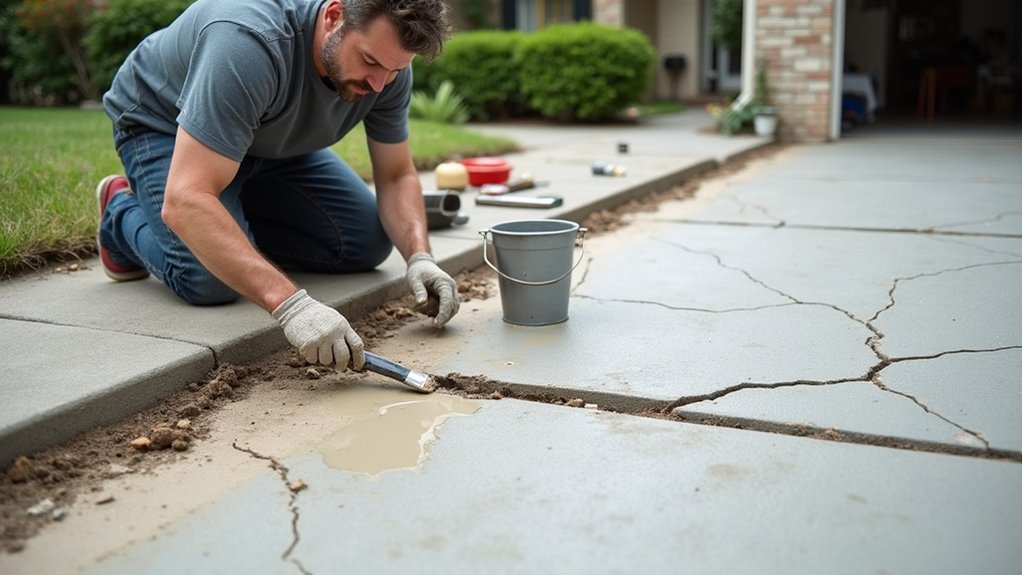
Grab a shovel and a probe/rod, then check the crack line for soft spots, voids, or pumping soil that signals base or subgrade problems.
Next, use a level and a hose test to spot low areas, poor slope, and runoff that’s soaking the slab and washing out support.
Mark what you find with chalk so you can fix the cause—not just patch the crack.
Identify Underlying Soil Issues
Even if you patch every crack you can see, the driveway will keep splitting if the soil underneath shifts or washes out. To spot soil problems, grab a 4-foot level, a tape measure, and a screwdriver.
Check for settled areas by laying the level across the slab and measuring gaps. Probe along crack edges; if the screwdriver sinks easily, you’ve got loose fill.
Look for heaving by marking high spots with chalk and rechecking after a week. Note nearby tree roots, recent excavation, or heavy vehicle paths—key environmental factors that change soil density.
For a quick check, dig a small test hole at the edge and examine layers; soft, mixed, or voided material signals you’ll need soil stabilization before repairs.
Assess Drainage And Water Damage
Because water is the fastest way to undermine a slab, start by mapping where it goes during a hard rain. Grab chalk, a level, and a flashlight; mark puddles, flow lines, and any spots where runoff heads toward cracks or the garage.
Check the slope with a 4-foot level; you want consistent fall away from structures.
Next, inspect gutters and downspouts with a hose test. If water dumps near the driveway, add extensions or a splash block.
Probe joints and cracks with a putty knife; soft edges or sandy fines signal washout below. Look for eroded soil at the sides and staining on the concrete.
Plan stormwater management fixes: regrade soil, add a swale, or install French drains and channel drains as part of your drainage systems.
Choose DIY vs. Pro Driveway Repair
Where should you draw the line between a DIY patch and calling a contractor? Start by measuring the crack width with a ruler and probing depth with a putty knife. If cracks are hairline to 1/4 inch, edges are stable, and the slab hasn’t settled, you can handle it with a caulk gun, crack filler, and a wire brush.
Put on gloves, eye protection, and a dust mask for DIY safety. If cracks exceed 1/2 inch, sections tilt, potholes keep returning, or water undermines the base, switch to a pro. You’ll likely need a concrete saw, compactor, or lifting gear.
Get two written bids, itemize materials and labor, and compare warranties against professional costs.
Prep the Driveway for Crack Repair

Before you squeeze any filler into a crack, prep the surface so it can actually bond. Start by clearing debris with a stiff broom, then blow out the crack using a leaf blower or compressed air. Dig out packed dirt and loose asphalt or concrete with a flat screwdriver, wire brush, or crack-cleaning tool. Rinse with a hose or pressure washer on a low, controlled setting; don’t undercut edges.
Scrub oil spots with degreaser and a nylon brush, then rinse again. Let everything dry fully—use a shop vac to pull out standing water and speed drying. Mask edges with painter’s tape for clean lines and better driveway aesthetics. Trim encroaching grass and edge neatly for smooth lawn integration.
Fill Small Driveway Cracks With Crack Filler
Once the crack is clean and bone-dry, load your driveway crack filler into a caulk gun (or shake and open the pourable bottle) and run a steady bead directly into the crack. Keep the tip tight to the groove so you don’t trap air. Overfill slightly, then smooth it with a putty knife or crack trowel, pressing filler down to bond with both sides.
Wipe excess off the surface before it skins over. If the product calls for a second pass, wait the stated time and top it off.
Let it cure fully, then sprinkle sand if required to match texture and reduce tracking. You’ll seal driveway gaps fast, and your cost estimate stays low with one tube for several feet.
Patch Wide Cracks, Holes, and Crumbling Edges
Although small fillers handle hairline splits, you’ll need a patching compound for wide cracks, potholes, and edges that have started to crumble. Grab a cold chisel, hammer, stiff wire brush, shop vac, and trowel.
Undercut loose material so the patch can lock in, then brush and vacuum dust and grit. Mist the area lightly if your product calls for it.
For deep holes, pack patch in layers, tamping each lift with a hand tamper or the end of a 2×4. Overfill slightly, then screed and trowel flush to match the surrounding grade.
Feather edges to Seal surface and enhance appearance. Keep traffic off until it cures per the label, then sand high spots if needed.
Fix Driveway Settling, Drainage, and Seal It Up
Patches won’t stay put if the slab keeps sinking or water keeps pooling, so tackle settling and drainage next, then lock everything in with sealer.
Mark low spots with chalk, then drill 1/2-inch holes and use a polyurethane foam or mudjacking kit to lift the slab; check level with a 4-foot straightedge.
For persistent pooling, cut a shallow swale with a flat shovel, add compacted gravel, and extend downspouts with solid pipe to daylight.
Clean the surface using a pressure washer, then let it dry fully.
Tape joints, back-roll a penetrating concrete sealer, and brush edges with a sash brush.
This protects driveway aesthetics and preps for decorative overlays without trapping moisture or salts.
Frequently Asked Questions
How Much Does Driveway Crack Repair Typically Cost per Linear Foot?
Expect $1–$3 per linear foot for crack repair—prices can skyrocket overnight. Measure cracks, clean with wire brush, blow debris, apply filler/caulk, then schedule driveway sealing; consider asphalt resurfacing if cracks spread fast.
Will Crack Repairs Match My Driveway Color and Texture?
Yes, you can get close, but perfect matches are rare. For Color matching, tint filler, test on scrap, and seal. For Texture blending, tool edges with a trowel, then broom-finish.
How Long Should I Keep Cars off After Repairs Cure?
Keep cars off 24–48 hours; wait 72 hours for heavy vehicles. Nearly 90% of cure failures come from early traffic. Use Maintenance tips: check tackiness, moisture. DIY methods: fan, tarp, thermometer, timer.
Can Repaired Cracks Reopen During Freeze-Thaw Cycles?
Yes, repaired cracks can reopen during Freeze thaw cycles. You’ll reduce it by cleaning, routing, and filling with flexible sealant, then checking expansion joints, re-sealing gaps, and keeping water out with a good sealer.
Does Homeowners Insurance Cover Driveway Crack or Settling Repairs?
Usually, your homeowners insurance won’t cover driveway cracks or settling; 1 in 4 claims get denied, so check. Review Insurance coverage, photograph damage, read exclusions, call your agent, then start the Repair process.
About the Author