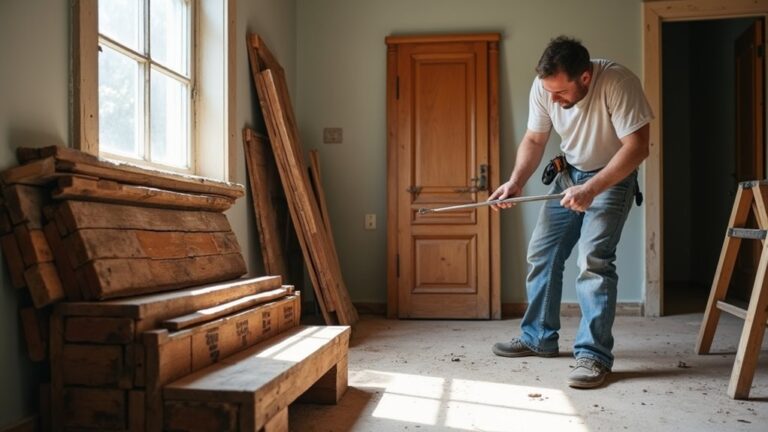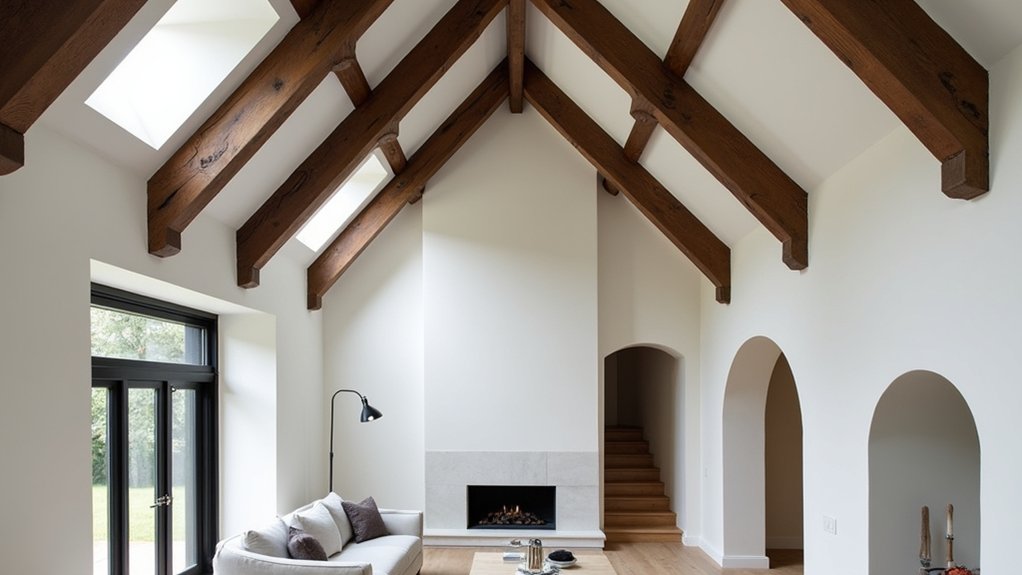
When you renovate around Tudor beams, you’re managing heritage timber in a modern performance envelope. You start by verifying soundness: moisture levels, probe resistance, joint movement, and any active beetle flight holes. Then you clean with restraint, keeping tool marks and patina intact. You repair cracks and loosened tenons with sympathetic fixes, not cosmetic fillers, and you finish with breathable systems that won’t trap damp. The real risk shows up in the steps you’d normally skip…
How to Tell If Tudor Beams Are Sound
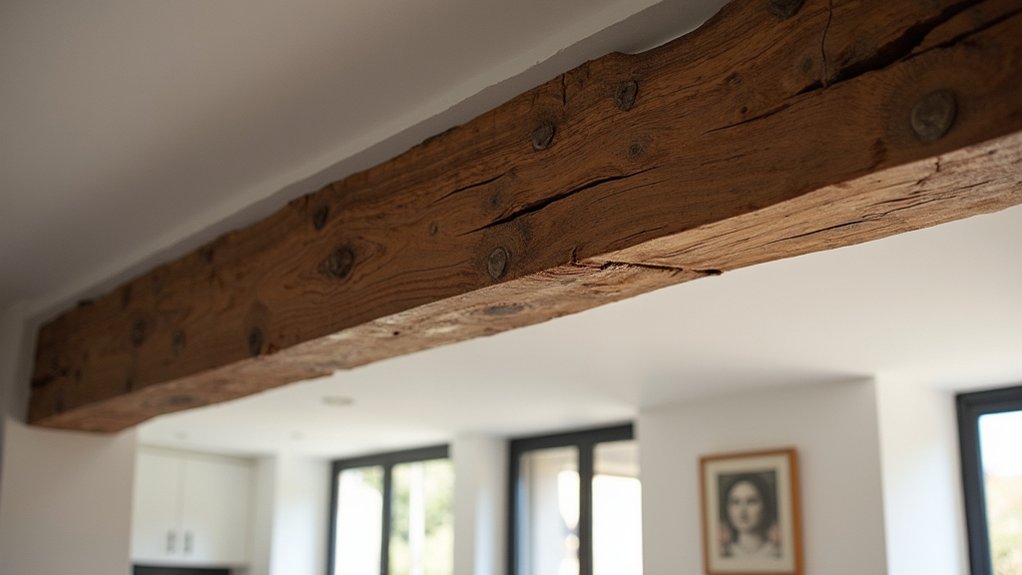
Before you strip, sand, or stain anything, you need to confirm the beams are structurally sound rather than just cosmetically aged. Start with a moisture check: readings above ~20% signal ongoing risk and justify tracing leaks or condensation.
Probe suspect areas with an awl; sound timber resists and produces crisp shavings, while decay feels spongy and crushes. Look for powdery frass, flight holes, and fresh dust that indicate active insect attack, not historic peppering.
Verify bearing points: check pockets, posts, and joints for compression, rotation, or gaps; measure deflection and note new cracks that track along grain.
When you document findings, you protect Historical authenticity and choose Beam restoration techniques that match market expectations and structural load paths.
Clean Tudor Wood Beams Without Stripping Character
Although it’s tempting to attack Tudor beams with aggressive sanding or chemical strippers, the market rewards surfaces that read as genuinely old—tool marks, smoke patina, and softened edges—so your cleaning plan should remove grime and contaminants without erasing that evidence of age.
Start dry: vacuum with a soft brush and use a natural-bristle brush to lift dust from checks and corners. Then test a small, hidden area and move to a damp wipe using pH-neutral soap in warm water; keep moisture minimal and dry immediately to avoid raising grain.
For greasy deposits, use mineral spirits on a cloth, rotating often, and ventilate well.
You’ll preserve Historical authenticity and demonstrate Sustainable restoration by limiting abrasion, using reversible methods, and documenting products used.
Repair Cracks, Beetle Damage, and Loose Joints
Where do you start when Tudor beams show checks, beetle exit holes, and joints that have begun to work loose? Begin with diagnosis: map cracks, probe for soft fibers, and confirm active infestation with fresh frass.
If beetles are active, you’ll isolate the area and specify a borate treatment compatible with occupied interiors, then replace only structurally compromised sections.
For checks, you’ll avoid rigid fillers; instead, stitch critical splits with concealed timber screws or dutchman patches, keeping surfaces legible for Historical accuracy.
Rebuild loosened mortise-and-tenon joints by re-pegging with seasoned oak and reversible hide-glue where appropriate, not construction adhesive.
Finally, you’ll document every intervention—buyers increasingly pay for Authentic restoration backed by records and measurable structural performance.
Seal and Finish Tudor Beams for Modern Rooms
Once you’ve stabilized cracks, treated any beetle activity, and tightened joints, you can seal and finish the Tudor beams to perform in a modern interior without erasing their age. Start by vacuuming dust, then wipe with mineral spirits to reveal blotching and residual oils.
Choose a breathable system: a low-sheen hardwax oil or matte, waterborne polyurethane designed for tannin-rich oak. Spot-prime knots and iron staining with a shellac-based sealer to prevent bleed-through.
Apply thin coats, working end grain first, and maintain wet edges to avoid lap marks on faceted hewn surfaces. In today’s renovation market, buyers value authenticity, so keep sheen under 10 gloss units for Historical preservation.
Use tinted wax sparingly for Decorative accents, not uniform color. Verify VOC compliance and cure times.
Light and Style Around Tudor Beams for Balance
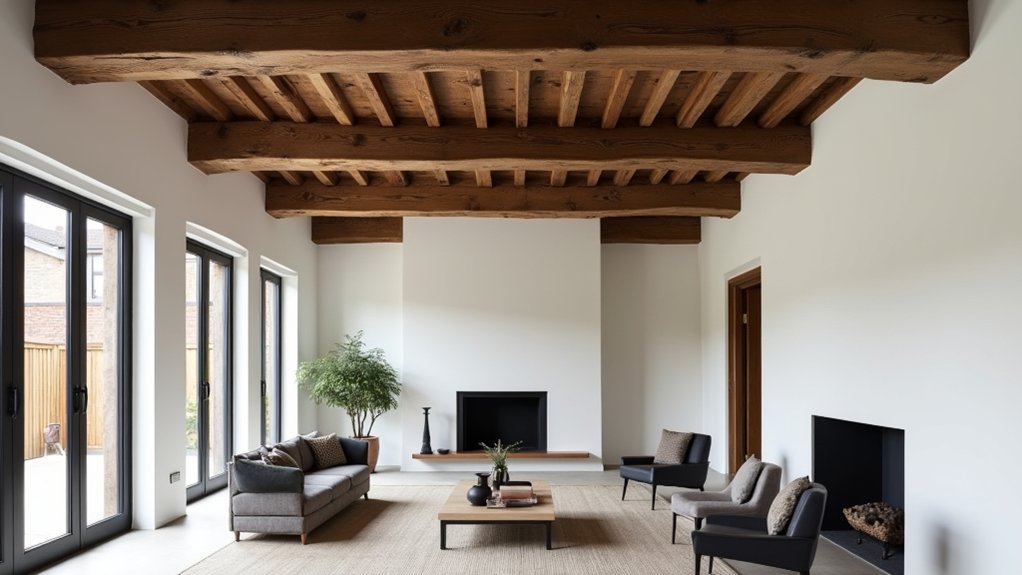
Because Tudor beams read visually heavier than most modern trim, you’ll get the best balance by designing the light plan and surrounding finishes to counterweight their mass rather than compete with it.
Use layered lighting accents: recessed downlights set off the beam faces, wall washers to lift adjacent plaster, and dimmable pendants hung below the beam line to keep glare off the grain.
Keep color temperature consistent (2700–3000K) so the wood reads rich, not muddy.
Choose matte ceilings and lighter wall paints to raise reflectance and widen the room’s perceived volume.
Build decorative contrasts with slim black metal, pale oak cabinetry, or smooth stone, avoiding chunky rustic fixtures that double the heft.
If you add sconces, center them between bays to regularize rhythm.
Frequently Asked Questions
Can I Reuse Salvaged Tudor Beams From Another Property Legally?
Yes, you can, but you must verify title, salvage rights, and listed-building/heritage consents. Keep invoices, provenance, and chain-of-custody. Follow local codes for structural grading, Historical authenticity, and Beam restoration documentation before installation.
Do Exposed Tudor Beams Affect Home Insurance or Resale Value?
Yes—exposed Tudor beams can raise resale value through historical authenticity and aesthetic appeal, but they may affect insurance if structural integrity, fire rating, pests, or moisture aren’t documented. You’ll secure smoother underwriting with inspections and certificates.
How Do I Meet Fire-Safety Codes With Original Timber Beams?
You’ll meet fire-safety codes by adding tested intumescent coatings or boxing beams with fire-rated board, while preserving Historical authenticity and Structural integrity. Like a kiln test showing 30-minute ratings, you’ll document approvals and inspections.
Are Tudor Beams Suitable for Supporting New Floors or Loft Conversions?
You can use Tudor beams for new floors or loft conversions, but you must verify Structural integrity with engineering assessment, load calculations, and decay checks. If undersized, you’ll reinforce them while keeping Decorative accents visible.
What Are the Best Ways to Hide Wiring Around Exposed Tudor Beams?
Choose clever, covert cabling: route wiring through ceiling voids, boxed pelmets, or matched timber conduit behind beams. Use concealed lighting with recessed drivers, and disciplined cable management via clips and trunking; don’t notch historic timbers.
About the Author