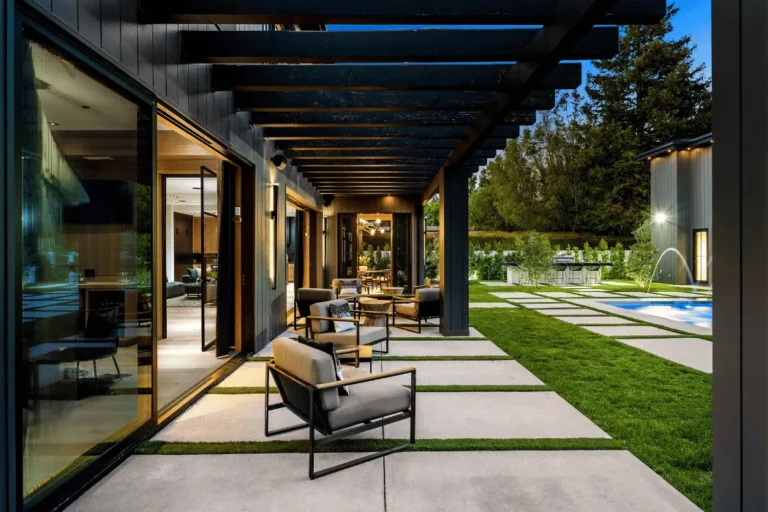
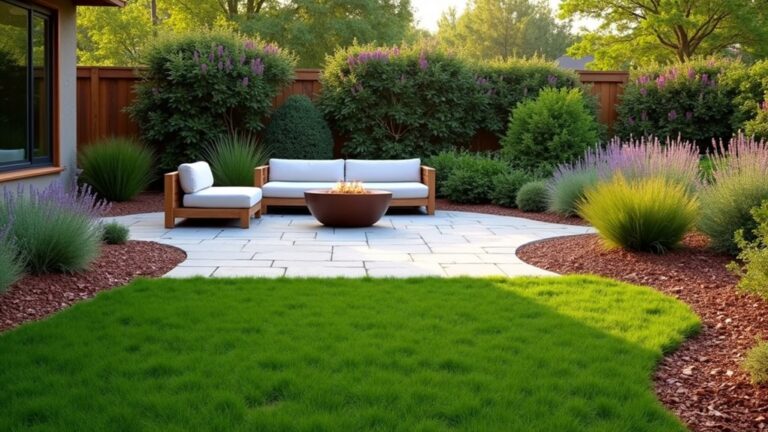
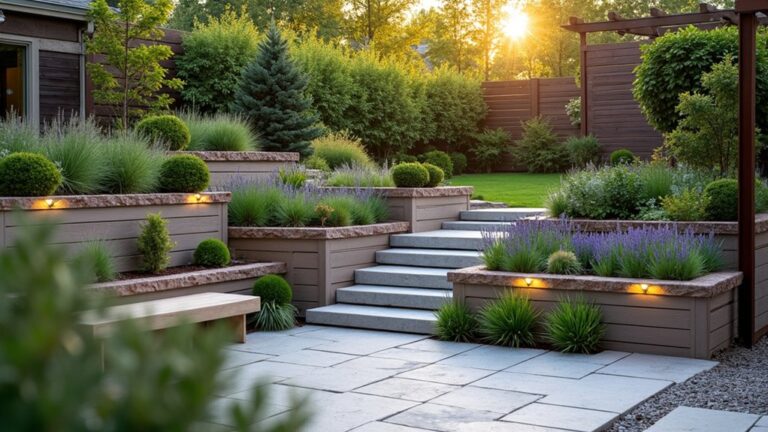
If you’ve ever hosted a small dinner on your deck and watched guests miss a step near the stairs, you already know why lighting needs a plan. You’ll get better results by mapping zones for dining, walking, and seating, then layering step, rail, and low-glare accent fixtures in warm color temperatures. You’ll also need weather-rated equipment, protected wiring, and GFCI coverage to meet outdoor safety requirements—because the next choice determines whether your setup is safe and usable.
Key Takeaways
- Plan lighting goals for safety, tasks, and ambience, choosing warm LEDs (2700–3000K) and target brightness to avoid harsh glare.
- Map the patio/deck into zones—paths, steps, dining, seating—and assign suitable fixture types to each for clear, even coverage.
- Prioritize step, rail, and path lights mounted low and shielded to outline edges and prevent trip hazards.
- Add layered lighting: task lights for grills/tables, ambient string or downlights for glow, and accents aimed at features, minimizing spillover.
- Use outdoor-rated, wet-location fixtures with GFCI protection, safe cable routing, and timers/dimmers or sensors for control and efficiency.
Start With Your Patio and Deck Lighting Goals
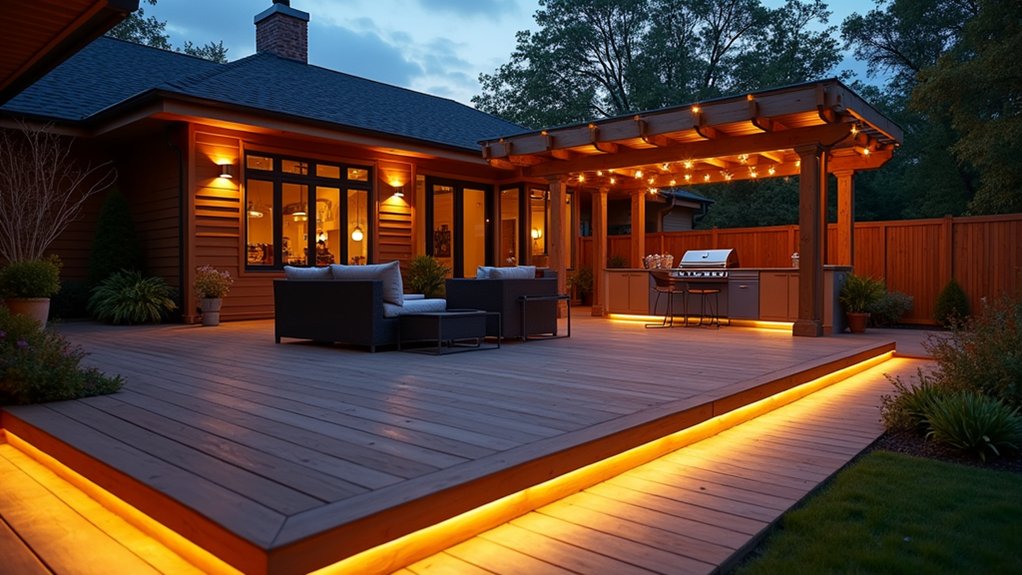
Before you pick fixtures or run any wire, define what you need your patio and deck lighting to do: provide safe, glare-controlled visibility on steps and walking paths, highlight key features like seating or railings, and meet any security or code requirements for your space.
Set target light levels and choose color temperature deliberately: warmer CCT reduces harshness, while adequate lumen output prevents trip hazards.
Decide whether you’ll use low-voltage, line-voltage, or solar based on load, distance, and weather exposure, and plan for GFCI protection and wet-location ratings.
Keep landscape aesthetics in check by aiming light where it’s useful, shielding sources, and avoiding spill into neighbors’ windows.
Prioritize energy efficiency with LEDs, dimming, and timers or motion sensing to limit runtime.
Map Lighting Zones: Dining, Paths, Steps, Seating
Once you’ve set your performance goals, map your patio and deck into distinct lighting zones—dining, paths, steps, and seating—so each area gets the right light level and control strategy. Sketch the footprint, then mark high-traffic routes, door thresholds, and any elevation changes.
For dining, plan even task light over the table and keep spill light out of sightlines to reduce glare.
For paths, define continuous guidance from entry to seating, with consistent brightness and no dark gaps.
For steps, prioritize uniform illumination across treads and landings, and note where shadows could hide edges.
For seating, target comfortable ambient levels and optional dimming.
Tie zones to circuits, timers, or sensors for energy efficiency, and align fixtures with planting lines for landscape integration.
Choose Patio and Deck Light Types (Step, Rail, Spot, String)
Match each zone to a fixture type so you’re adding visibility where trips and falls happen most. You’ll use step and rail lights to define edges and handholds with glare-controlled, low-level illumination that won’t blind you on the stairs.
You’ll add spot and string lights to layer task and ambient light, but you’ll keep beam angles, mounting height, and weather ratings in check so cords, heat, and exposure don’t create hazards.
Step And Rail Lights
Although they’re small fixtures, step and rail lights do the heavy lifting for deck and patio safety by clearly outlining edges, risers, and handholds in low light.
Install them on stair risers, side stringers, and along rail posts to create consistent, glare-controlled guidance without washing out your sightlines.
Choose a sealed, outdoor-rated housing and an LED bulb with a warm color temperature for comfort and accurate depth perception.
Confirm the power source before you buy: low-voltage systems need a compatible transformer and proper cable routing, while line-voltage fixtures require code-compliant junction boxes and GFCI protection.
Mount lights so you don’t create trip hazards with protruding hardware, and aim them downward to reduce shadows and preserve visibility.
Spot And String Lights
If you need both task visibility and a relaxed glow on your patio or deck, combine spot lights with string lights to control where illumination lands and where ambiance fills in. Aim spots at grill zones, stairs, and seating edges, then keep beams off neighbors’ windows by using adjustable shrouds and careful angles.
For string lights, mount to solid posts or structural members, not railing pickets, and keep spans tight to prevent sagging and trip hazards. Choose outdoor-rated, weather-sealed fixtures, and run cables through UV-resistant clips with drip loops before any connections.
Use LED lamps and a timer or dimmer to boost energy efficiency. Warm color temperatures support garden aesthetics while maintaining safe, usable light levels. Keep cords clear of heat and water.
Place Deck and Patio Lights for Safe, Glare-Free Footing
Because a mis-aimed fixture can create harsh glare and deep shadows, place deck and patio lights where they illuminate walking surfaces from the side rather than straight into your eyes.
Mount step lights on risers, not treads, and space them so each tread edge is visible without hot spots.
Use shielded downlights under rail caps or benches to wash the deck, and aim wall sconces across traffic paths, not at eye level.
On stairs, add a light at the top and bottom landings to define passages.
Keep fixtures outside the walking line to prevent toe-kicks and trip hazards, and route cables away from pinch points.
Choose Decorative fixtures with full cutoffs and LED drivers for Energy efficiency and safer, cooler operation.
Set Ambience With Layers, Lumens, and Warm Color Temps
After you’ve set glare-free footing, you’ll get the best results by splitting your deck or patio into layered lighting zones—task, circulation, and accent—so each area gets only the light it needs.
Specify warm color temperatures (about 2700–3000K) and choose lumen outputs that provide comfortable visibility without washing out faces or creating harsh contrast.
Add dimming or separate switching so you can reduce output when the space is occupied and keep safety lighting consistent on paths and steps.
Layered Lighting Zones
While one bright fixture can light a patio, it rarely makes it usable or safe, so you’ll get better results by building layered lighting zones. Start with task light where you work: grill, prep counter, and dining table.
Add path lighting along travel lines, spacing fixtures to avoid glare and dark gaps that cause trips. Then place step lights or low-level riser lights on every change in elevation, and aim them downward for shielded cutoff.
Finish with accent light for landscape integration—wash a planting bed or highlight a railing—so edges read clearly without harsh hotspots. Separate each zone on its own switch or circuit so you can light only what you need, improving energy efficiency and reducing nuisance brightness for neighbors.
Warm Lumens And Dimming
Layered lighting zones give you control over where light lands; warm lumens and dimming give you control over how that light feels and how well it supports safe movement.
Choose a warm color temperature (2200K–3000K) to reduce glare and keep faces and surfaces readable. Set task areas like steps, grill zones, and gates brighter, then dim seating zones to avoid harsh contrast.
Use fixtures rated for damp/wet locations and aim beams downward to cut spill and shadows. Add dimming controls matched to the driver (LED, low-voltage, or line-voltage) so you don’t get flicker or dropouts.
Program scenes: “Arrival” at higher output, “Dinner” mid-level, and “Night” low for wayfinding without waking neighbors.
Choose Power and Install Weatherproof Outdoor Lighting
Where should your patio or deck lights draw power from without creating a shock or fire risk? Start with a GFCI-protected outdoor receptacle or a dedicated circuit run by a licensed electrician.
For low-voltage systems, use a listed transformer and keep line-voltage connections inside approved junction boxes.
If you prefer solar power, choose fixtures with replaceable batteries and rated panels; you’ll improve energy efficiency while avoiding trenching and cords.
Install only wet-location or damp-location rated luminaires, and match IP ratings to exposure.
Use UV-resistant cable, stake it clear of foot traffic, and protect it in conduit where it crosses edges.
Seal penetrations with exterior-rated gaskets, add drip loops, and torque fittings to spec.
Test the GFCI monthly.
Frequently Asked Questions
What Permits or Inspections Are Required for New Outdoor Electrical Lighting?
You’ll usually need an electrical permit and a final inspection; many jobs require a rough-in too. About 70% of DIY faults trace to wiring errors. Follow Electrical codes, use the local Permit process, and schedule inspections.
How Can I Deter Insects While Keeping Patio and Deck Lighting Bright?
You’ll deter insects by using warm LEDs (2200–2700K), shielding fixtures, and keeping Bug prevention in mind: avoid UV. Optimize Light placement by aiming down, separating lights from seating, and adding a fan.
What Lighting Options Work Best for Renters or Temporary Installations?
You’ll do best with portable options: clamp-on LEDs, plug-in string lights, and battery powered fixtures. You’ll mount without drilling, route cords safely, use weather-rated gear, and add timers or motion sensors for efficient lighting.
How Do I Protect Outdoor Lights From Salt Air, Snow, or Heavy Rain?
Choose weatherproof fixtures rated IP65+ and marine-grade materials; seal entries with gaskets, dielectric grease, and heat-shrink to support corrosion prevention. Mount under eaves, add drip loops, elevate above snow, and use GFCI protection.
Can Patio and Deck Lighting Increase Home Value or Help With Resale?
Yes—like curb appeal’s spotlight, well-designed patio and deck lighting can boost resale by improving landscape aesthetics and perceived usability. You’ll win points with energy efficiency, safe wiring, GFCI protection, and code-compliant, weather-rated fixtures.
About the Author