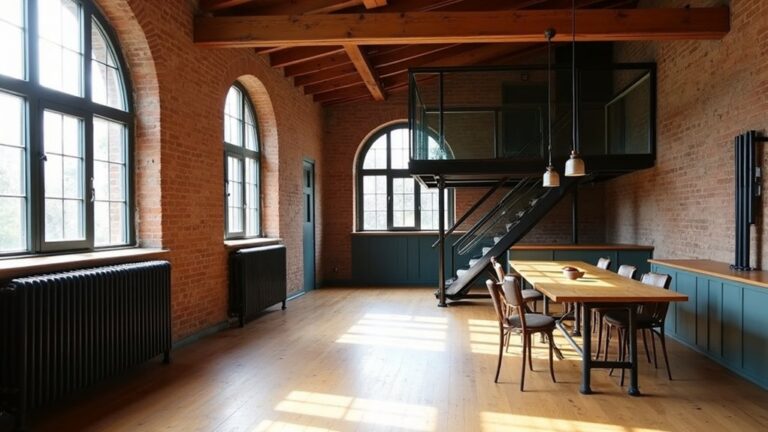
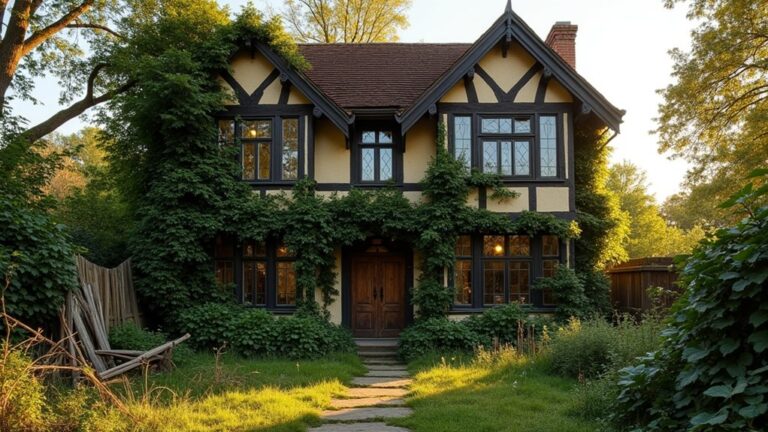
You can’t start making an old bothy beautiful until you’ve proved it’s safe, dry, and lawful. You assess structure first—roof lines, wall movement, timber decay—then make it weather-tight with sound coverings, flashed openings, and controlled ventilation. You set a budget, confirm access and permissions, and choose breathable repairs like lime mortar over cement to protect the fabric. Once damp paths and heat loss are mapped, your next decisions get more technical…
Key Takeaways
- Start with a measured survey and structural assessment; document cracks, bulges, open joints, and foundation settlement before designing any repairs.
- Make the building weather-tight first: replace missing slates, repair underlay, clear gutters, add flashings, and direct downpipes to soakaways.
- Repair masonry and timber correctly: use compatible lime mortar, fix failed bearings and rot, and protect fresh joints with hessian and misting.
- Control damp and comfort together: grade ground away, add drainage if needed, maintain cross-ventilation, and choose vapor-open insulation with sealed junctions.
- Plan permissions, budget, and services early: check listed status, allow 15–25% contingency, and design off-grid power, water, and heating safely.
Survey the Bothy for Structural Risks
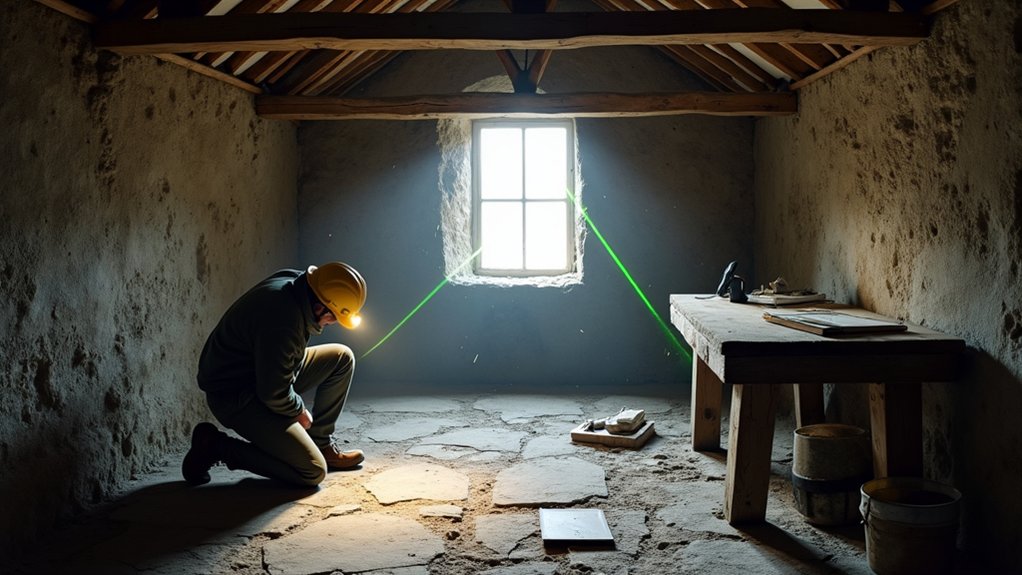
Before you draw up plans or strip out finishes, carry out a methodical structural survey of the bothy so you can identify any instability that could worsen during renovation.
Start with a Structural assessment: document wall plumb, bulges, open joints, and prior patching; photograph and sketch crack patterns, noting width and direction.
Check foundation stability by probing for settlement, undermining, washout, and soft spots at corners and openings.
Inspect lintels, gable ends, and roof thrust lines where spread can push masonry outward.
Test timber elements for rot, insect damage, and bearing failure, especially at joist ends and wall plates.
Confirm load paths, verify any alterations, and flag code-required engineer review for significant cracking, deflection, or compromised supports.
Log findings for permits.
Make the Bothy Weather-Tight First
Once you’ve logged any structural risks, secure the bothy against water and wind so your repairs don’t get undone mid-project. Start at the roof: replace missing slates, re-fix loose ones with copper nails, and patch underlay tears with compatible membrane tape. Clear gutters, rehang safely, and add discreet lead or EPDM flashings at abutments, keeping original details where sound.
Next, stop driven rain at walls and openings. Repoint with breathable lime mortar, not cement, and replace failed stones in kind.
Fit temporary sheeting over broken windows, then install repaired sashes with drip edges and compressible seals.
Use Weatherproofing techniques like capillary breaks at thresholds, and Exterior sealing methods such as backer rod plus lime-compatible sealant at junctions.
Ventilate to prevent trapped moisture.
Set Your Budget and Check Permissions
Although it’s tempting to jump straight into repairs, you’ll save time and protect the building’s character by setting a realistic budget and confirming what permissions apply to your bothy. Start Budget planning with a measured survey: note structural defects, roof coverage, joinery condition, services, access, and waste removal.
Build a line-by-line cost plan, include contingency (15–25%), and ring-fence funds for conservation-grade materials and skilled trades.
Next, run permission checks early. Confirm ownership boundaries, rights of way, and any designations (listed status, conservation area, SSSI, national park).
Speak to the local planning authority about change of use, external alterations, windows, roofing materials, and any new openings.
Check Building Regulations requirements for structure, fire safety, insulation upgrades, electrics, and sanitation before you commit to drawings or orders.
Stop Damp With Drainage and Airflow
Where does damp really start in an old bothy—inside the walls or out in the ground? Start outside: grade soil to fall away, clear gutters, and extend downpipes to lawful soakaways. Add perimeter drainage solutions only where needed, using geotextile, clean stone, and rodding points so you can maintain them. Keep any trench below the floor level but don’t undermine footings; follow local regs and consult an engineer if levels are tight.
Then manage air. You can’t dry what you don’t ventilate. Unblock existing vents, add discreet underfloor cross-ventilation, and fit humidity-controlled ventilation systems in enclosed rooms. Maintain clear air paths, avoid sealing floors with impermeable finishes, and monitor moisture with a meter through the seasons.
Repair Stonework With Lime, Not Cement

When you repair a bothy’s stonework, you’ll get a longer-lasting, code-respectful result with lime mortar because it stays vapor-permeable and moves with the masonry, unlike hard cement that can crack stone and lock in damp.
You’ll need to mix lime mortar to the right binder-to-aggregate ratio with clean, well-graded sand and controlled water so it cures by carbonation rather than setting like concrete.
When you repoint, you should rake joints to sound material and pack in compatible lime in lifts, keeping faces clean and joints breathable so you don’t trap moisture behind the wall.
Why Lime Beats Cement
Why does lime beat cement for old bothy stonework? Your walls were built to move and breathe, so you need a mortar that matches them. Using Traditional techniques, you’ll choose lime because it stays vapor-permeable, letting trapped moisture escape instead of driving it through stone or into timber. That reduces frost damage, salt spalling, and internal damp.
Lime’s lower strength and flexibility accommodate settlement and thermal cycling, so joints sacrificially wear before the stone does—key lime advantages for conservation. Cement cures dense and rigid, often creating hairline cracks at the stone edge and forcing water to track behind the pointing.
Most conservation specs and listed-building guidance favor compatible, reversible repairs, and lime keeps the historic fabric serviceable.
Mixing Lime Mortar Properly
Although lime mortar looks simple on paper, you’ll only get durable, conservation-grade joints if you control the binder type, aggregate grading, and water from the start.
Confirm Lime mortar composition: use NHL for exposed, higher-load work, or lime putty for softer historic masonry; never blend with Portland cement.
Select sharp, well-graded sand (often 0–4 mm) and keep salts and clay out to meet conservation specs.
Measure by volume, typically 1 part lime to 2.5–3 parts sand unless your engineer or local guidance states otherwise.
Use Proper mixing techniques: dry-blend sand first, then add lime, then water slowly.
Mix to a cohesive, plastic ball that holds ridges, then rest (fatten) before use.
Record ratios for consistency.
Repointing Without Trapping Moisture
Once you’ve locked in a consistent lime-to-sand mix, the next job is getting it into the wall in a way that lets the bothy breathe.
Rake joints by hand to 2–2.5× joint width, stopping before you destabilize stones. Brush and mist; you want damp, not dripping, so lime bonds without shrinkage.
Pack mortar in tight lifts, fully filling voids, then tool it slightly recessed to shed water. Don’t smear over faces; you’ll create moisture barriers that trap salts and frost damage.
Skip hard cement and waterproof sealers—most conservation specs prohibit them on rubble stone.
Protect fresh work from sun, wind, and rain with hessian and light misting for several days. These repair techniques keep vapor permeability while meeting durability expectations.
Insulate the Bothy Without Trapping Moisture
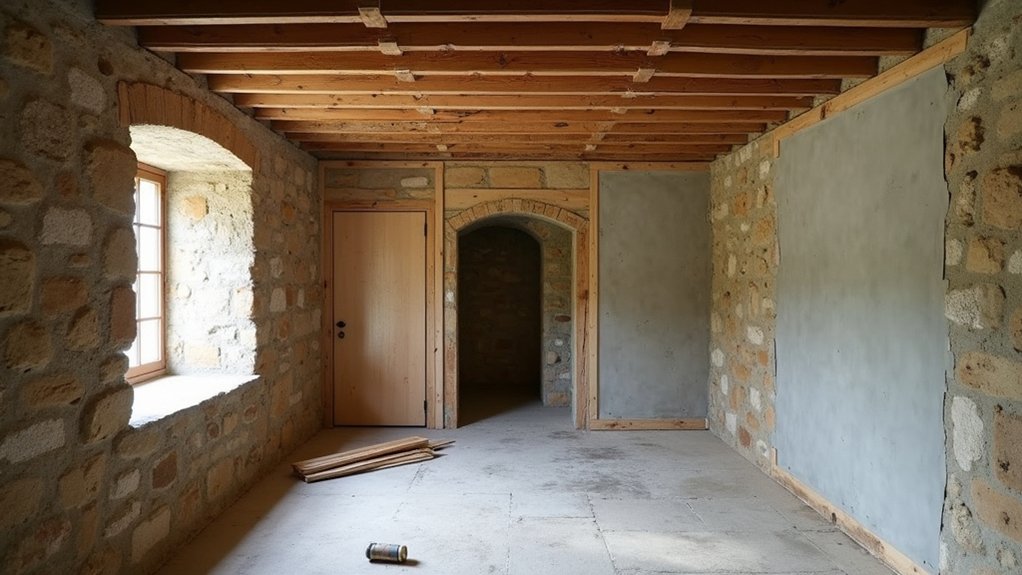
If you insulate an old bothy the same way you’d insulate a modern stud wall, you can trap moisture in the stone and timber and accelerate rot, mould, and spalling.
Start by diagnosing damp sources, then choose vapor-open, capillary-active materials that support moisture migration, like wood fibre, hemp-lime, or mineral wool paired with lime plaster.
Keep any interior lining off the masonry with battens and a service cavity so you don’t puncture the air layer with wiring.
Air-seal carefully at junctions using compatible tapes and gaskets, but avoid polyethylene vapour barriers unless a hygrothermal assessment justifies it.
Maintain continuous insulation and eliminate insulation gaps at corners, lintels, and eaves to prevent cold bridges and condensation.
Meet local U-value targets without compromising historic fabric durability.
Choose Off-Grid Services: Power, Water, Heat
Because a bothy often sits beyond reliable mains connections, you’ll get the best results by designing power, water, and heat as one coordinated off‑grid system that meets current safety codes without compromising historic fabric.
Start with a load assessment, then size renewable energy: roof‑set PV on discreet rails, a ventilated battery cabinet, and an RCD-protected consumer unit with labelled circuits.
Route cabling through existing voids, use fire-stopped penetrations, and keep masonry chasing to a minimum.
For water collection, fit guttering to existing eaves, add a first‑flush diverter, covered tank, and filtration sized for potable or non‑potable use under local rules.
Specify freeze protection and backflow prevention.
For heat, choose a DEFRA‑approved stove or high‑efficiency boiler, with twin‑wall flue clearances and carbon monoxide alarms.
Finish the Bothy Interior for Real Comfort
To make the bothy genuinely comfortable, you’ll insulate with breathable, code-compliant materials that protect the original stonework while you maintain clear airflow paths to manage moisture.
You’ll seal drafts at doors, windows, and service penetrations without trapping condensation, and you’ll verify ventilation rates before you close up finishes.
Then you’ll layer warm, low-glare lighting with durable, space-smart furnishings that respect the bothy’s scale and keep exits, clearances, and heat sources safely separated.
Cozy Insulation And Airflow
While the stone walls and timber roof of an old bothy look rugged, they’ll only feel truly comfortable once you manage heat loss and moisture with a balanced insulation-and-ventilation plan that respects the building’s original breathability.
Start by sealing obvious drafts at window frames and door thresholds with reversible gaskets, not hard foams that trap damp.
Choose compatible insulation materials: breathable wood fiber boards, sheep’s wool, or mineral wool in roof slopes, and avoid impermeable foil-faced products against stone.
Maintain a ventilated cavity where required and keep an unblocked eaves-to-ridge path.
Add controlled ventilation techniques: passive wall vents sized to code, or a small continuous extractor in wet zones, with backdraft protection.
Finally, verify dew-point risk and meet local fire-rating and vapor-control requirements.
Warm Lighting And Furnishings
After you’ve stabilized insulation and airflow, warm lighting and well-chosen furnishings make the bothy feel genuinely lived-in without compromising its historic fabric.
Start with layered lighting: low-watt LED lamps (2700K–3000K) on dimmers for an ambient glow, plus task lights at the table and by the stove.
Keep wiring surface-run in discreet conduit or use existing chases, and install RCD/GFCI protection with appropriately rated fixtures for damp zones.
Choose free-standing pieces over built-ins so you don’t cut original stone or timbers.
Anchor furniture to hearth clearances and maintain required egress paths.
Add soft furnishings—wool throws, lined curtains, and breathable rugs—while keeping textiles off walls to avoid trapping moisture.
Prefer reversible fixings and natural finishes.
Frequently Asked Questions
How Long Does a Typical Bothy Renovation Take From Start to Finish?
A typical bothy renovation takes 6–18 months start to finish—telegraph that timeline early. You’ll face DIY challenges, tighten budget planning, schedule inspections, meet code, preserve fabric, and expect delays from damp, permits, and sourcing.
Can I Rent Out a Renovated Bothy as a Holiday Let Legally?
Yes, you can rent it as a holiday let if you meet Legal regulations: planning consent, change-of-use, building standards, fire safety, licensing, insurance, and tax registration. You’ll then declare rental income and keep preservation conditions satisfied.
What Insurance Do I Need During and After a Bothy Renovation?
Measure twice, cut once: you’ll need builder’s risk insurance coverage and renovation policies for fire, theft, and liability during works. Afterward, switch to buildings/contents plus public liability, compliant inspections, and listed-structure protections.
How Do I Handle Asbestos, Lead Paint, or Other Hazardous Materials?
Assume asbestos/lead until tested; hire licensed pros for hazardous material removal. You’ll follow safety precautions: isolate work zones, use PPE, negative pressure, and proper disposal. Document abatement, protect historic fabric, and meet local code.
Where Can I Source Reclaimed Materials That Match Traditional Bothy Character?
Like finding buried treasure in heather, you’ll source Reclaimed wood and Traditional fixtures at architectural salvage yards, reclamation merchants, estate sales, and online marketplaces. Verify provenance, moisture content, and grading; follow local codes, and document for conservation.
About the Author