You’ll get more out of your utility room when you treat it like a workflow, not a catch-all. Start by mapping how you move through the space, then set clear zones for laundry, cleaning, and supplies. Target clutter hotspots with bins, trays, and labeled boundaries, and match storage to tasks with moisture-resistant cabinets, open shelves, and hooks. Once the layout works, you can upgrade lighting and finishes to lock it in—but placement is where the biggest gains start.
Key Takeaways
- Audit the room’s workflow, clearances, lighting, and outlets to remove pinch points and prevent cord or hose conflicts.
- Create defined laundry, cleaning, and supplies zones, keeping frequently used items closest to where tasks happen.
- Add targeted storage at clutter hotspots with labeled catchall bins, rolling hampers, and an “inbox” bin for items needing relocation.
- Maximize vertical space using moisture-resistant cabinets, adjustable shelves, and grouped wall hooks for brooms, mops, and ironing boards.
- Upgrade lighting, ventilation, and finishes with bright LEDs, better airflow, washable paint, and durable flooring to handle moisture and wear.
Audit Your Utility Room Layout and Workflow
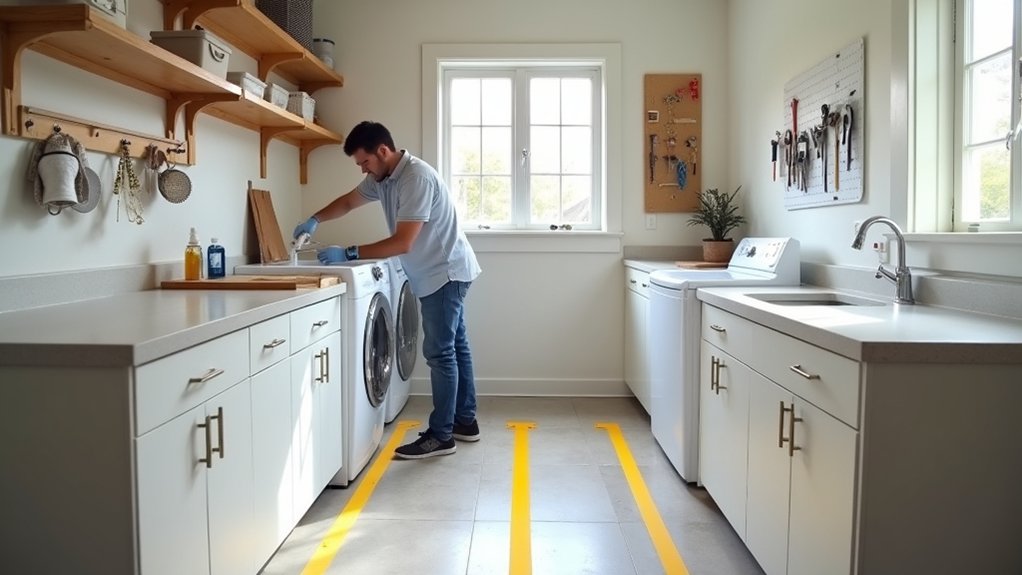
Before you buy shelves or shuffle appliances, map how you actually use the room from entry to exit. Time yourself doing the most common tasks and note every turn, reach, and obstruction. Measure clearances for doors, appliance lids, and walk paths, then mark pinch points with painter’s tape.
Check lighting, outlet locations, and hose or duct runs so you don’t fight cords and connections later. Identify vertical dead space and corners that can take slim, wall-mounted solutions without shrinking the aisle.
Look for moisture, odor, and heat sources; plan ventilation improvements like a quieter exhaust fan or louvered door to protect finishes and reduce mustiness. Finish by choosing minimal decorative accents that won’t steal surfaces or snag movement.
Create Zones: Laundry, Cleaning, and Supplies
Once you’ve mapped the room’s flow, split it into three clear zones—laundry, cleaning, and supplies—so every item lives near the task it supports and you don’t waste steps.
In the laundry zone, keep hampers, stain tools, detergent, and measuring scoop within arm’s reach of the washer, and leave a clear folding surface nearby.
In the cleaning zone, group sprays, brushes, microfiber cloths, and a small bucket together, and store them upright to prevent leaks.
In the supplies zone, consolidate paper goods, lightbulbs, and backup toiletries in labeled bins.
Use Decor organization cues—matching labels, uniform containers, and tight color schemes—to make zones instantly readable.
Mark boundaries with a rug edge or tape line so items don’t drift over time.
Add Utility Room Storage at Clutter Hotspots
Because clutter tends to pile up where you pause—at the door, beside the washer, and under the sink—add storage right at those hotspots so stray items don’t land on open surfaces.
Place a slim catchall tray or lidded bin by the entrance for keys, gloves, and pet gear, then label it so it gets used daily.
Next to the washer, park a rolling bin for dirty rags and a small tote for stain removers, measuring cups, and clothespins.
Under the sink, corral backups in leak-proof tubs and add a pull-out caddy for sponges and brushes.
Keep one “inbox” bin for items that need relocating.
These storage solutions tighten your clutter management and protect every flat surface.
Choose Cabinets, Shelves, and Hooks by Task
When you pick storage by the job it needs to do, your utility room stays clear and everything lands in a designated spot. Start with closed cabinets for supplies you don’t want visible: detergents, paper goods, spare bulbs. Choose Cabinet materials that match moisture and abuse—painted plywood, stainless, or melamine—then reserve one lower cabinet for heavy items.
Use open shelving where you need fast access and easy inventory: bins, towels, pet food. Mix Shelf styles to fit loads: fixed shelves for baskets, adjustable standards for changing needs, and deep shelves for bulky jugs.
Add hooks for tools you grab daily—brooms, mops, dustpans, ironing boards—mounted at hand height and grouped by task zone. Label zones to keep resets quick.
Complete the Utility Room Upgrade With Lighting and Finishes

Even if your storage plan is dialed in, poor lighting and easy-to-scuff finishes can make the utility room feel cramped and hard to use. Start with Lighting design: mount a bright, low-profile LED ceiling fixture for even coverage, then add under-shelf strips over the sink, counter, and sorting zone. Put lights on a motion sensor so you’re never juggling laundry with a switch.
Next, choose finish materials that resist moisture, dents, and stains. Use semi-gloss washable paint on walls, a satin enamel on trim, and a durable floor like luxury vinyl or sealed concrete. Add a rubber mat by the washer to cut vibration and catch drips.
Finally, keep hardware consistent—matching pulls and hooks make the room feel organized. Cleanable, not delicate.
Frequently Asked Questions
What Is the Average Cost to Upgrade a Utility Room?
You’ll typically spend $1,500–$8,000 to upgrade a utility room, depending on scope. Prioritize space-saving cabinets, durable Flooring options, and efficient Decorative lighting. You’ll keep costs down by reusing hookups and minimizing plumbing changes.
Do I Need a Permit to Add Cabinets or Plumbing Changes?
You’ll usually not need a permit for cabinets, but you often do for plumbing changes. Check local permit requirements and plumbing regulations, plan shutoffs and venting, then schedule inspections so you avoid rework.
How Long Does a Typical Utility Room Upgrade Take?
You’ll finish a typical upgrade in 2–7 days—because “quick” still means waiting. Plan: day 1 demo/measure, 2–4 cabinets/plumbing, 5–6 Flooring options, 6–7 Decorative lighting, punch-list, tidy, space-save.
Which Materials Resist Moisture and Mold Best in Utility Rooms?
You’ll get best moisture and mold resistance using Moisture resistant drywall, Mold resistant paint, PVC trim, fiberglass-reinforced panels, and sealed concrete floors. Choose stainless hardware, plastic shelving, and silicone caulk, and keep joints tight to save space.
Can I Upgrade My Utility Room Without Moving Existing Appliances?
Yes, you can. In Jamie’s 6×8 room, you avoid Appliance relocation by adding wall shelves, a fold-down counter, and slim carts. You skip Structural modifications, just anchor studs, reroute hoses neatly, label zones.
About the Author