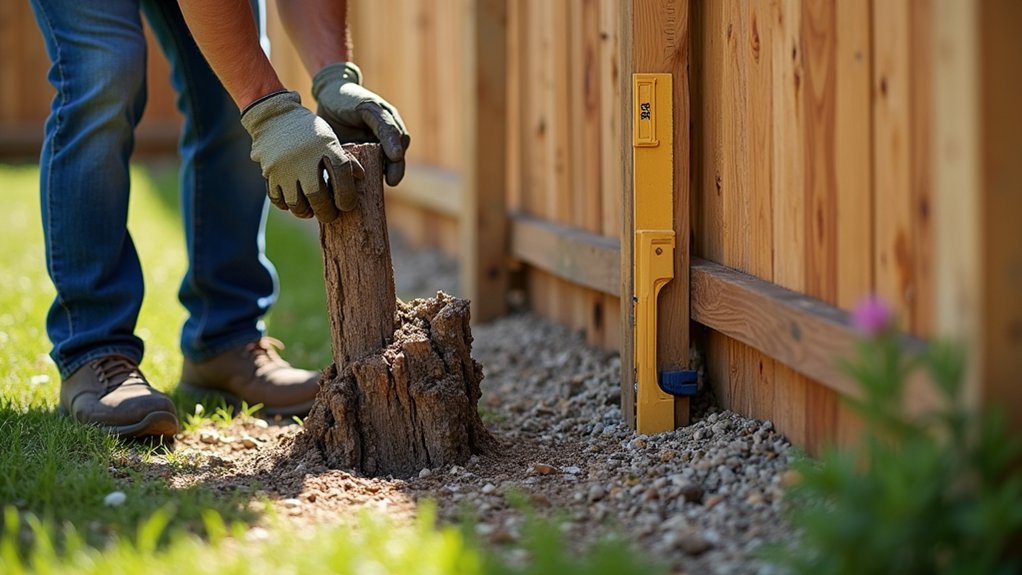
A rotten fence post is a cracked tooth in your property line—it’ll hold until it doesn’t. You start by probing at and below grade to confirm decay, then decide whether a full replacement or a bracket repair meets code and the load. Before you dig, you check setbacks, frost depth, and call 811. Once you pull the post and any old concrete, the real question becomes what you set in the hole—and how you keep moisture from coming back…
Key Takeaways
- Expose the post at grade and 4–6 inches below; probe with an awl to confirm rot and its depth on all sides.
- Replace the post if rot exceeds one-third of its cross-section, it’s out of plumb, or fasteners won’t bite into sound wood.
- Use a steel repair bracket only when the above-grade post is straight and rails align, but the groundline section is compromised.
- Remove the post and concrete footing, then dig to frost depth and set a ground-contact-rated post on 4–6 inches of compacted gravel.
- Reattach rails with galvanized or stainless fasteners, keep wood off soil, cap and seal end grain, and slope soil away for drainage.
Spot Rotten Fence Posts (Even Below Grade)
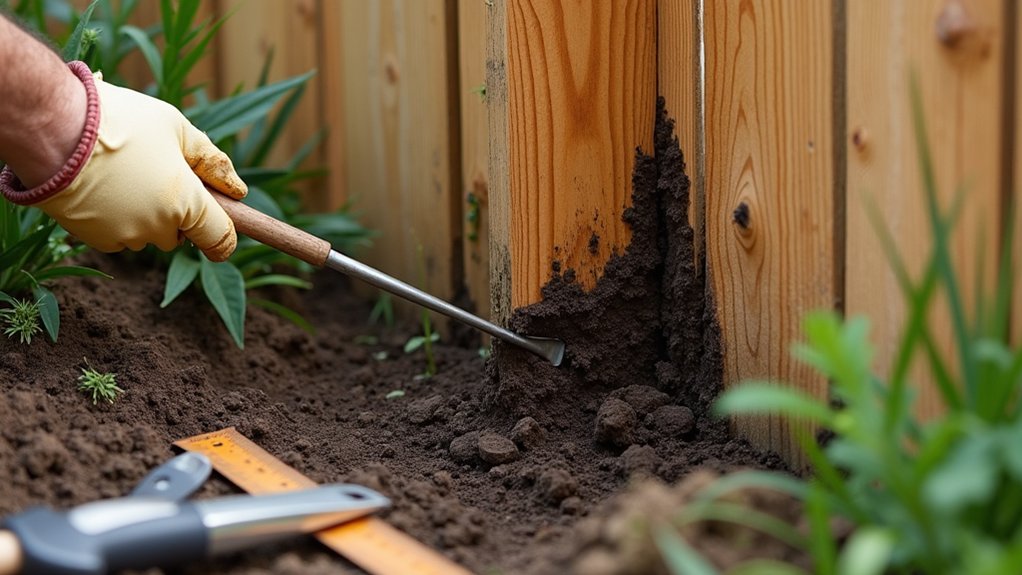
Although a post can look solid at eye level, rot usually starts where moisture lingers—right at grade and a few inches below it—so you need to inspect that zone first. Scrape away mulch and soil to expose the wood-concrete interface. Use an awl or screwdriver: sound wood resists; punky fibers crush, and the tool sinks.
Probe all four faces, especially the downhill side and inside corners where splashback hits. For a true below grade inspection, dig a narrow test trench 4–6 inches deep around the post, staying clear of buried utilities. Check for fungal mycelium, dark staining, and loose fasteners.
If the post twists under hand pressure or nails pull out easily, you’ve likely got undetected decay despite intact paint or stain.
Decide: Replace the Post or Use a Repair Bracket
Once you’ve confirmed decay at or below grade, decide whether the post needs a full replacement or if a repair bracket will restore structural capacity.
Replace the post if rot extends more than one-third of its cross-section, if it’s out of plumb under load, or if fasteners won’t bite into sound wood. Full replacement also makes sense when fence post materials are undersized for wind or gate loads, or when local rules require minimum embedment depth and footing diameter you can’t meet with a compromised base.
Choose a bracket when the above-grade post is straight, rails align, and only the groundline zone failed.
Repair bracket advantages include preserving panel alignment, minimizing disturbance near hardscape, and providing a code-friendly steel load path when installed per manufacturer ratings and corrosion class.
Verify soil moisture exposure.
Get Tools, Materials, and Call 811
Before you dig or cut anything out, line up the tools and materials you’ll need and call 811 (or your local utility locate service) so marked lines guide your excavation. Verify the required wait time, keep marks visible, and respect no-dig zones; if you’re inside an easement, check local rules and HOA requirements.
Stage PPE (gloves, eye/ear protection), a post level, tape, stringline, shovel, digging bar, post-hole digger, and a wheelbarrow.
Bring treated lumber or steel posts rated for ground contact, galvanized fasteners, exterior screws, gravel for drainage, and bagged concrete if your jurisdiction allows it.
For Fence post maintenance, add preservative, caps, and sealant.
For Soil erosion prevention, stock landscape fabric and topsoil to restore grade.
Remove the Rotten Fence Post and Old Concrete
With utilities marked and your gear staged, start by removing the failed post and any existing footing so the new installation meets setback and frost-depth requirements. Cut fasteners, detach rails, and brace adjacent panels to prevent racking.
For Post removal, dig a clearance ring around the post to expose the concrete collar and any rebar. If the post is loose, rock and lift it; if it’s bonded, split it with a reciprocating saw and pry sections out.
For Concrete demolition, undercut the footing with a digging bar, then fracture it with a sledge or rotary hammer. Pull chunks straight up so you don’t enlarge the hole beyond the planned diameter.
Remove all debris and organics, and verify the hole depth matches local frost-line requirements before you proceed.
Choose a Replacement Fence Post That Won’t Rot
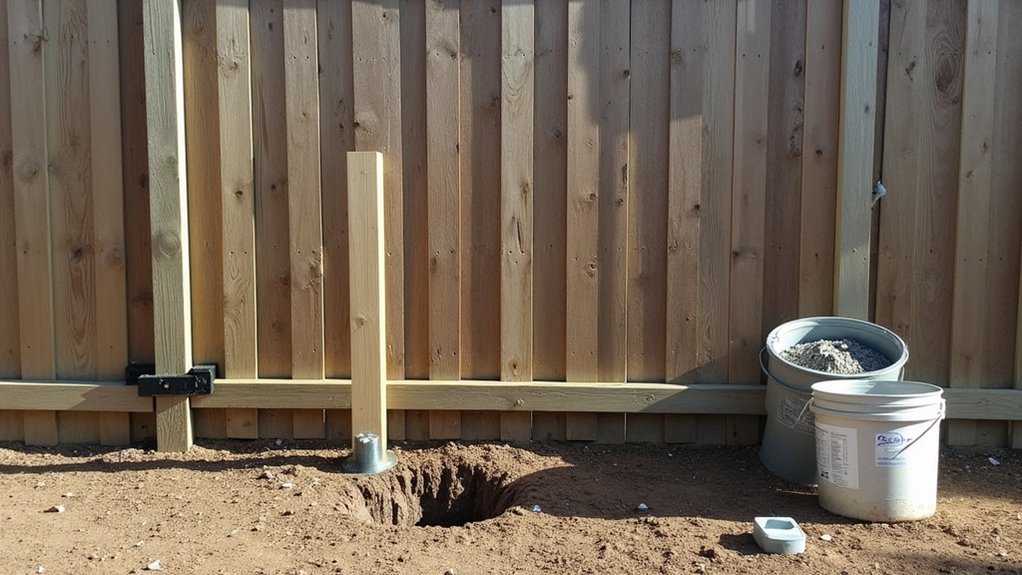
Although the failure started at the ground line, you can prevent a repeat by choosing a post material and treatment rated for direct burial and your local exposure conditions.
For wood, specify UC4A for general ground contact or UC4B/UC4C for severe or high-decay sites; don’t accept “above-ground” tags. Verify the wood treatment is compatible with your fasteners and hardware per manufacturer and code (hot-dip galvanized or stainless where required).
Select a post design that sheds water: square-cut tops with caps, or bevel the top; avoid checks that trap moisture.
Prefer heartwood-dense species or properly treated SYP, and reject posts with deep splits, sapwood dominance, or punky end grain.
Consider steel posts or concrete/composite where allowed and compatible.
Set the New Fence Post Depth, Plumb, and Square
Once you’ve picked a ground-contact-rated post, set it so the embedment and alignment match your fence loads and local frost conditions.
For most residential fences, dig below the frost line or at least 1/3 of the post length, whichever is deeper, and keep hole diameter about 3× the post width for working room and concrete cover.
Tamp 4–6 inches of compacted gravel for drainage and bearing.
Set the post on grade marks, then use Fence post installation best practice: brace it in two directions.
Check plumb on adjacent faces with a level, and square it to the fence line using stringline offsets.
Apply Post alignment techniques: temporary stakes, diagonal braces, and measured diagonals between posts.
Verify height, spacing, and setbacks before you lock it in place.
Reattach Rails and Pickets Without Trapping Moisture
After the post cures and you’ve confirmed it’s still plumb, reattach rails and pickets so the wood can drain and dry instead of holding water against end grain.
Use hot-dipped galvanized or stainless fasteners rated for treated lumber; match existing hardware to avoid corrosion couples.
Maintain a small standoff: set rails in metal brackets or use spacer blocks so the rail face doesn’t sit tight to the post.
If you’re toe-screwing, predrill to prevent splits and keep fasteners out of the lowest 2 inches of any horizontal member.
Keep picket bottoms off soil and off the bottom rail; leave a consistent gap for airflow.
Align to local fence code for height and setback.
This Moisture management step improves long-term Fence maintenance.
Prevent Rotten Fence Posts With Drainage and Sealant
Because water trapped at grade drives most post failures, you’ll prevent rot by controlling drainage first and sealing only what needs protection.
Set posts on 4–6 inches of compacted gravel for capillary break, then slope soil away 1 inch per foot so runoff can’t pond.
Don’t crown mulch against the post; keep a 1–2 inch reveal above finished grade.
If you’re pouring concrete, bell the footing below frost depth per local code and finish the top as a dome to shed water; don’t leave a flat “bath.”
For Moisture control, wrap below-grade wood with an approved post membrane, not paint.
For Sealant application, brush end-grain sealer on cut tops, holes, and checks; recoat annually.
Frequently Asked Questions
Do I Need a Permit or HOA Approval to Replace Fence Posts?
You often need a permit or HOA approval, depending on local code and covenants. Check setbacks, height limits, and Fence material rules. If Post removal counts as structural repair, submit plans and schedule inspections.
How Much Does Replacing a Fence Post Typically Cost per Post?
You’ll typically pay $150–$400 per post installed, depending on labor, concrete, and Fence material options. DIY runs $40–$120 with Post replacement tools. Call 811, follow frost-depth and setback codes, and verify utilities.
Can I Replace a Fence Post in Winter or During Rainy Weather?
Yes—you can, but it’s like coding in a storm. Expect seasonal challenges and stricter weather considerations: soggy soil, frozen ground, cure-time delays. Use fast-set concrete, brace longer, and validate plumb with a level.
How Do I Handle a Shared Fence When the Neighbor Disagrees?
You handle it by documenting boundary disputes, confirming the property line, and proposing neighbor cooperation in writing. Use a simple agreement template, get permits if needed, and escalate via mediation before filing code-enforcement complaints.
When Should I Hire a Professional Instead of Doing It Myself?
Hire a pro when DIY safety’s uncertain, permits or property lines complicate things, or you lack solid Tool selection. You might think you’ll save money, but pros avoid rework, liability, and hidden damage fast.
About the Author