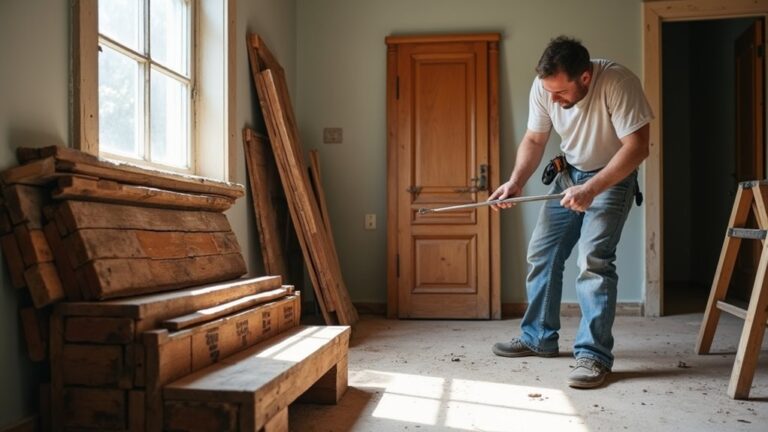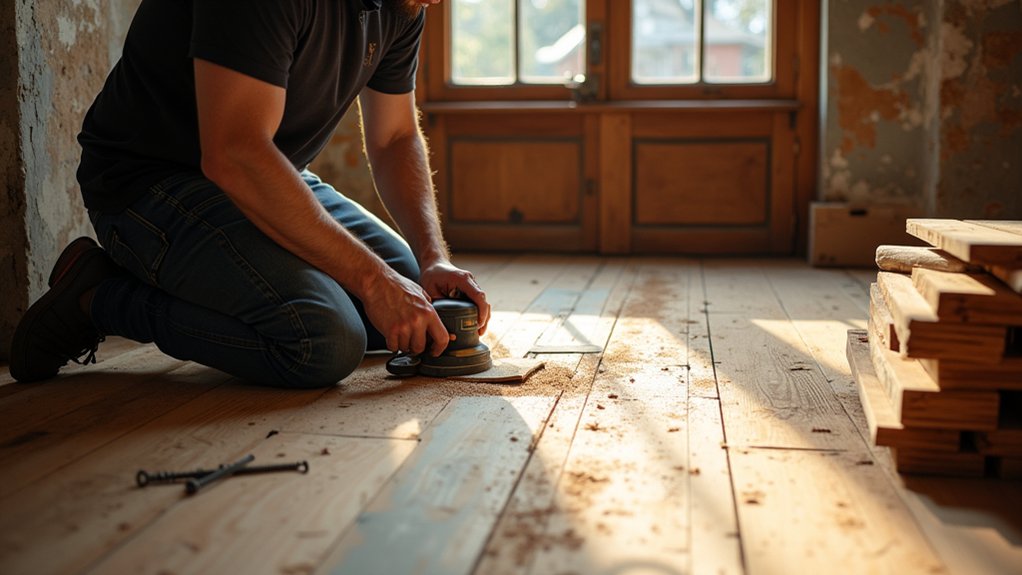
Coincidentally, you’ll often find the worst squeak right where the paint is thickest and the boards look “fine.” Start by checking for moisture, movement, and subfloor issues, because surface work won’t last if the structure’s off. You then secure loose boards, remove old finishes safely, and sand with control so you don’t dish the timber. Next comes gap filling and finish testing—and that’s where most restorations either hold up or fail…
Check Your Floorboards and Subfloor First
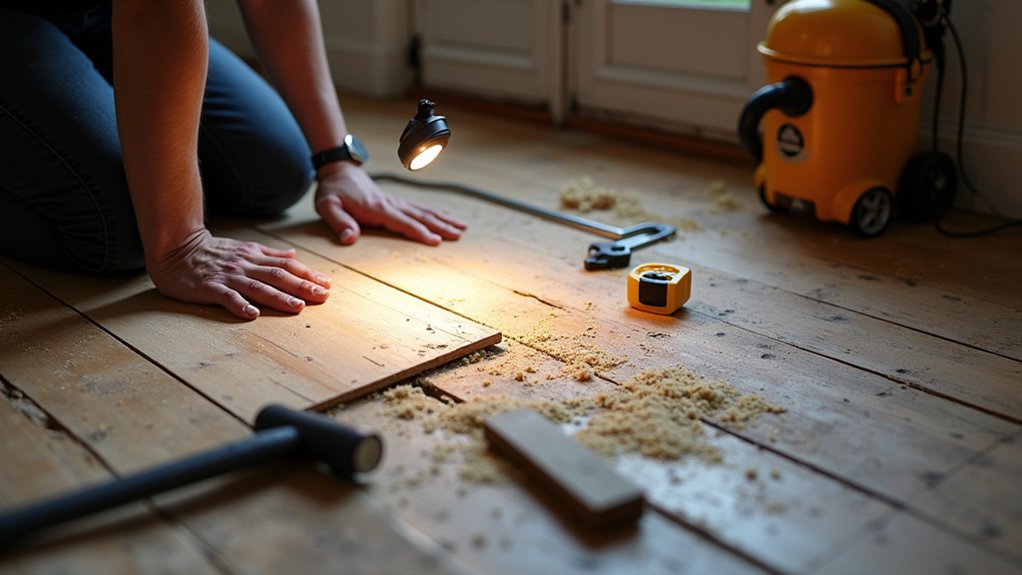
Before you sand or refinish anything, inspect both the floorboards and the subfloor so you don’t waste time covering up a deeper problem. Walk the room slowly and look for cupping, staining, soft patches, and gaps that suggest past moisture or beetle activity.
Lift a board at the edge (where accessible) to check joist tops for rot, mold, or damp debris, and confirm the subfloor is sound and dry.
Verify subfloor ventilation: air bricks should be clear, crossflow should exist, and no insulation should block vents.
Assess Floorboard insulation too—ensure it’s fitted between joists with a breathable membrane and no trapped condensation.
Use a moisture meter; don’t proceed if readings are elevated.
Fix Loose, Squeaky, or Damaged Floorboards
Now you’ll pinpoint exactly where the boards move and what triggers the squeak. Then, confirm whether the noise comes from loose boards, failing fasteners, or subfloor contact.
Next, you’ll refix the boards by tightening or replacing nails/screws and securing any lifted edges so everything sits flat and firm.
Finally, you’ll patch cracks and splits with the right filler or wood patch and clamp or reinforce damaged sections to stop the fault from spreading.
Diagnose Movement And Squeaks
Although squeaks can sound like a surface problem, they almost always come from movement between the board, the subfloor, and the joist, so your first job is to pinpoint exactly what’s shifting. Walk the room slowly and mark every noise with tape; then re-walk in different directions to see if the sound follows a board edge or a joist line.
Press down on either side of the squeak to isolate whether the board flexes, the subfloor deflects, or the joist rebounds. Check gaps at tongue-and-groove joints, cupping, and nail heads lifting.
From below, look for rubbing points, crushed floorboard insulation, and signs of moisture control failure like staining, mould, or damp timber. Measure board moisture if you can; high readings explain recurring movement.
Refix Boards And Fasteners
Once you’ve mapped each squeak to a specific board edge, joist line, or nail point, you can lock the floor back together by refixing the board and its fasteners so nothing rubs or rebounds.
Start by lifting any proud nails and re-seating the board flat to the joist, checking Board alignment against neighbouring tongues and grooves. If the board has shifted, lever it gently back into line, then clamp or weight it while you fix it.
Choose Fastener types to suit: lost-head nails for authenticity, cut clasp nails for grip, or countersunk screws where you need pull-down force. Pre-drill near ends to prevent splitting, drive into joists only, and set heads just below the surface.
Recheck for movement and noise.
Patch Cracks And Splits
Before you reach for filler, stabilise the board so the crack can’t keep working underfoot. Check movement by pressing either side; if it flexes, secure it first with lost-head nails or screws into joists, keeping fixings below the surface.
For Split stabilization, drill a 3mm pilot across the split ends and drive short stainless screws or insert a thin spline with glue to stop propagation.
For Crack repair, clean the gap with a scraper and vacuum. For hairline cracks, work in a flexible wood filler or colour-matched resin; for wider gaps, glue in tapered slivers of reclaimed timber with the grain aligned. Clamp or weight until set, then pare flush with a sharp chisel.
Sand lightly, and recheck for squeaks once cured.
Strip Paint and Old Finishes Safely
Start by choosing a paint stripper that matches the coating you’re removing and the wood’s condition—solvent-based for stubborn layers, caustic for heavy paint, or low-odor citrus/soy for lighter finishes.
You’ll work safely by ventilating the room, wearing gloves and eye protection, and testing a small hidden area before committing.
Use controlled methods like a scraper with a sharp edge, nylon pads, and gentle heat only where appropriate, so you lift the finish without gouging the original boards.
Choose Appropriate Paint Stripper
Because old floor finishes vary widely—lead-based paint, shellac, varnish, or polyurethane—you’ll get safer, cleaner results by matching the stripper to what’s actually on your boards and how you plan to remove it.
Start by confirming the finish: shellac softens with alcohol, while polyurethane resists it and often needs a stronger gel. For paint removal on period boards, choose a low-odor, low-VOC paste or gel that clings, stays wet longer, and limits soak-in.
If you suspect lead, avoid aggressive solvent blends that drive contamination deeper into grain. For chemical stripping, read the technical data sheet: check dwell time, compatible finishes, neutralisation requirements, and whether it’s water-rinseable or needs solvent clean-up.
Test a small patch before committing.
Use Safe Removal Methods
Even if you’ve chosen the right stripper, you still need a removal method that controls dust, fumes, and contamination while protecting the timber. Ventilate the room, isolate it with taped sheeting, and keep a HEPA vacuum running nearby to capture debris. Put on safety gear: chemical-resistant gloves, eye protection, and a suitable respirator, not a paper mask.
Work in small sections. Apply stripper, then lift softened layers with sharp removal tools such as a cabinet scraper or stiff putty knife, keeping the blade flat to avoid gouges. Bag scrapings immediately.
Use wire wool only for detailing, never aggressively on soft boards. Neutralise residues as the product directs, then wipe with clean rags. Let boards dry fully before sanding or sealing.
Sand Original Floorboards Without Gouging Them
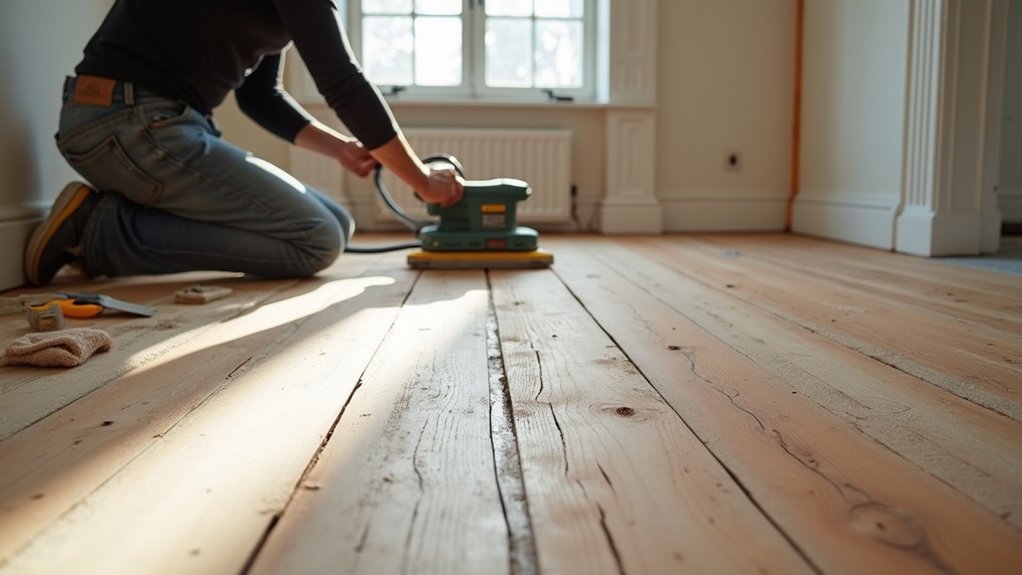
Before you fire up a sander, set yourself up to remove finish—not wood—by choosing the right machine, grit sequence, and sanding direction for your floor’s grain.
Use a drum sander for open areas and an edging sander for perimeters, but keep them moving to avoid dips.
Start with the least aggressive grit that cuts the coating (often 40–60), then step through 80 and finish at 100–120.
Sand diagonally only if boards are badly cupped; otherwise run with the grain for final passes to prevent cross-scratches.
Feather each run by lifting the drum while still moving.
For floorboard sanding, vacuum between grits and use sealed bags plus a shop vac for strong dust control throughout.
Fill Gaps, Nail Holes, and Splits Cleanly
Once you’ve sanded to clean, bare timber, tackle defects while the surface still shows every flaw in raking light. Vacuum thoroughly, then run a thin scraper along gaps to remove packed grit and old filler.
For hairline splits, work in a low-viscosity wood glue, clamp if needed, and wipe squeeze-out fast.
For open seams, decide whether they’re seasonal: if boards move, use flexible filler materials such as rope, slivers, or specialist gap filler rather than brittle putty.
For nail hole repair, set protruding nails with a punch, then fill with a hardwax or solvent-based wood filler matched to tone. Overfill slightly, let it cure fully, then spot-sand flush and re-vacuum.
Choose a Floorboard Finish That Suits the House
With the gaps and holes filled and sanded flush, you’ve now got a clean, honest surface that’ll show exactly what any finish does.
Start by reading the house: a Georgian hall wants a quieter sheen than a 1930s kitchen, and original boards rarely suit a high-gloss, “new-build” look. Decide what you need the finish to communicate—warmth, patina, or crisp grain—because flooring aesthetics should echo existing joinery, doors, and skirting profiles.
Check light levels too; matt disguises wear in bright rooms, while satin can lift darker spaces.
Prioritise sustainable finishes by confirming VOC levels, repairability, and availability in the future.
Finally, test on offcuts or a discreet corner, and view it in daylight and lamplight before committing fully.
Apply Oil, Varnish, or Wax for Durability
Although the boards may look finished after sanding, you still need a protective top layer, and the right choice—oil, varnish, or wax—controls how well the floor resists spills, abrasion, and ingrained dirt.
For Oil application, vacuum thoroughly, then wipe on thin coats with the grain, keeping a wet edge. Let it penetrate, buff off excess, and repeat until the surface stops drinking it in.
If you want a tougher film, apply a Varnish coating: seal knots, cut in edges, then roll two to three even coats, lightly denibbing between coats for a flat finish.
Choose wax only if you’ll accept a softer sheen; apply sparingly, then buff hard to avoid a greasy, dust-trapping surface.
Maintain Restored Floorboards for the Long Haul
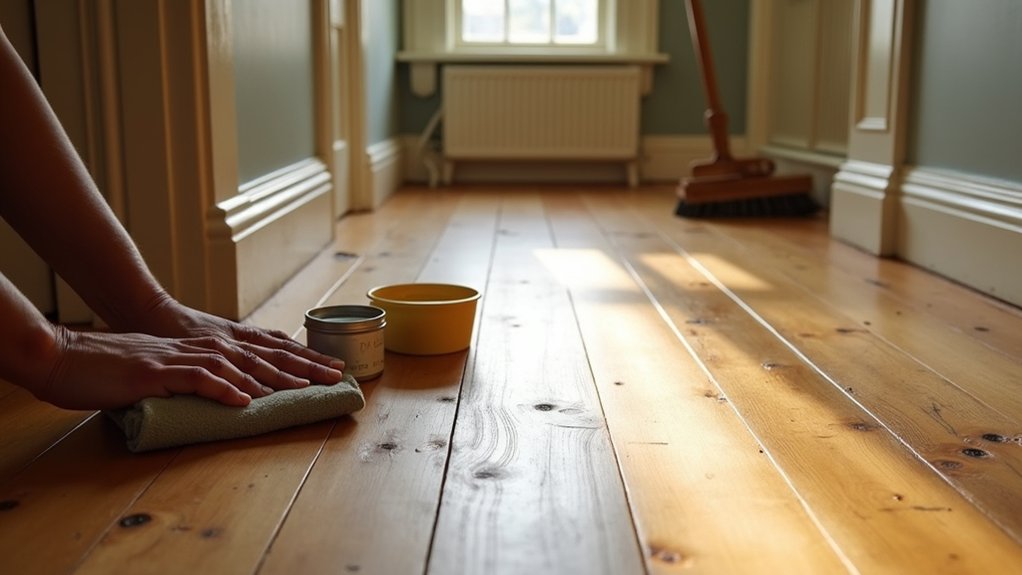
Because a restored timber floor still moves, wears, and reacts to moisture, you’ll keep it looking sharp by controlling grit, water, and impact from day one. Fit doormats at every entrance, vacuum with a soft brush weekly, and lift furniture rather than drag it. Add felt pads and check them monthly.
Keep humidity steady (around 40–60%) to limit cupping and gaps; use a dehumidifier in damp seasons and ventilate after cooking or bathing. Wipe spills immediately and never wet-mop—use a barely damp microfibre.
Recoat oil or varnish on traffic lanes before bare timber shows, and refresh wax thinly to prevent build-up. Use pH-neutral cleaners only, so you protect historic craftsmanship and preserve period authenticity.
Frequently Asked Questions
Will Restoring Floorboards Affect Underfloor Heating Performance or Warranties?
Yes—if you sand or refit boards wrongly, you’ll “improve” comfort by choking underfloor heating and risking warranties. You’ll keep cover by checking manufacturer limits, insulation, fixings, and documenting floorboard maintenance changes and temperatures.
Do I Need Listed Building Consent to Refinish Original Floorboards?
You often need listed building consent if floorboard sanding changes original fabric, finishes, or details. For historic preservation, check your listing, consult the conservation officer, and get written approval before refinishing, repairs, or replacing boards.
How Do I Identify the Wood Species in My Period Floorboards?
Check the wood grain: note growth-ring width, colour, knots, and end-grain pores. Compare against UK timber guides for species identification. You can sand a small patch and get a joiner’s confirmation.
What Are the Typical Costs and Timescales for Full Restoration?
You’ll typically spend £40–£120 per m², depending on repairs, sanding, and finishing; use a detailed cost estimation after inspection. Expect a 2–7 day restoration timeline for average rooms, longer if boards need replacing.
Can I Restore Floorboards While Living in the Property?
Yes, you can—like renovating a ship while sailing. You’ll seal off rooms, work in phases, and manage dust. Stick to DIY maintenance between coats, and plan modern flooring integration for passageways and access.
About the Author