Gravel can look polished and modern while cutting your watering and weeding to near zero—if you build it like a system, not a shortcut. You’ll map clear zones for paths, seating, and planting, then fix drainage and set a stable base before gravel goes down. You’ll choose angular stone, solid edging, and a woven barrier that won’t fail in a year. Next comes plant spacing and the one step most people skip…
Key Takeaways
- Plan zones for paths, seating, and planting, noting sun, shade, drainage, and access for wheelbarrows and future deliveries.
- Excavate evenly, slope away from buildings, remove soft spots, and compact subsoil in thin passes for a stable, tidy surface.
- Choose angular 3/8-inch minus gravel for paths and larger stone for seating; match color in sun/shade and test comfort underfoot.
- Install sturdy steel, aluminum, or paver edging on compacted base, then lay woven geotextile overlapped and pinned every 12–18 inches.
- Plant drought-tolerant perennials and grasses through X-cuts, water deeply first season, and maintain by monthly raking and early weed removal.
Plan Your Gravel Garden: Site, Style, and Function
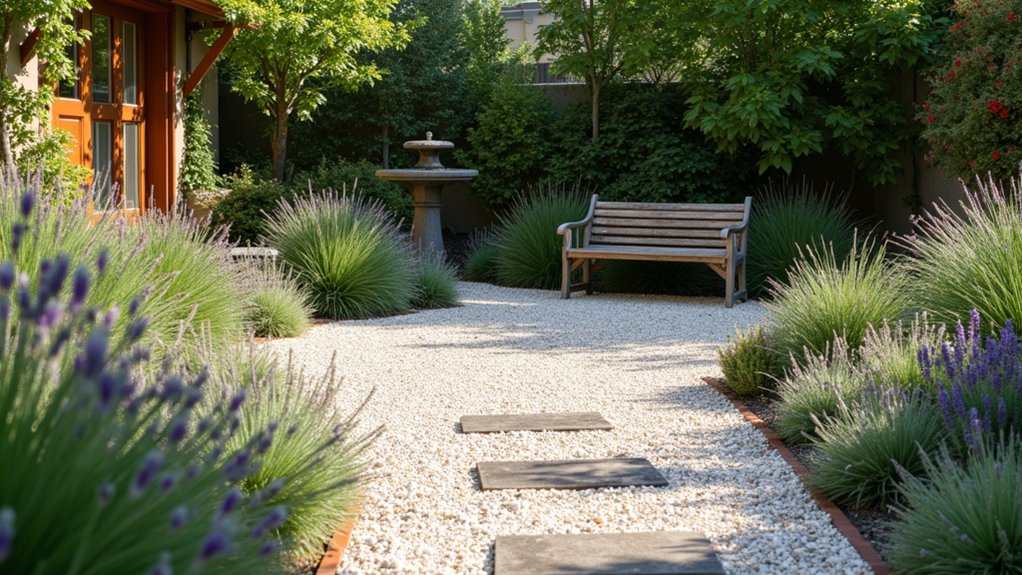
Before you order gravel or pick plants, map out what you’re working with and what you need the space to do. Measure the area, note sun and shade hours, and watch where water naturally drains after rain. Decide how you’ll use it—path, seating pad, or planting bed—so you don’t pay twice for changes later.
Pick a style that matches your house and budget: clean modern lines cost less to edge than fussy curves. Choose a gravel color and aggregate size that supports garden aesthetics and hides dirt. Plan access for wheelbarrows and future deliveries.
Set zones for wildlife attraction by reserving pockets for nectar plants, a shallow water dish, and a few rocks or logs for shelter. Keep it simple to keep it cheap.
Prep the Ground and Set the Right Gravel Depth
Once you’ve nailed down the layout and how you’ll use each zone, get the base right so the gravel stays put and weeds don’t win. Strip turf and roots, then dig to a consistent depth, sloping slightly away from buildings for drainage improvement. Rake out soft pockets and remove rocks that’ll telegraph through later.
Compact the subsoil in thin passes; this is your cheapest soil stabilization step and it saves you from regrading. If you’ve got clay or puddling, loosen the top few inches, blend in sharp sand or small aggregate, and compact again to keep water moving.
Set your finished gravel depth based on traffic: 2–3 inches for light footpaths, 3–4 inches for seating areas, and up to 5 inches where you’ll wheelbarrow. Measure with a ruler as you go.
Choose Gravel, Edging, and Weed Barriers That Work
Although gravel looks interchangeable at first glance, you’ll get a longer-lasting, lower-maintenance surface by matching the stone, edging, and weed barrier to how you’ll actually use the area.
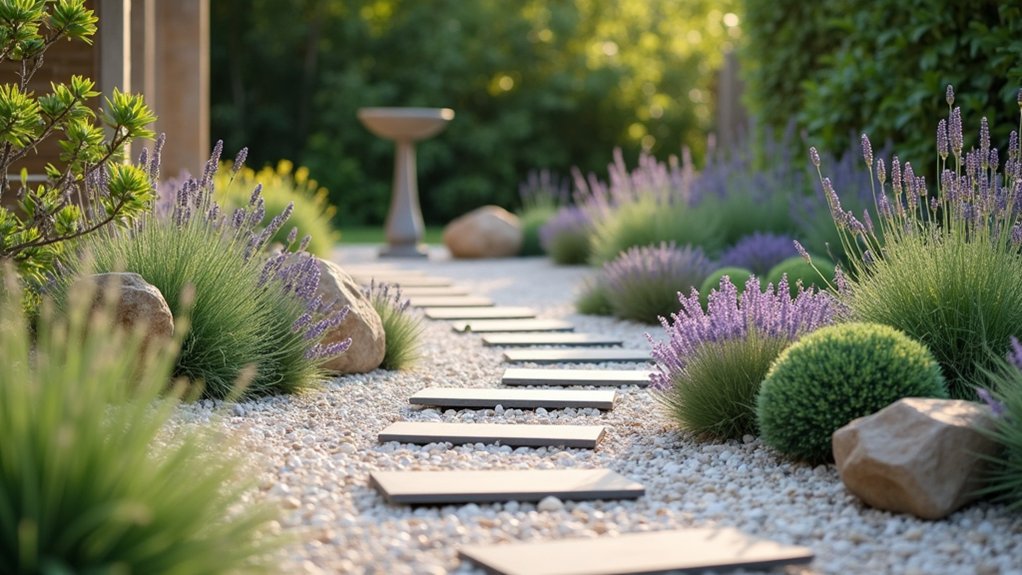
For paths, pick angular 3/8-inch minus; it locks together and migrates less than rounded pea gravel.
For sitting areas, choose slightly larger stone to reduce tracking.
Compare Color options in full sun and shade before buying; washed gravel often reads lighter once dry.
Test Gravel textures barefoot and under a chair leg.
Hold everything in with sturdy edging: steel for straight runs, flexible aluminum for curves, or concrete pavers for the tightest budget control.
Install edging on compacted base, not loose stone.
Skip cheap plastic.
Use a woven geotextile weed barrier, overlap seams, and pin it every 12–18 inches.
Plant and Maintain a Low-Maintenance Gravel Garden
When you treat planting as part of the gravel system—not an afterthought—you’ll spend less on replacements and weeding later.
Start with Plant selection: choose drought-tolerant perennials, grasses, and compact shrubs that handle reflected heat and lean soil. Buy smaller pots and space by mature width to avoid later digging and extra gravel disturbance.
Cut Xs in the membrane, fold flaps back, set plants slightly high, and top-dress around crowns with a thin ring of grit to keep stems dry.
Water deeply the first season, then taper.
For maintenance, rake gravel back into place monthly, pull seedlings before they root, and spot-spray only if needed.
Use simple pest control: inspect weekly, blast aphids with water, and remove damaged leaves.
Frequently Asked Questions
Can I Install a Gravel Garden Over Existing Lawn Without Removing It?
Yes—you can, but it’s like laying carpet on weeds. To protect Garden aesthetics, you’ll smother grass with cardboard and landscape fabric, add edging, then gravel. Maintenance tips: spot‑weed early, top up gravel yearly; minimize soil contamination.
How Do I Prevent Gravel From Scattering Onto Sidewalks and Driveways?
Install hard edging options—steel, pavers, or treated timber—set flush or slightly proud to contain gravel. Add a geotextile strip. Use smaller gravel near edges. Choose mulch alternatives like wood chips at borders; sweep regularly.
Is a Gravel Garden Safe and Comfortable for Pets and Children?
Yes, if you enjoy fewer scrapes—choose rounded pea gravel and set firm edging. You’ll boost pet safety and child comfort by laying landscape fabric, topping 2–3 inches, raking weekly, and budgeting paw-friendly paths.
Will Gravel Increase Heat Around My Home or Affect Nearby Plants?
Yes, gravel can raise nearby temperatures through heat retention, but you’ll manage it cheaply. Choose lighter stone, add mulch islands, and irrigate. For plant compatibility, select drought-tolerant species and keep roots shaded.
What Are the Drainage Implications Near Foundations, Basements, or Septic Systems?
You’ll need to manage fast runoff: keep gravel sloped away, keep drains clear, keep setbacks wide. For foundation protection and groundwater management, add geotextile, perimeter drain, and avoid septic fields; it’ll save repairs.
About the Author