You probably don’t know that many “damp” stone cottages are actually suffering from trapped moisture caused by cement render, gypsum plaster, and sealed floors rather than failed stonework. You start with a measured survey, then fix water management first: gutters, downpipes, splash zones, ground levels, and subfloor vents, keeping clearances to code. Only then do you repoint in lime and make targeted roof and window repairs. Next comes services—because one wrong upgrade can…
Key Takeaways
- Survey the cottage, map cracks and defects, photograph details, and plan phased repairs with permits, heritage constraints, and temporary shoring where needed.
- Fix water management first: repair roof, gutters, and downpipes, and regrade ground or add French drains to keep walls dry.
- Restore ventilation: clear and add opposing air bricks above ground, duct through sleeper walls, and include radon measures if locally required.
- Repair stonework correctly: rake joints to sound material, repoint with compatible lime mortar, and cure slowly under damp, breathable protection.
- Use vapour-open interiors: lime plaster on masonry, add service cavities and natural insulation, and seal penetrations for airtightness without trapping moisture.
Survey the Stone Cottage and Set Repair Priorities
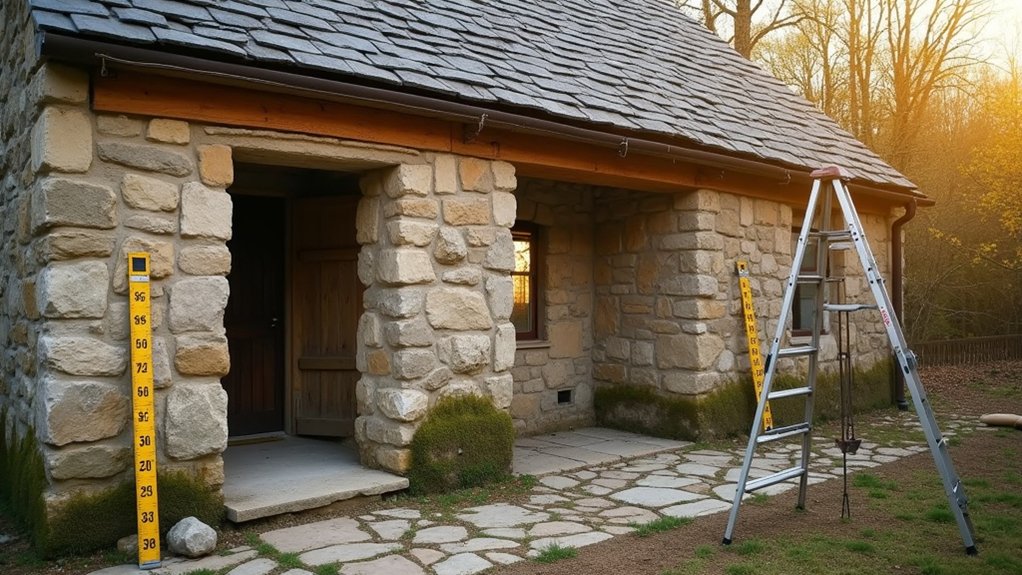
Before you touch a single stone, walk the entire cottage methodically and document what you’ve got so you can sequence repairs safely and to code. Photograph elevations, joints, openings, and any bulges; sketch crack maps; label previous patches. Identify load paths, lintel spans, chimney stability, and roof thrust, then flag immediate life-safety hazards for temporary shoring and controlled access. Verify moisture-tolerant assemblies without changing them yet.
Next, set priorities: structure first, weather-tight envelope second, services third, finishes last. Sample mortar and stone to guide Material selection and avoid incompatible cement-rich mixes. Match tooling, aggregate, and permeability for Historical accuracy, and consult local conservation guidance.
Confirm any required permits, heritage constraints, and engineer sign-off, then write a phased scope with hold points for inspections.
Stop Damp First: Drainage, Ground Levels, Ventilation
Before you touch plaster or repointing, you’ve got to stop moisture at the source by improving exterior drainage—repair gutters, extend downspouts to solid discharge points, and slope finished grade away from the stone per local code.
Keep soil and paving below the damp-prone zone by lowering ground levels where feasible and maintaining clearance to sills and vents so splashback can’t wick into the wall.
Then boost subfloor ventilation with clear air paths and code-compliant vents (or a properly detailed mechanical alternative) so the joists and sleeper walls can dry out between wet seasons.
Improve Exterior Drainage
Because most “damp” in old stone cottages starts outside, you’ll get the fastest results by fixing exterior drainage so water sheds away from the walls instead of soaking the footings.
Start at the roofline: clear gutters, repair joints, and size downpipes for local rainfall, then discharge into solid pipe to a lawful outfall or soakaway per local code.
Add leaf guards only if you’ll maintain them.
Extend downspouts well clear of the wall and cap splash blocks to stop erosion.
For garden landscaping, shape paths and beds to direct runoff to swales or drains, not toward stonework.
Keep permeable gravel strips where possible.
If you’re planning exterior paint, don’t use it to “seal” damp; fix water management first, then choose breathable finishes.
Adjust Ground Levels
Even if you’ve upgraded gutters and downpipes, high exterior ground can still drive moisture straight into a stone cottage by bridging the damp-proof course (if it has one) and splashing rainwater onto the wall base.
Regrade so finished soil sits at least 150 mm (6 in) below interior floor level or any visible DPC line, and keep a clear 200–300 mm gravel strip at the wall to reduce splash-back.
Where you can’t lower soil, cut back hardscape, steps, and paths, or install a narrow French drain with geotextile and washed stone, discharging to a lawful outfall.
Use breathable lime mortar at exposed plinths.
Choose Landscaping ideas that protect historical preservation: minimal excavation, reversible edging, and matching local aggregates.
Boost Subfloor Ventilation
Lowering ground levels and adding a gravel strip reduces the moisture load at the base of the walls, but you’ll still trap damp if the subfloor void can’t purge humid air.
Restore cross-ventilation: clear blocked air bricks, add new vents on opposing walls, and keep them above external finished ground. Use terracotta or stainless grilles with insect mesh that won’t corrode.
Aim for continuous airflow under every bay; add ducted sleeves through sleeper walls so dead zones don’t linger. Don’t connect subfloor vents to flues or extractors.
If radon is a risk, follow local guidance and fit a sump and fan rather than sealing vents.
These ventilation techniques support moisture control, protect joists, and reduce mould without forcing breathable stone walls to dry inward.
Repoint and Repair Stone Using Breathable Lime Mortar
After you’ve handled drainage and ventilation, you’ll inspect the joints for friable mortar, open voids, hairline cracking, and loose stones. Then rake out to sound material without damaging the arrises.
You’ll mix a breathable lime mortar matched to the original (typically NHL or lime putty with well-graded sharp sand). Keep it softer and more vapor-open than the stone, and avoid cement-rich blends that trap moisture.
You’ll repoint in compacted lifts, finish flush or slightly recessed to shed water, and cure slowly under damp hessian and wind/rain protection to meet good practice and local code requirements for moisture performance.
Assess Joint Damage
Where do you start when a stone cottage’s walls look sound but the joints are failing? Begin with a close survey for joint deterioration: hairline cracking, open seams, powdering, plant growth, damp staining, and hollow-sounding areas when you tap lightly with a wooden mallet.
Check depth by probing with a thin pointing iron; if friable mortar releases beyond 20–25 mm, plan deeper raking.
Identify mortar compatibility before any repair: note color, aggregate size, and hardness, and confirm it’s softer than the stone.
Avoid cement-rich patches that trap moisture and violate breathable-wall best practice.
Inspect around openings, eaves, and ground level first, since movement and splashback concentrate there.
Record locations, widths, and exposure to rain.
Mix Breathable Lime Mortar
Even if your stonework still feels solid, you’ll only get a durable, code-compliant repair if you mix a breathable lime mortar that matches the original in strength, permeability, and appearance.
Choose NHL 2 or NHL 3.5 for most cottages; reserve NHL 5 for very exposed, hard stone.
Match aggregate first: use sharp, well-graded sand, typically 2.5–3 parts sand to 1 part lime by volume, and mimic local color with blended sands.
Dry-mix thoroughly, then add clean water slowly to a stiff, workable consistency that holds on a trowel without slumping.
Avoid Portland cement, plasticizers, and waterproofers; they trap moisture and defeat Breathable finishes.
Let the mix rest (fatten) 10–20 minutes, then re-mix before use.
Repoint And Cure Properly
Before you pick up a pointing trowel, rake out failed joints to a sound depth (typically 2–2.5× the joint width or until you reach firm mortar). Brush and vacuum out all dust, and pre-wet the masonry so the stone doesn’t wick water out of your lime mix too fast.
Pack Lime mortar in tight lifts, fully bedding behind the arrises, and keep it slightly recessed to match historic profiles; don’t smear faces. Use a hawk and small jointer, then lightly stipple for texture once thumbprint-hard.
Keep joints continuous at corners and around openings to meet weather-tightness expectations. Cure slowly: mist and cover with damp hessian and breathable sheeting for 3–7 days, longer in wind or sun. Protect from frost and driving rain.
This controlled carbonation supports Stone preservation.
Make the Stone Cottage Watertight: Roof, Gutters, Windows
Once you’ve stabilized the structure, you’ll want to make the cottage watertight by tackling the roof, gutters, and windows as one weather-management system. Inspect rafters, flashing, and valleys, then replace failed underlayment with a breathable membrane and install ice-and-water shield where code requires.
Reuse slate or clay where possible, and match fasteners to the roofing material to prevent galvanic corrosion—key for stone preservation.
Size gutters and downspouts for local rainfall, set proper slope, and discharge to drains or splash blocks at least 5 feet from the foundation.
Add leaf guards only if you can still clean them.
At windows, repair frames, renew glazing putty, and add discreet storm units or compression gaskets. Use backer rod and lime-compatible sealants as weatherproofing techniques.
Update Wiring, Plumbing, and Heating for Old Stone Walls
With the rooflines shedding water and the openings sealed, you can focus on the systems that have to live inside thick, often damp stone: wiring, plumbing, and heat.
Start with a condition survey and load calculation, then plan electrical upgrades around accessible routes: surface-mounted conduit in service voids, or chases cut only where structure allows. Use moisture-rated boxes, RCD/GFCI protection, bonding, and a modern consumer unit/panel per code.
For plumbing modernization, avoid burying copper in wet masonry; run PEX/MLCP in insulated sleeves, keep shutoffs reachable, and add a pressure reducer if needed.
For heat, prioritize low-temperature emitters and right-sized boilers or heat pumps; insulate pipes, add zone valves, and provide combustion air and flue liners where required.
Finish Interiors With Breathable Materials and Period Detail
Although you’re tempted to seal everything up tight, old stone cottages stay healthiest when you finish interiors with vapour-open materials that manage moisture instead of trapping it.
Use lime plaster on masonry, not gypsum skim over cement; it buffers humidity and reduces salt damage.
Where you need lining, build a service cavity on timber battens, then add Natural insulation such as wood fibre or sheep’s wool, finished with a smart vapour retarder on the warm side if your local code requires it.
Tape penetrations and maintain ventilation so you meet airtightness targets without locking moisture in.
Recreate period detail with timber skirting, simple architraves, and clay-based paints.
Choose breathable floor finishes like oiled boards, and avoid vinyls and impermeable acrylic primers throughout.
Frequently Asked Questions
Can I Legally Live in the Cottage During Renovation Work?
You can’t always legally live there during renovations; you’ll need a valid occupancy permit, safe utilities, and code-compliant egress. Inspectors may require Historical accuracy and documented Material sourcing for listed-work approvals, too.
Do I Need Listed-Building Consent or Planning Permission for Repairs?
You’ll need listed-building consent for alterations affecting historic fabric; planning permission only for external/usage changes. For like-for-like repairs, you often don’t, but confirm with Historic preservation officers and guarantee Building regulations compliance.
How Much Does Restoring a Stone Cottage Typically Cost per Square Metre?
Like a time-travelling surveyor, you’ll typically pay £1,500–£3,500 per m² for restoration, rising with lime mortar repointing, stone preservation, drainage, and insulation upgrades. You’ll follow heritage guidelines, structural reports, and local code inspections.
How Do I Find Reputable Lime-Mortar and Stone Restoration Specialists?
Start with heritage bodies, conservation architects, and listed-building officers for vetted referrals. You’ll check portfolios for Historical accuracy, confirm Material sourcing, and demand code-compliant specs. Get three itemised quotes, call references, and inspect past repointing.
Will Renovation Affect My Home Insurance or Require Specialist Coverage?
Renovation can reshape your policy like wet lime sets to stone; you’ll likely need updates or specialist coverage. Review Insurance considerations, disclose structural work, confirm contractor liability, and secure renovation permits so codes, materials, and risks stay covered.
About the Author