You’ve probably heard the theory that squeaks mean your floor is “settling,” but it’s usually wood rubbing or a fastener loosening under load. You can prove it by tracing the noise with controlled foot pressure, then checking for movement at seams and along joist lines. Once you’ve mapped the exact contact point, you’ll choose a top-down screw fix or a safer, more permanent brace from below—and that decision changes everything.
Key Takeaways
- Find exact squeak spots by walking the area, applying weight at seams, and marking locations with painter’s tape.
- Fix from above using trim-head screws or a squeak repair kit into joists; pre-drill hardwood and fill holes with matching filler.
- If accessible, fix from below by tapping glued shims into gaps and trimming flush after the glue sets.
- Add blocking between joists from below with construction adhesive and clamps to stop subfloor movement and vibration.
- Re-test under load, tighten loose fasteners, and add insulation or pads between joists to reduce future squeaks.
Find Squeaky Floorboards: Pinpoint What’s Rubbing
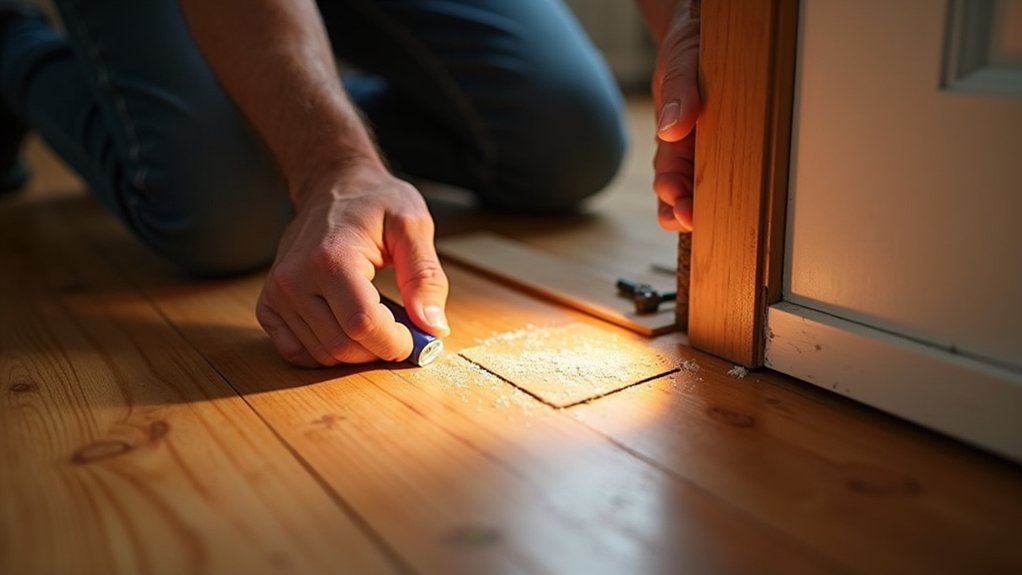
Before you grab tools, you need to locate the exact contact point that’s making noise. Walk the area in clean, soft-soled shoes and mark squeaks with painter’s tape.
Apply controlled body weight at board edges, seams, and around fastener lines to identify whether rubbing occurs between adjacent boards, between a board and subfloor, or at a joist interface.
Note how Floorboard materials behave: hardwood can squeak from seasonal shrinkage; engineered boards often click at tongue-and-groove joints; laminate may chatter over uneven underlayment.
Use a flashlight to inspect gaps at thresholds and vents.
From below, if accessible, listen for vibration, and check for loose bridging.
Verify Acoustic insulation isn’t compressed or displaced, which can amplify sound.
Fix Squeaky Floorboards From Above (Screws and Repair Kits)
Once you’ve marked the exact squeak points, you can lock the movement down from the top side using trim-head screws or a purpose-built squeak repair kit. Put on eye protection, confirm there’s no wiring/plumbing in the screw path, and choose a fastener length that bites the joist without penetrating below.
Pre-drill hardwood floorboard materials to prevent splitting; for softwood or plywood, keep the drill square and use steady torque. Drive trim-head screws just below the surface, then fill with matching wood filler.
If you’re working through carpet, use a kit’s depth-stop and breakaway screws to set flush. Re-test under load, then reinstall any acoustic insulation underlays or pads you lifted for access.
Fix Squeaky Floorboards From Below (Shims and Blocking)
If you can access the underside of the floor from a basement or crawlspace, you can stop the squeak at its source by removing play between the subfloor and the joist with shims or solid blocking. Wear eye protection, a respirator, and gloves, and use a work light to identify the noisy bay while someone walks above.
Tap a thin wood shim, coated with carpenter’s glue, into the gap until snug; don’t force it or you’ll crown the floor. Trim flush after the glue sets.
For wider movement, cut solid blocking to fit tightly between joists, apply adhesive on contact faces, clamp or brace it, and fasten per code.
Consider Floorboard materials: hardwood, engineered, and OSB transmit vibration differently.
Add Acoustic treatments like mineral wool or resilient pads around blocking to reduce chatter.
Fix Squeaks From Nails, Joist Gaps, and Loose Subfloor
Although squeaks can sound like “loose boards,” they usually come from nail shank movement, small gaps at the joist, or a subfloor panel that’s lifting and rubbing under load.
First, locate the squeak by having a helper apply weight while you watch from below; shut off power to nearby circuits and wear eye protection.
If nails are the culprit, drive them fully home, then add a short structural screw beside each nail to clamp the subfloor without splitting it.
For joist gaps, press the panel down and inject construction adhesive into the seam, wiping squeeze-out.
Where floor vibration is pronounced, add acoustic insulation between joists to damp resonance, keeping it clear of wiring and heat sources.
Prevent Squeaky Floorboards With Long-Term Tightening

How do you stop squeaks from returning after you’ve quieted the obvious offenders? Lock the assembly together so movement can’t restart.
First, locate joists with a stud finder and mark lines with painter’s tape for aesthetic considerations. Pre-drill to prevent splitting across different floorboard materials, especially brittle hardwoods. Drive trim-head or breakaway screws into each joist at a slight angle; countersink just enough to hide the head.
If you’re working from below, install blocking between joists and add construction adhesive, then clamp with screws until cured. Keep hands clear of bit slip, wear eye protection, and avoid wiring and plumbing runs.
Recheck fasteners after seasonal humidity shifts and retighten as needed to maintain compression.
Frequently Asked Questions
Will Fixing Squeaks Affect Radiant Floor Heating or Hydronic Tubing?
Yes, it can, if you penetrate too deep. You’ll protect radiant systems and hydronic tubing by mapping runs, limiting fastener length, using adhesive shims, and avoiding drilling or screws near manifolds.
Are Squeaky Floors a Sign of Structural Damage or Termites?
Squeaky floors usually don’t indicate structural damage or termites, but you can’t assume. You should perform a subfloor inspection for loose fasteners, joist gaps, moisture, and termite signs like mud tubes and frass.
What’s the Best Fix for Squeaks Under Tile, Vinyl, or Laminate?
You’ll get the best results by tightening the subfloor-to-joist interface using subfloor reinforcement and adhesive solutions: inject construction adhesive, drive trim screws at joists, and verify clearances. You’ll wear PPE and avoid utilities.
Can I Silence Squeaks Without Drilling or Visible Fasteners?
Yes—you can hush squeaks like damping a violin string. You’ll address hidden nail issues and wood expansion by stabilizing from below: add construction adhesive, shim joist gaps, and resecure subfloor. Wear goggles, avoid wiring, plumbing.
How Much Do Professional Squeak Repairs Typically Cost per Room?
You’ll typically pay $150–$500 per room, depending on access and subfloor condition. For Cost comparison, request itemized labor/materials. Use DIY tips: locate joists, add shims or powdered graphite. Wear eye protection.
About the Author