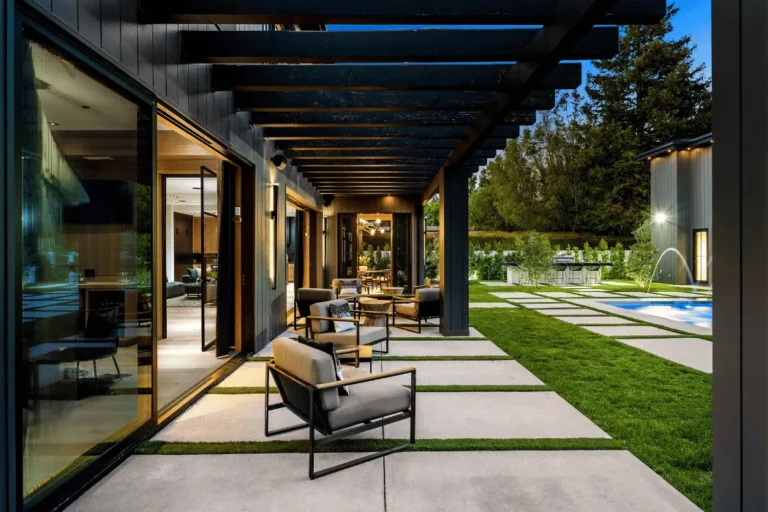
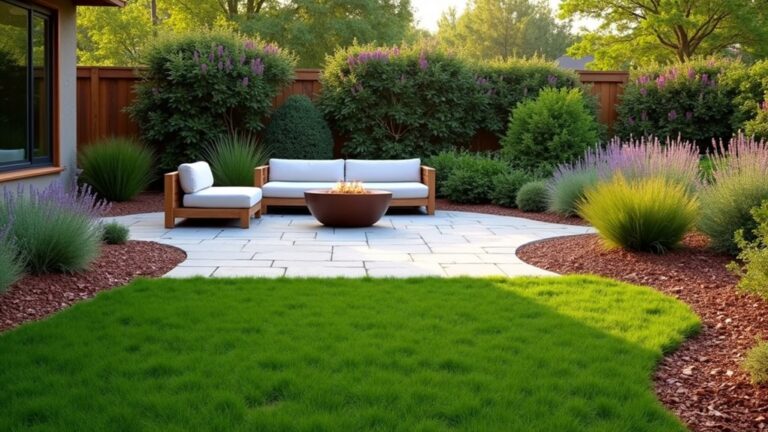
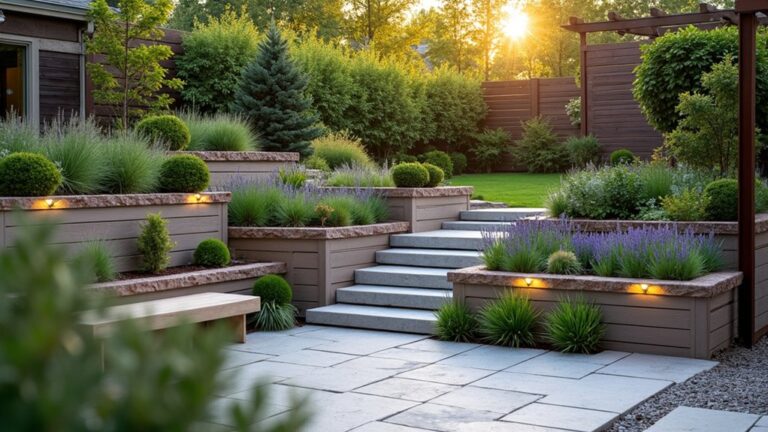
If you’re upgrading a garden path, you’ll save money and hassle by fixing the route, width, and drainage first. Gravel keeps costs low and installs fast, but you’ll need a solid base and weed control to stop rutting. Natural stone lasts longest and looks premium, yet material and laying costs climb quickly. Block paving sits in the middle with predictable labour and easy repairs. The key is choosing what fails least for your site…
Key Takeaways
- Plan the route width, curves, and a 1–2% fall for drainage; account for edging clearance, roots, and any lighting conduit.
- Compare materials: gravel is cheapest and flexible; stone is premium and durable; blocks are modular and repairable but need joint upkeep.
- For gravel, excavate 100–150 mm, compact 75–100 mm MOT Type 1, add geotextile, edge restraints, then 30–50 mm angular gravel.
- For natural stone, excavate to suit thickness, use a compacted bedding layer, keep consistent joints, and fill with grit or polymeric jointing.
- For block paving, compact Type 1 in lifts, screed sharp sand, lay blocks tight, install solid edging, and joint with kiln-dried or polymeric sand.
Plan Your Garden Path Route, Width, Drainage

Before you buy materials, map the path’s route, set a practical width, and plan drainage so you don’t pay twice for rework. Walk the line at night and in rain, then mark curves with paint or stakes.
Keep width 900–1000 mm for comfortable passing, or 600–750 mm for utility runs, and price excavation by cubic metres so you’re not over-digging.
Set finished grade 10–20 mm above adjacent soil and pitch 1–2% to a safe outlet. Add a shallow swale or perforated drain where water ponds.
Coordinate Garden path lighting conduit now to avoid future trenching.
For plant integration, reserve edging clearance and root zones so growth won’t heave the base later.
Compare Garden Path Materials: Gravel, Stone, Blocks
With your route, widths, and drainage falls set, you can choose a surface that fits your budget, maintenance tolerance, and sub-base depth.
Gravel is usually lowest cost per m², quick to refresh, and forgiving of slight settlement, but it migrates underfoot and needs periodic raking and top-ups—key maintenance considerations. It suits informal garden path aesthetics and works best where edge restraints are acceptable.
Natural stone flags cost more, especially thick calibrated pieces, yet they deliver premium garden path aesthetics and long service life; you’ll pay for cutting and leveling to avoid rocking.
Concrete or clay blocks sit midrange on price, install as modular units, and are easy to lift for repairs; however, joints can weed and may need re-sanding.
Install a Gravel Garden Path (Base, Weed Control)
Although gravel looks simple, your path’s performance depends on a firm, well-drained base and weed control you install correctly the first time. Mark the route, then excavate 100–150 mm, deeper in soft soils. Pitch the subgrade 1–2% for runoff.
Compact, add 75–100 mm of MOT Type 1 (or similar) in two lifts, and compact each layer; this base saves money by preventing rutting and refills.
Lay a permeable geotextile over the base, overlap seams 150 mm, and pin it tight to block weeds without trapping water.
Install edging to hold gravel and reduce garden path maintenance.
Top with 30–50 mm angular gravel (10–20 mm). Plan seasonal adjustments: rake after freeze-thaw, and top up low spots annually.
Lay a Natural Stone Garden Path (Flags or Setts)
Gravel paths handle drainage well, but if you want a more permanent, lower-refill surface, natural stone flags or setts earn their cost by resisting rutting and staying put. You’ll pay more upfront, yet natural stone durability cuts maintenance, especially on slopes and heavy-use routes.
Set your line with edging stakes, then excavate to allow a compacted bedding layer plus stone thickness.
Lay a geotextile if your soil’s soft, then add a compactable bedding of sharp sand or fine gravel and screed it flat.
Place flags for faster coverage, or setts for tighter curves and better traction. Tap stones level with a rubber mallet, keep consistent joints, and check fall for drainage.
Fill joints with grit or polymeric jointing to lock them and boost aesthetic appeal.
Lay a Block Paving Garden Path (Sub-Base, Patterns)
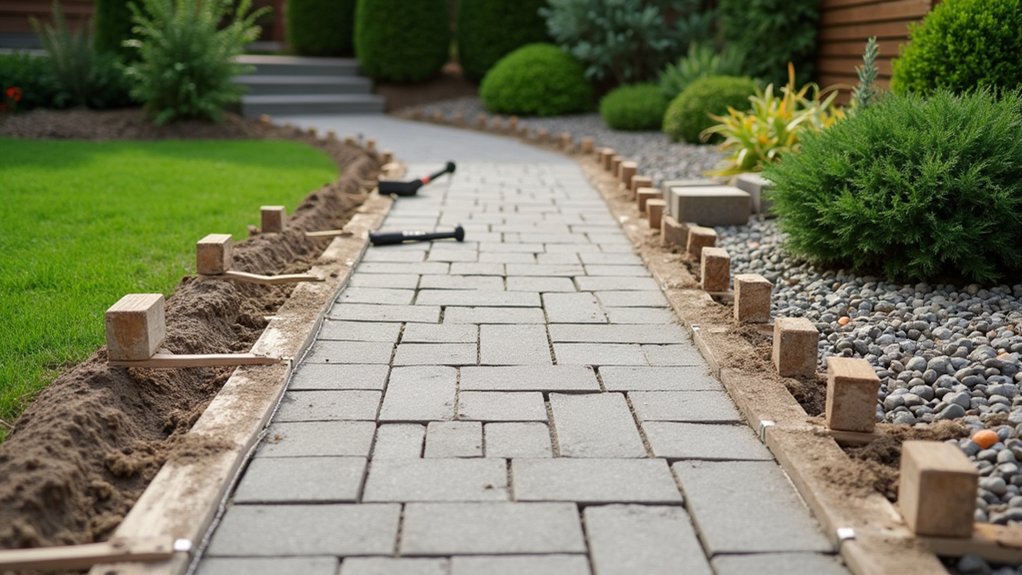
Because block paving relies on a stable base rather than sheer slab weight, you’ll spend most of your budget and effort on the sub-base and pattern choice that spread loads and stop settlement.
Excavate to firm ground, allowing for 100–150mm MOT Type 1 plus 30–40mm bedding sand and block depth; deepen for drive-on routes. Compact Type 1 in 50mm lifts with a plate compactor, keeping a consistent fall for drainage.
Screed sharp sand with rails for an even bed, then lay blocks tight and level.
For garden path design, choose 45° herringbone for maximum interlock, stretcher bond for speed and lower cutting waste, or basketweave for small patios.
Plan planting integration by leaving pockets for soil near borders and sweeping curves that follow beds and routes.
Choose Garden Path Edging and Jointing That Lasts
Once you’ve set the sub-base and locked in your block pattern, you’ll keep the path looking straight and staying put by choosing edging that won’t creep and joints that won’t wash out.
For edging, use concrete kerbs or soldier-course blocks on a concrete haunch (100–150 mm wide, 75–100 mm deep). That delivers edging durability and prevents lateral spread under foot traffic and freeze-thaw.
Plastic restraints cost less upfront but can flex unless you stake them tightly every 300 mm.
For jointing, sweep in kiln-dried sand for budget installs, then compact and top up; expect periodic refills after heavy rain.
For longer life, choose polymeric sand, mist it to set, and seal edges to protect garden path aesthetics. Keep joints 2–5 mm for lockup.
Frequently Asked Questions
Do I Need Planning Permission for a New Front Garden Path?
You usually don’t need planning permission for a new front garden path, but you must comply with local rules on drainage and access. Consider garden design and paving material durability to control long-term maintenance costs.
What Are the Typical Costs per Square Metre for Each Paving Option?
You’ll typically pay £20–£50/m² for gravel, £40–£120/m² for stone, and £60–£150/m² for block paving installed. For a cost comparison, weigh paving material durability: gravel cheapest, stone mid, blocks toughest.
How Do I Remove and Dispose of Old Concrete or Paving Responsibly?
When you handle Concrete removal, you’ll break slabs, lift with a pry bar, and load a skip; you’ll book environmentally friendly disposal at a licensed recycler. Example: you clear 10m² and pay £150–£300 total.
Which Path Surface Is Safest for Pets and Bare Feet in Summer?
You’ll get the best Pet safety and Summer comfort with light-colored, smooth, non-splintering surfaces that stay cooler and drain well. Avoid dark, heat-holding materials and sharp edges. You’ll cut burns, pad abrasion, maintenance costs.
How Can I Keep Gravel or Pavers Accessible for Wheelchairs and Walkers?
Like Odysseus choosing firm ground, you’ll keep paths wheelchair-ready by using compacted, resin-bound gravel or tightly laid pavers, adding Accessibility features: 36–48in width, smooth progression, 2% cross-slope. Boost paving durability with edging, base.
About the Author