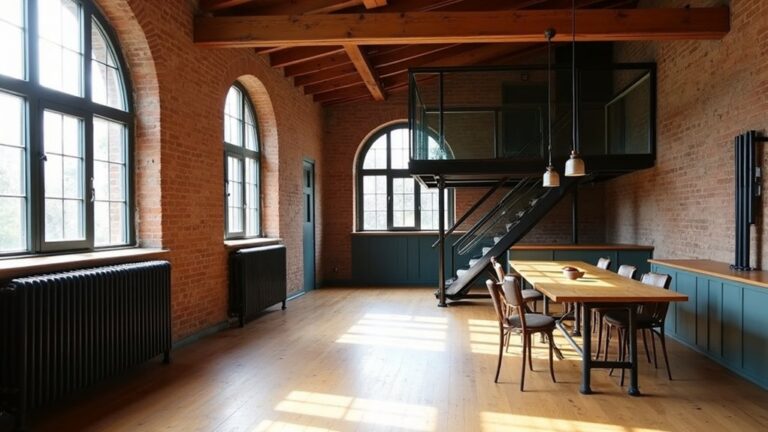
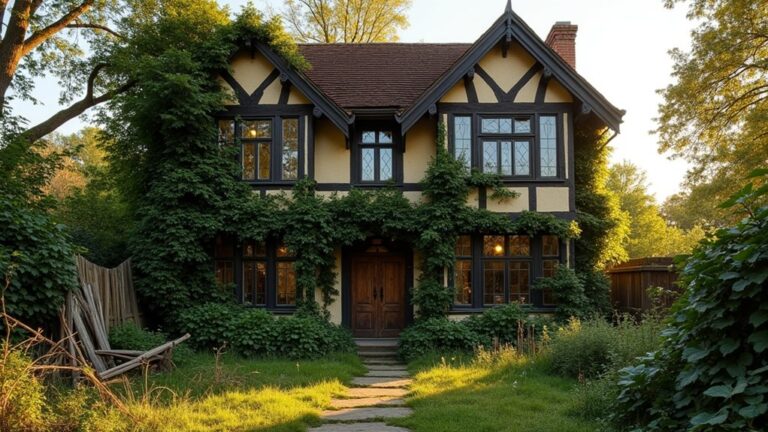
You buy a 1900s stone cottage and, after pulling back wallpaper, you find salt-stained plaster, soft joist ends, and a sagging lintel over the hearth. You don’t start with paint; you start with a survey, moisture tracing, and a clear scope that protects what’s original. You price repairs before finishes, plan permits early, and choose materials that match the building’s breathability. But one early decision can lock in either decades of comfort—or repeating failure…
Key Takeaways
- Survey the cottage thoroughly: roof, chimneys, gutters, cracks, floors, and joinery; photograph and map defects before planning any work.
- Build a tiered scope and budget: essentials first, character preservation included, itemized quotes collected, and a 15–25% contingency added.
- Eliminate damp at the source: repair roof and drainage, improve ventilation, lower ground levels, and repoint masonry with breathable lime mortar.
- Stabilize structure before finishes: verify foundations, repair joists and joints minimally, and document reversible repairs to protect original fabric.
- Secure permits and inspections early: align designs with code and heritage rules, schedule rough-ins and milestones, and never cover work before approvals.
Survey Your Cottage: What to Check First
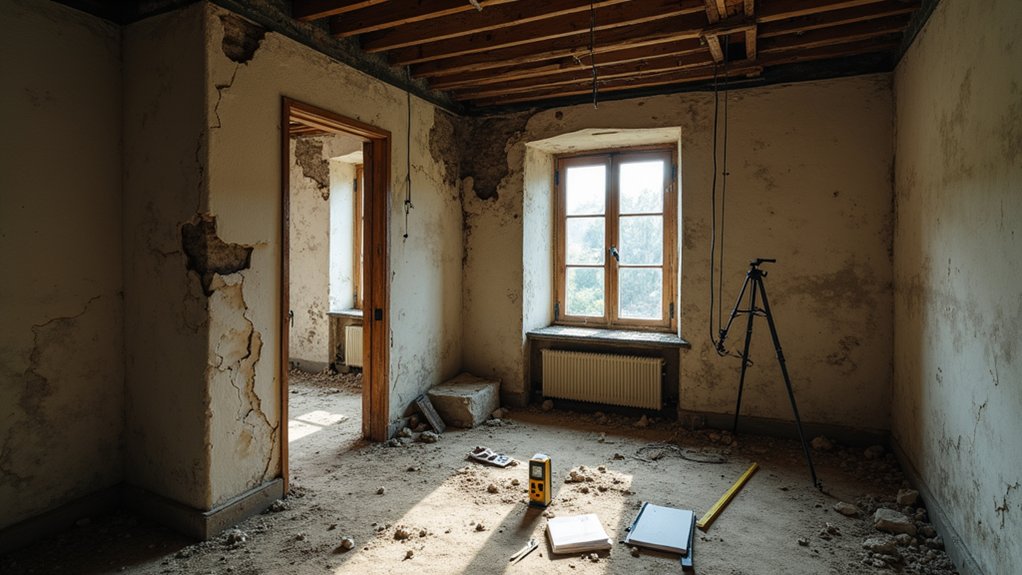
Before you fall in love with the fireplace or the view, walk the cottage like a surveyor and record what’s actually there. Start outside: note roof sag, missing slates, flashing gaps, chimney lean, and gutter falls. Check Exterior aesthetics without masking decay—peeling limewash, cement pointing, and trapped moisture can signal failing breathability in older stone or brick.
Trace cracks: step, vertical, and bulging walls; photograph and mark locations. Inside, test floors for spring and rot at joist ends, especially near hearths and damp corners. Smell for mold, lift a board if you can, and look for beetle frass.
Inspect windows and doors for racking and wet sills. Map services routes. Protect Cottage charm by documenting original trim, lath plaster, and historic hardware.
Scope + Budget Your Cottage Renovation Early
Now that you’ve walked the place room by room and logged the sagging rooflines, damp corners, cracked masonry, and tired services, put those notes to work by defining a renovation scope and a budget that match the cottage’s age and realities.
Start with Scope definition: list essentials first (structure, safety, services, weathering), then comfort upgrades (insulation approach, kitchen layout, storage). Note what must stay for character—original joinery, fireplaces, window proportions—and price for careful repair, not replacement.
Build Budget planning around tiers: must-do, should-do, nice-to-have, with clear assumptions and provisional sums for hidden defects. Get itemised quotes, allow for heritage approvals, and set a 15–25% contingency.
Fix your priorities early, and you’ll avoid costly mid-build design drift.
Stop Cottage Damp, Rot, and Leaks
You’ll start by tracing damp and leaks like a surveyor: check gutters, flashing, failed pointing, and ground levels where old cottages often wick moisture.
Then you’ll fix rot at the source—repair the water path first, replace only what’s unsound, and keep breathable materials so the building can dry as it was meant to.
Finally, you’ll boost ventilation and drainage with clear air paths, functioning vents, and controlled runoff that carries water away from the walls and footings.
Trace Damp And Leaks
Although a cottage can breathe and move with the seasons, damp and leaks don’t “come with the character”—they follow specific paths, and you can trace them if you read the building the way it was meant to work.
Start your leak diagnosis high and work down: roof slates, ridges, lead flashings, valleys, then gutters and joints. Look for fresh staining, salt bloom on plaster, and tide marks on limewash that show moisture intrusion timing.
On wet days, run your hand under eaves and at window heads; on dry days, note lingering musty corners.
Check ground levels: a buried plinth or hard paving can drive damp inward.
Map findings room by room, photograph, and log weather, wind direction, and heating use.
Fix Rot At Source
Once you’ve traced where moisture enters and where it lingers, tackle the rot at its cause instead of “treating” the symptoms. Start by stripping back finishes to sound timber or masonry, so you can see the full extent.
Cut out punky wood and splice in matching species, keeping original profiles for Historical preservation. Consolidate only what you can’t replace without losing character.
On masonry, rake out friable mortar and repoint with breathable lime, not hard cement that traps moisture.
Renew failed flashings, roof slates, and valley linings with like-for-like details. Reset slipped tiles and repair cracked render edges before water tracks behind.
Prime end grain, seal junctions, and repaint with vapour-open coatings. Exterior maintenance done now prevents repeat decay later.
Improve Ventilation And Drainage
Stopping rot at its source only holds if the building can dry out again, so shift your focus to airflow and water management. Restore Natural ventilation the way the cottage was meant to breathe: clear blocked chimneys, reopen trickle paths at eaves, and avoid sealing lime-plastered walls with modern impermeable paint.
Fit discreet vents in cupboards and underfloor voids, and keep air bricks clear of soil and ivy.
Next, build Effective drainage from roof to ground. Repair gutters and downpipes, add leaf guards, and extend outlets into gullies, not onto footings.
Lower external ground levels where they’ve crept up, and cut a shallow French drain with gravel and geotextile to intercept splashback.
Check paving falls away from walls, and fix leaking taps.
Monitor humidity after each change, seasonally.
Fix the Cottage Structure Before Finishes
Before you pick paint colors or mill new trim, you’ve got to make the cottage stand solid and dry, because old houses fail from movement and moisture long before they fail from ugly finishes.
Start at the bottom: check Foundation stability by probing sills, looking for stepped cracks, and verifying floors aren’t still settling. Repoint stone or brick with lime-based mortar that matches the original, and replace failed pads or piers in kind, not with rigid cement blobs.
Then restore Structural integrity: sister compromised joists, tighten loose pegged joints, and add discreet blocking where spans feel springy. Keep repairs reversible and minimal—save old timbers when sound, and document what you change.
Only after the frame stops moving should you seal, insulate, and finish surfaces.
Permits and Inspections for Cottage Renovations
Before you cover old framing and stonework, you’ll confirm what permits your town requires—especially for structural changes, electrical, plumbing, and any work on a historic cottage.
You’ll map inspection milestones (foundation, framing, rough-ins, insulation, final) so you don’t lock defects behind finished walls.
When code compliance issues surface, you’ll document existing conditions, coordinate with your inspector, and choose upgrades that meet safety standards without stripping the cottage’s period character.
Understanding Permit Requirements
How do you renovate a cottage without accidentally erasing its history—or triggering a stop-work order? Start by mapping every proposed change, then match it to your municipality’s legal requirements.
You’ll typically need a building permit for structural work, roof changes, additions, new plumbing or electrical runs, septic modifications, and window or door resizing. If your cottage is designated or within a heritage district, you may also need heritage consent that limits materials, profiles, and demolition.
Call planning early, ask for a pre-application meeting, and request written guidance. Assemble clear drawings, photos of existing conditions, and a scope that preserves original fabric where possible.
Budget time for reviews, revisions, and neighbor notifications if required too.
Navigating Inspection Milestones
Once your permits and any heritage approvals are in hand, inspections become the checkpoints that keep the work legal, safe, and respectful of the cottage’s original structure. You’ll schedule them around key stages: excavation and footings, foundation, framing, rough-in plumbing and wiring, insulation, and final occupancy.
Keep original joists, stonework, and trim accessible until the inspector documents what stays and what’s repaired for Historic preservation. Bring approved drawings, product cut sheets, and photos of concealed conditions so you can answer questions fast without improvising on site.
Coordinate trades so nothing gets covered before sign-off, and log each visit, note, and sticker. Don’t forget exterior walk-throughs: drainage, setbacks, and Landscape integration often need confirmation before you finish grading and planting.
Handling Code Compliance Issues
Where do code compliance issues usually surface in a cottage renovation? They show up when you open walls, change egress, or touch plumbing, wiring, chimneys, and foundations.
Older cottages often predate modern rules, so you’ll need permits that match the scope, not just the finishes. Start by checking zoning restrictions: setbacks, height, lot coverage, and whether your “small addition” triggers a full review.
Bring photos and measured plans to the building office, and document existing conditions to support grandfathered elements.
Schedule inspections in sequence—rough framing, rough MEP, insulation, then final—and don’t cover work early.
If an inspector flags hazards, fix them first, then negotiate sympathetic repairs that respect original materials.
Track Legal considerations in writing throughout.
Rework the Cottage Layout Without Losing Character
Although you’re tempted to rip out every cramped corridor and low-ceilinged nook, you’ll get a better result by treating the cottage’s layout like a record of how it was lived in. Walk the rooms at different times of day, note pinch points, and map how heat, light, and circulation actually work. Keep the original hierarchy—entry, hearth room, tucked service spaces—then adjust proportions with restraint.
You can modernize the interior layout by widening one key passage, borrowing space from an oversized closet, or aligning doorways to create longer sightlines. If you need openness, choose a single, well-placed opening that frames the fireplace or stair, and leave smaller rooms intact.
Preserve window positions and exterior doors so exterior charm stays legible from the lane.
Choose Era-Right Materials for Your Cottage Renovation
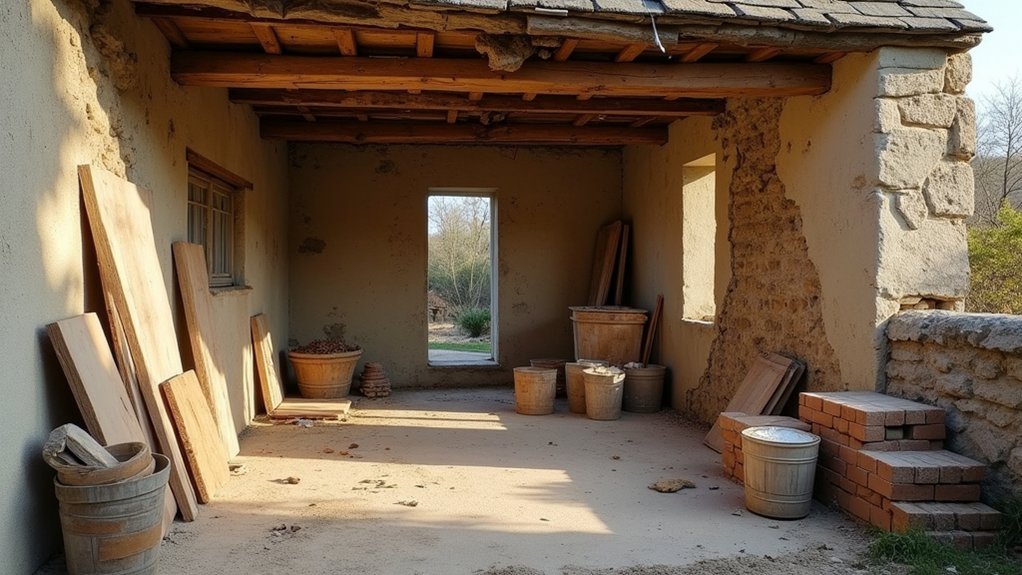
If you match your materials to the cottage’s original build era, you’ll solve more problems than you create—because old walls, floors, and roofs “breathe” and move in ways modern, sealed-up products often fight.
Start by identifying what you’ve got: lime mortar and plaster, soft brick or stone, wide pine boards, clay tiles or slate.
Repair with like-for-like lime, not hard cement, so moisture can evaporate without spalling masonry.
Choose timber species and cut that mirror the originals, and let floors float slightly to handle seasonal shifts.
For insulation, use breathable options (wood fibre, sheep’s wool) and keep vapour paths clear.
You’ll keep Historical accuracy while improving Material durability, because compatible materials age together instead of tearing each other apart.
Frequently Asked Questions
How Do I Insure a Cottage While It’s Undergoing Major Renovation?
You’ll need a builder’s risk or renovation policy, plus liability, starting before work begins. Document Historic preservation features, confirm renovation permits, notify insurers about vacancy, security, and contractors’ coverage, and update limits as repairs progress.
What Financing Options Exist for Renovating an Uninhabitable Cottage?
You can finance an uninhabitable cottage with renovation mortgages, construction-to-permanent loans, home-equity lines, or hard-money lenders. You’ll also tap Historic preservation grants and tax credits, but you must satisfy zoning regulations and phased inspections.
How Can I Find Reputable Craftspeople Experienced With Heritage Cottages?
You’ll find reputable craftspeople by asking local conservation officers, heritage trusts, and builders’ merchants for vetted lists. Interview candidates on Restoration techniques and Heritage craftsmanship, review past cottage projects, and verify references, insurance, accreditations.
When Should I Schedule Utilities Reconnection During the Renovation Timeline?
Schedule utilities reconnection after structural work and weather-tightness, before first-fix electrics/plumbing. Lock in utility timing early, confirm reconnection scheduling once permits and heritage-safe routes are set. You’ll avoid delays and protect historic fabric.
How Do I Handle Pest Infestations Discovered After Moving In?
You handle pest infestations by documenting signs, sealing entries, and hiring a licensed pro for infestations management. Remove food sources, repair historic gaps gently, treat targeted areas, then maintain Pest prevention with monitoring, sanitation, and exclusion.
About the Author