If your older floorboards have seen better days, you can still bring them back without stripping away their character. You’ll start by judging whether the wear is cosmetic or structural, then address loose nails, gaps, and squeaks before any sanding begins. You’ll pick the right sander, control your grit sequence to avoid gouges, and test stain to prevent blotching. Then you’ll choose a sealant that matches your traffic and sheen—but one step tends to make or break the result…
Is Your Old Solid Wood Floor Worth Refinishing?
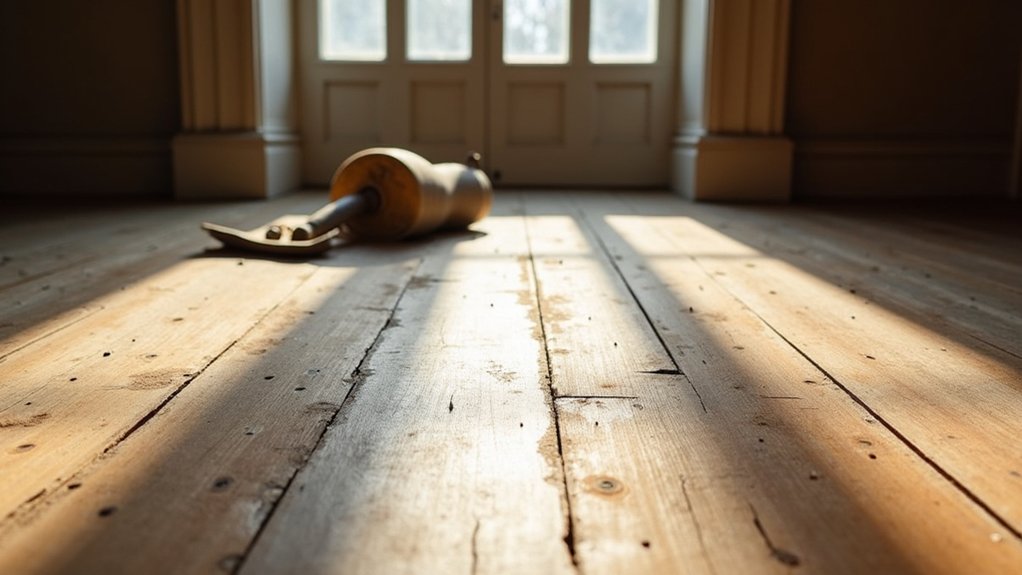
Before you commit to ripping it out, take a hard look at what you’ve got: a solid wood floor is usually worth refinishing if the boards are structurally sound, have enough thickness left for another sanding, and show wear that’s mostly surface-level (scratches, dull finish, minor staining) rather than deep damage (soft spots, rot, widespread cupping, or active moisture issues).
Confirm it’s solid, not veneer, by checking a floor vent or threshold for full-thickness planks. Measure remaining wear layer by inspecting nail heads and tongue height; you’ll need enough meat to sand flat without exposing fasteners.
Evaluate wood grain: tight, even grain often sands cleaner and takes stain predictably.
Plan for finish durability by choosing oil-modified poly for warmth or waterborne for faster cure.
Spot Damage That Can Derail Floorboard Refinishing
Even if your floorboards look refinishable at a glance, a few types of spot damage can stop the job cold or force costly board replacement. Start by hunting for deep gouges that cross multiple boards, since sanding can’t erase them without thinning the wear layer too far.
Probe for soft, punky zones around radiators, exterior doors, and under plant stands; moisture rot won’t hold finish and usually demands patching or replacement. Identify surface cracks that widen when you press nearby—those often signal split tongues or structural breaks, not simple checking.
Watch for pet-urine and oil: hidden stains can bleed back through new finish or resist sealers. If discoloration penetrates the full thickness, refinishing alone won’t fix it.
Prep Older Floorboards: Nails, Gaps, Squeaks
Although older floorboards can refinish beautifully, you’ve got to lock them down first by dealing with protruding nails, open gaps, and squeaks that sanding will only worsen.
Start with a slow walk-through and mark every fastener. Set proud nails below the surface with a nail set; for broken heads, use end-cutting nippers for careful nail removal, then replace with a screw driven into the joist.
Chase squeaks by locating joists and adding trim-head screws, then plug if needed.
Vacuum cracks and evaluate movement: for stable seams, use gap filling with slivers of matching wood and glue, not brittle putty.
Leave seasonal expansion gaps at walls clear, and re-check for proud metal before moving on.
Choose the Right Sander for Old Floorboards
Once you’ve secured loose boards and sunk every fastener, choose a sander that matches your floor’s age, flatness, and repair history so you don’t grind deep waves into soft, uneven planks.
For broad, open rooms, rent a drum sander if the boards are fairly level and you need fast, straight-line cutting.
If your floor’s crowned, patched, or slightly cupped, pick a belt sander for more control and smoother tracking.
Use an edger for perimeters and under radiators, and a detail sander for corners and stair returns.
Prioritize Dust collection: a sealed bag or vac port prevents grit from re-scouring the surface and protects your lungs.
Do Sander maintenance—inspect the drum/belt, bearings, and pad before starting.
Sand Solid Wood Floorboards Without Gouges
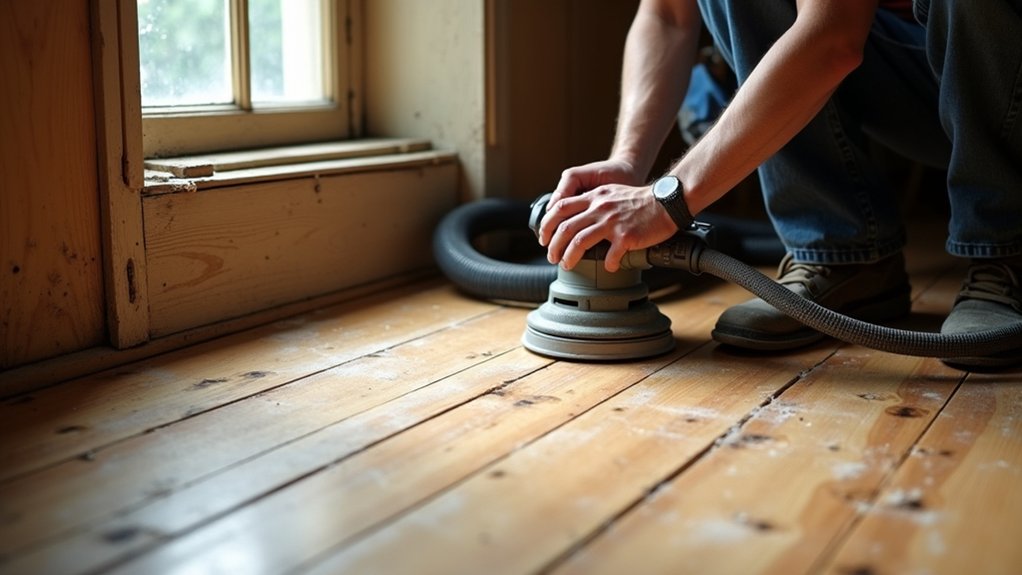
To sand solid wood floorboards without gouges, you’ve got to run a disciplined grit sequence—start coarse only as needed, then step up gradually to erase the previous scratch pattern.
Keep the sander moving at a steady pace and apply light, even pressure so you don’t dig trenches at board edges or soft grain.
If you feel chatter or see ripples, back off the pressure, re-level with the prior grit, and resume with controlled, overlapping passes.
Choose Proper Grit Sequence
Before you fire up the sander, lock in a grit sequence that levels the boards fast without carving trenches into them. Start with the least aggressive grit that still removes finish and cupping: typically 36 or 40 for heavy wear, 50–60 if the floor’s fairly flat.
Follow a disciplined grit progression—never jump more than one step—so each pass erases the previous scratch set. A reliable sequence is 40/60/80/100 (or 50/80/100 on softer species), finishing at 100–120 if you’re applying clear coats.
Keep sanding patterns consistent: run the drum or belt with the boards, and use the edger in overlapping arcs, then blend with a final screen. Vacuum between grits so stray grit can’t score lines.
Control Sander Pressure Technique
Although the right grit does most of the cutting, your pressure control determines whether the floor comes out flat or full of gouges. Let the machine’s weight work; you’re guiding, not forcing.
With a drum or belt unit, feather your grip at starts and stops, and keep it moving before you lower the drum. If you pause, you’ll dish the boards instantly.
On cupped planks, don’t lean on the edges to “fix” them; make level passes and recheck.
Use two hands to control sander tracking, keeping it parallel to the grain. Your pressure technique should feel steady and light, with consistent walking speed.
When you hit soft pine, back off slightly and overlap passes to prevent chatter marks.
Stain Older Wood Floors Without Blotches
To stain older wood floors without blotches, you’ll start with strict surface prep and consistent sanding so the boards absorb color uniformly.
Next, you’ll apply wood conditioner correctly—right product, right timing, and full coverage—to control uneven porosity.
Finally, you’ll lay the stain on evenly with a wet edge, steady pressure, and a clear wipe-off schedule so the tone stays consistent from board to board.
Surface Prep And Sanding
If you want older wood floors to take stain evenly, you’ve got to earn it with meticulous surface prep and disciplined sanding. Start by pulling all fasteners below the surface, removing tack strips, and vacuuming grit from seams. Degloss any remaining finish so sandpaper cuts cleanly.
Patch only after you’ve identified board species and grain so repairs don’t sabotage color matching.
Sand in deliberate passes: coarse to flatten cupping, then medium to erase scratches, finishing with a fine grit that still leaves tooth for stain. Keep the machine moving, overlap runs, and edge-sand to the same final grit as the field.
Screen between steps and vacuum thoroughly; lingering dust creates blotches and weakens finish durability. Wipe with mineral spirits to reveal swirl marks before staining.
Use Wood Conditioner Properly
Because older floorboards often soak up pigment unevenly—especially around knots, repairs, and sun-faded traffic lanes—you’ll get a more uniform stain by using a wood conditioner as a controlled “pre-seal,” not a shortcut.
Choose a conditioner matched to your stain type (oil with oil, water with water) and your species; softwoods and open-pored hardwoods benefit most. Vacuum thoroughly, then tack with a lint-free cloth so dust won’t clog the wood grain.
Flood on conditioner with a brush or pad, keep a wet edge, and work it into end grain and patched areas. Let it soak per label, then wipe off all excess so it doesn’t form a film.
Stain within the product’s window to lock in absorption control and protect finish durability.
Apply Stain Evenly
Once the conditioner has set the wood’s absorption rate, you can focus on laying down stain in a controlled, consistent film so older boards don’t telegraph knots, patches, and worn traffic lanes as blotches. Work one small section at a time, cutting in along edges, then wiping with the grain using clean, folded rags.
Keep a wet edge; don’t let lap marks dry between passes. Use a brush or pad to push stain into open grain, then remove excess evenly within the manufacturer’s window.
For color matching across mixed boards, test your mix on offcuts and under the same light.
Use stain layering: apply a light first coat, dry fully, then add a second only where needed, feathering gradients.
Seal Refinished Floorboards: Oil vs Polyurethane
How do you choose the right sealer after you’ve refinished solid wood floorboards—oil or polyurethane? Start by matching the finish to traffic, sheen, and maintenance.
With oil, you penetrate the wood and enhance grain warmth. Key Oil finish advantages include easy spot-refreshing and a low-gloss, traditional look that suits older homes. Plan on periodic re-oiling and accept a longer cure time.
Choose polyurethane when you need a tougher film finish. Water-based poly keeps color clear and dries fast; oil-based poly ambers slightly and builds richness. Either way, polyurethane durability excels in busy kitchens, hallways, and homes with pets.
Apply thin, even coats, sand lightly between coats, and respect full cure times before rugs and furniture.
Avoid Common Mistakes in Older Floor Refinishing

Although older floorboards can look forgiving under dust and patina, they punish rushed refinishing. Don’t start sanding until you’ve set protruding nails, tightened squeaky boards, and tested for lead paint at thresholds and trim.
Skip aggressive drum sanding on crowned or thin boards; you’ll dish edges and erase Vintage aesthetics. Instead, feather passes, use a quality edger sparingly, and hand-scrape corners.
Don’t wash the floor before sanding; you’ll raise grain and drive grime into cracks. After sanding, vacuum twice, then tack with a damp microfiber—no oily cloths.
Always spot-test stain and finish on an inconspicuous board; old wood absorbs unevenly.
Finally, respect Historical preservation: match original sheen, keep tool marks minimal, and document any board replacement for future repairs.
Frequently Asked Questions
How Long Should You Stay off Floors After Refinishing?
Stay off refinished floors 24 hours for socks-only, 48–72 hours before light furniture, and 7 days for rugs. After Floor sanding, protect surfaces; don’t wash. Finish curing varies with humidity and product.
What VOC Levels and Ventilation Are Needed During Refinishing?
Treat VOCs like an invisible wildfire: follow VOC regulations, choose low-VOC finishes (<100 g/L), keep indoor air <0.1 ppm solvents, and run exhaust fans, cross-breezes, and HEPA-filtered ventilation systems continuously until odors vanish.
Can You Refinish Floors While Living in the Home?
Yes, you can, but you’ll need strict isolation. Schedule the Sanding process first, then complete Floor preparation. Seal doorways with plastic, run exhaust fans, avoid dust zones, and plan temporary sleeping elsewhere.
How Do You Match Stain Color to Adjacent Rooms?
You match stain by doing Color matching with test boards: sand to the same grit, apply coats, and compare in room lighting. You’ll use Stain blending—mix ratios, adjust conditioner, and seal consistently.
What Does Professional Floor Refinishing Typically Cost per Square Foot?
You’ll typically pay $3–$8 per square foot for professional refinishing, depending on cost considerations and pricing factors. You’ll see higher rates for repairs, staining, dustless systems, difficult access, and premium finishes.
About the Author