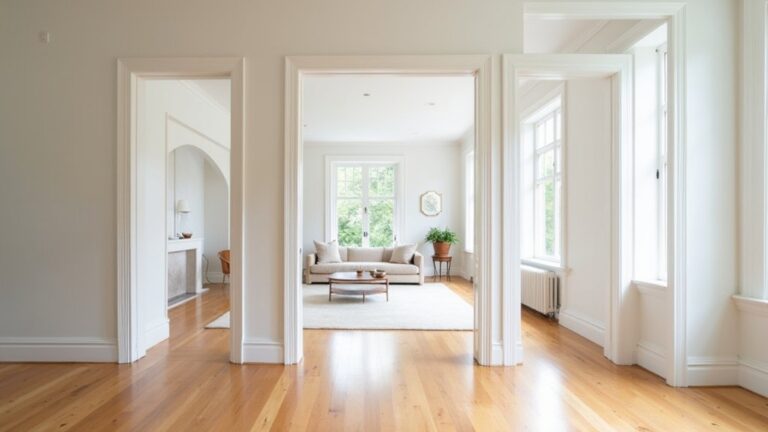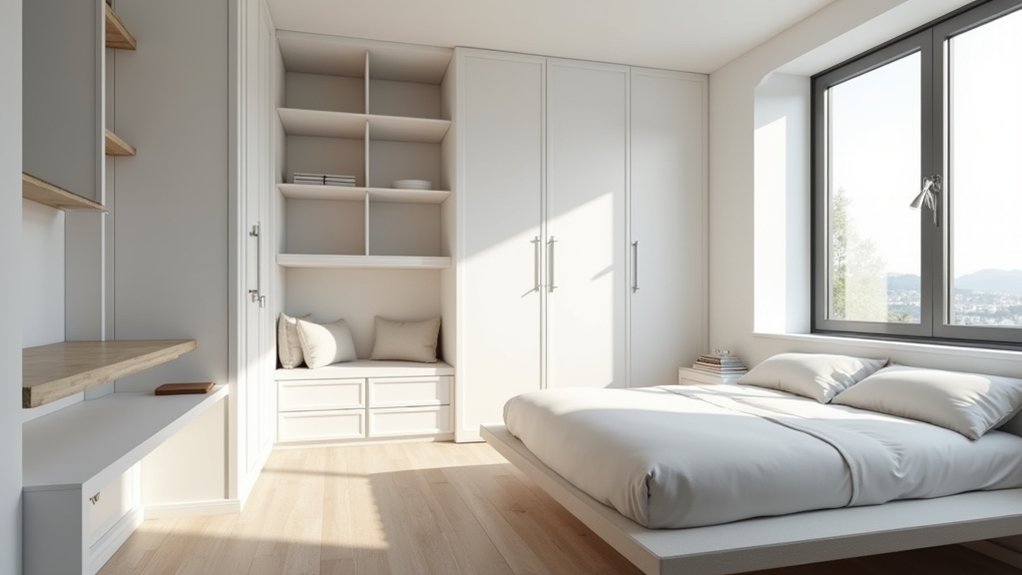
Like a well-cut suit, built-in storage should fit your room, not fight it. You start by mapping traffic paths and spotting wasted zones—corners, shallow niches, and the space over doors. You keep units slim, go vertical near the ceiling, and tuck storage into wall cavities or a window seat without crowding furniture. The difference comes down to a few precise measurements and one decision you’ll want to make next…
Key Takeaways
- Plan built-ins around traffic flow, door swings, outlets, and vents, keeping clearances precise so storage doesn’t steal usable space.
- Prioritize item frequency: daily-use storage at arm height, seasonal items higher or lower to keep the room functional.
- Turn corners and niches into floor-to-ceiling cabinets or shelves, matching trim and paint for a seamless, space-saving look.
- Add recessed wall shelves between studs to gain storage without depth, keeping shelves shallow in tight areas like halls and baths.
- Use window seats and overhead zones above doors or near ceilings for hidden storage, choosing lift-up fronts or labeled bins to reduce clutter.
Plan Built‑In Storage Around Your Layout
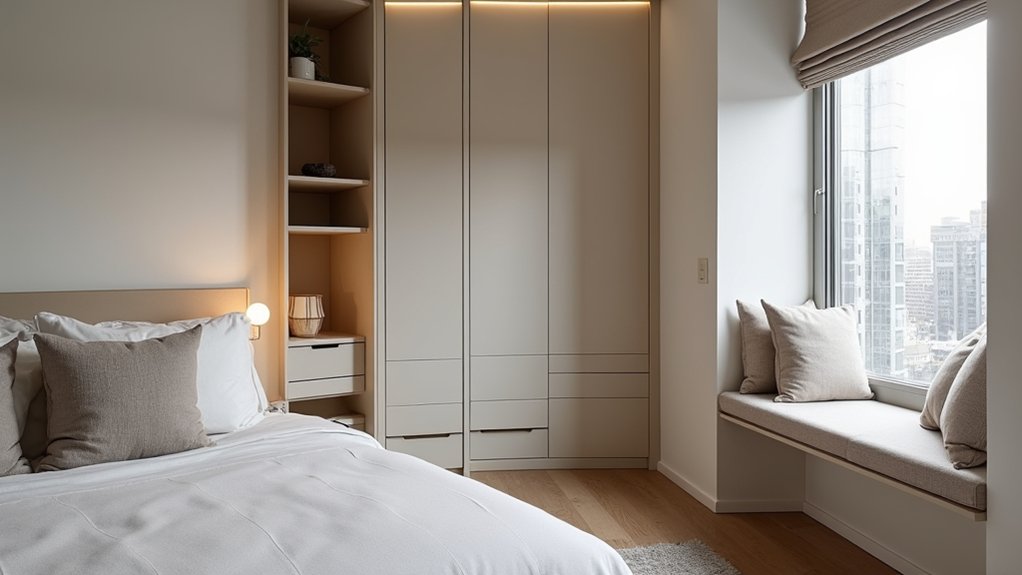
Before you sketch a single cabinet, map how you actually move through the room—where doors swing, drawers need clearance, and walking paths can’t pinch. Measure tight zones in inches, not guesses, then mark outlets, vents, and radiators so built-ins don’t block access or airflow.
Set storage priorities by frequency: keep daily items at arm height, stash seasonal pieces up high or down low. Choose Custom cabinetry when you need exact fits around trim, baseboards, or uneven walls, and specify hinge swings and pull depths to avoid collisions.
Use Modular units when you want flexibility—stack, bridge, or split them as needs change. Finally, plan lighting and hardware early so doors open cleanly and shadows don’t hide contents.
Turn Corners and Niches Into Built‑In Storage
Even if a room feels maxed out, the dead space in corners and awkward niches can hold a surprising amount when you treat it like prime real estate. Measure the angle, height, and clearance, then choose built-ins that follow the wall line so you don’t steal walking space.
In a corner, wrap low cabinets with a tight radius and add a continuous top that doubles as a drop zone or desk.
In a niche, fit a floor-to-ceiling unit with adjustable shelves so baskets, books, and linens each get a dedicated bay.
Aim for Furniture integration: match door styles, baseboards, and paint so the storage reads like architecture.
Finish with Decorative shelving at eye level to display essentials and keep the bulk behind closed fronts.
Add Recessed Shelves Between Wall Studs
When you need storage without sacrificing a single inch of floor space, recessed shelves between wall studs give you a built‑in look that sits flush to the wall. You’ll locate studs with a finder, then choose a bay free of wiring and plumbing before cutting the drywall opening.
Frame the niche with 2x lumber, add a solid backer, and screw in shelf cleats so everything stays rigid. For a clean finish, face it with trim and paint to match the wall, or add a contrasting backing for depth.
Keep shelf depth around 3–4 inches in tight halls and baths. Add a shallow door or push‑latch panel for hidden compartments. Use floating shelves inside the niche for a lighter, gallery look.
Build Window‑Seat Storage and Under‑Bench Drawers
Recessed niches keep storage flush to the wall, but a window seat lets you capture another often‑wasted zone: the space under the view. Frame a simple bench box, then top it with a hinged lid for blankets, games, or seasonal gear. Add a soft‑close stay so it won’t slam, and drill a finger pull or install a low‑profile pull to keep the face clean.
If you’d rather access items daily, build under‑bench drawers on full‑extension slides so nothing gets lost in back. Divide the interior with Modular units, like adjustable cubbies or drop‑in bins, so storage adapts as your needs change.
For tight rooms, add Hidden compartments behind a removable toe‑kick for valuables or cords. Finish with a durable cushion and washable cover.
Use High Built‑Ins (Over Doors, Near Ceilings)
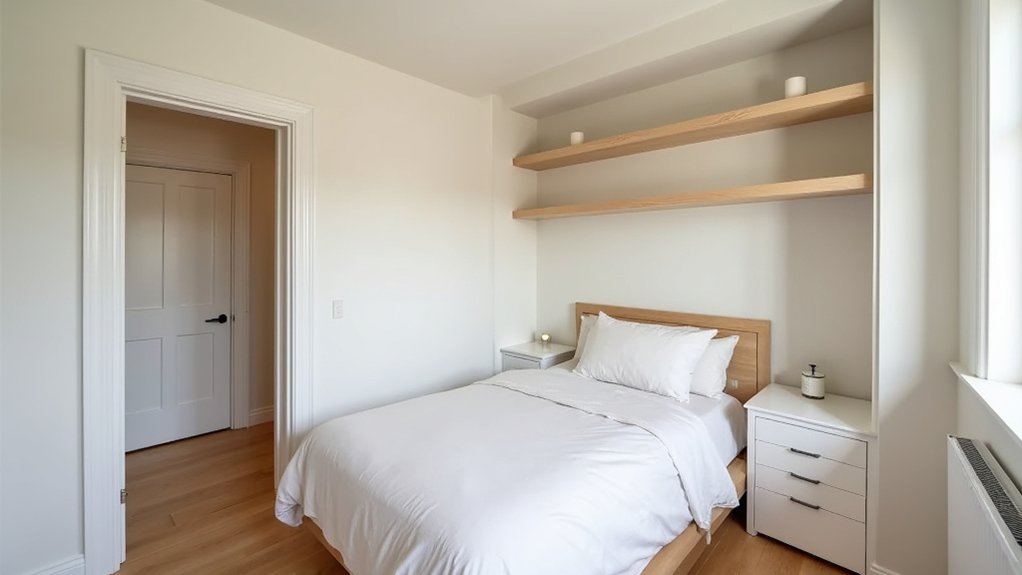
Because your walls don’t stop at eye level, you can reclaim serious square footage by building storage high—over door casings, along the top of closets, or as a shallow run just below the ceiling. Add a soffit-depth box above the door for off-season linens, rarely used serving pieces, or bulk paper goods, and keep the opening aligned with trim so it looks intentional.
Choose overhead cabinets with lift-up fronts or simple hinged doors so you don’t bash your head. In tight rooms, install ceiling mounted shelves only 8–10 inches deep; they’ll hold baskets without crowding sightlines.
Use identical bins and label the underside for easy reads from below. Finish with the same paint as the wall to visually disappear and keep the room calm.
Frequently Asked Questions
What Permits Are Required for Built‑In Storage Projects in My Area?
You’ll usually need a building permit if you alter walls, electrical, or plumbing; cosmetic cabinets often don’t. Check local building codes and your permit process with city/county offices, HOA, and inspectors before starting work.
How Much Do Built‑Ins Typically Cost Compared to Freestanding Furniture?
Measure twice, cut once: You’ll typically pay 1.5–4× more for built-ins than freestanding furniture. For cost comparison, weigh pricing factors like custom millwork, finishes, install labor, electrical, and precise site conditions.
Which Materials Resist Moisture Best for Bathrooms or Damp Basements?
You’ll get best results with Moisture resistant materials like PVC trim, fiberglass, porcelain tile, and marine-grade plywood sealed with epoxy. For Bathroom dampness or basements, choose stainless fasteners, mold-resistant drywall, and closed-cell foam panels too.
How Do I Soundproof Built‑Ins to Reduce Noise Through Shared Walls?
You’ll soundproof built-ins by decoupling frames with resilient channel, sealing gaps, and lining cavities. Use Soundproofing techniques like mass-loaded vinyl and mineral wool, plus Noise reduction materials such as acoustic caulk and putty pads.
Can Built‑Ins Be Removed Later Without Damaging Walls or Floors?
Yes, you can remove built-ins later with minimal damage if you screw into studs, avoid glue, and use removable shelving or wall mounted units. You’ll patch holes, touch up paint, and refinish floors.
About the Author