You don’t need a full renovation to make a tired kitchen feel current—you just need smart swaps with high impact. Start by pricing each change by what you’ll see and touch every day: hardware, taps, lighting, and surfaces. Then use paint and peel-and-stick finishes to fake the “new kitchen” look without the demo mess. The real difference comes when you pair those upgrades with storage inserts that erase clutter… but which move pays off first?
Key Takeaways
- Prioritise high-impact updates first—dated handles, taps, lighting, splashback—balancing visibility, cost, and installation effort.
- Replace cabinet hardware and the faucet with matching finishes for an instant “new kitchen” look with minimal mess.
- Upgrade lighting with warm-neutral LEDs, under-cabinet strips, and a slim ceiling fixture to brighten tasks and reduce gloom.
- Repaint cabinets and refresh walls using adhesion primer and thin coats; choose modern warm whites, greiges, or deep charcoals.
- Add affordable storage inserts and pull-outs to clear benchtops, reduce clutter, and make the kitchen feel larger and more modern.
Plan a Budget Kitchen Refresh (Cost vs Impact)
Before you buy anything, map your refresh around cost vs impact so every pound works harder: start by listing what looks most dated (cabinet fronts, worktops, lighting, splashback, hardware).
Then rank each item by visibility, daily use, and install complexity.
Now set a tight range for Budget planning, including a 10–15% contingency, and price options by finish and labour, not just materials.
Run a quick Impact assessment: if the room feels dark, prioritise layered lighting; if it feels busy, simplify colours and reduce visual clutter with matching trims.
Choose upgrades that stack benefits—easy-clean surfaces, warmer LEDs, slimline profiles—to modernise without stealing space.
Phase big jobs first, then schedule cosmetic tweaks once dust-heavy work’s done.
Swap Handles and Taps for a Quick Update
Once you’ve pinned down your cost‑vs‑impact priorities, go straight for the quickest visual win: swap cabinet handles and your kitchen tap. Stylish hardware instantly sharpens dated doors, makes flat-pack cabinetry feel bespoke, and ties finishes together. Measure hole centres before you buy; choose like‑for‑like sizes to avoid filler and repainting.
For small kitchens, slim bar pulls reduce visual clutter, while knurled knobs add grip without bulk.
Next, treat Faucet upgrades as your “jewellery” moment. Pick a high‑arc spout if you wash large pans, or a compact pull‑out for tight sink runs. Match sheen across the room—brushed nickel, matte black, or warm brass—then keep it consistent on hinges and accessories.
You’ll modernise fast, with minimal mess and maximum impact.
Upgrade Kitchen Lighting (Task, Ambient, Under-Cabinet)
If your kitchen still feels dated after the hardware swap, lighting will modernise it faster than any other upgrade because it changes how every surface reads.
Start with layered light: bright task lighting over prep zones, softer ambient light for the room, and under-cabinet strips to erase shadows on benchtops.
Swap old globes for warm-neutral LEDs (around 3000K) so whites look clean, not clinical, and timber stays rich.
Choose slimline flush mounts or a simple linear pendant to keep sightlines open in smaller kitchens.
Add Smart lighting with dimmers or scenes so you can shift from cooking mode to evening glow instantly.
Prioritise Energy efficiency: LEDs cut heat, last longer, and reduce running costs while looking current.
Paint Tired Cabinets for a Modern Finish
Why replace serviceable cabinetry when paint can deliver a near-new look for a fraction of the cost? Start by removing doors, labeling hinges, and degreasing thoroughly so the finish bonds.
Lightly sand or use a deglosser, then prime with a stain-blocking, adhesion formula to prevent tannin bleed and future chips.
For crisp results, lean on Cabinet painting techniques: use a foam roller for flats, a quality angled brush for profiles, and thin coats with proper dry time.
Want a pro vibe in a small kitchen? Follow color selection tips: choose warm whites, soft greiges, or deep charcoal for contrast, and match undertones to your worktops.
Swap dated knobs for slim pulls to sharpen the modern line too.
Add Open Shelves and a Peel-and-Stick Splashback

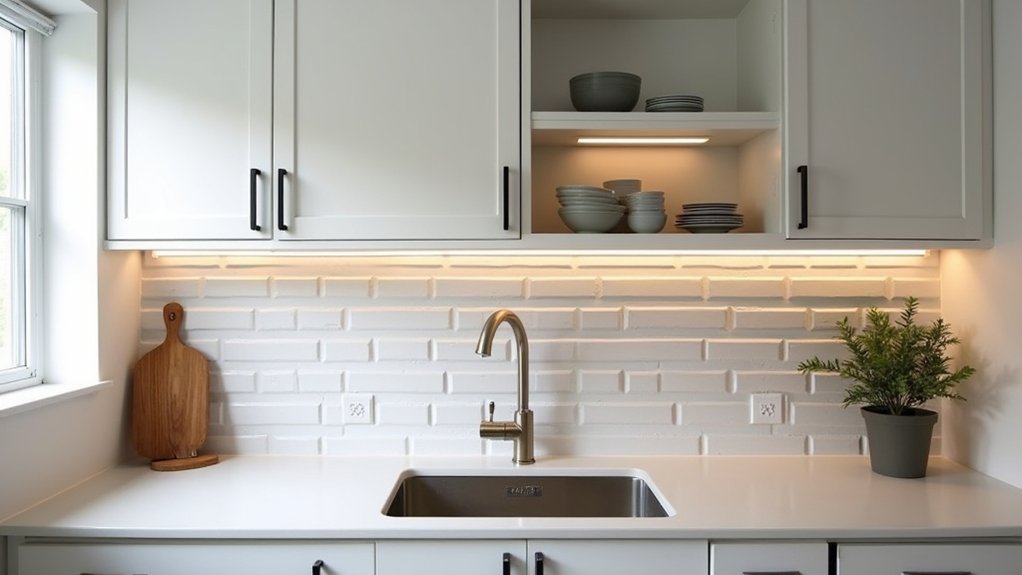
Freshly painted cabinets set a clean baseline, so now you can lighten the room and add personality with open shelves and a peel-and-stick splashback. Swap one upper cabinet for open shelving to open sightlines and make a small kitchen feel wider. Mount shelves into studs, keep them shallow, and align them with cabinet edges for a built-in look. Style with a tight palette: everyday plates, a couple of glass jars, and one plant—nothing fussy.
Then add a peel-and-stick backsplash to sharpen the whole wall. Choose matte subway, stone-look, or micro-mosaic for a current finish without grout. Clean and degrease, run a level line, and start at the centre so cuts land neatly at corners. Use a trim strip for clean edges.
Fix Clutter With Smart Kitchen Storage Inserts
You can modernise a tired kitchen fast by taming clutter with smart storage inserts that make every centimetre work harder. Add drawer dividers and custom inserts to keep tools sorted.
Then install pull-out cabinet organisers so pots, pans, and pantry staples slide out in one smooth move.
Finish with under-shelf rack add-ons to double vertical space and keep benchtops clear and current.
Drawer Dividers And Inserts
Even if your kitchen looks sleek on the surface, messy drawers can sabotage the whole space. Upgrade fast with drawer dividers and inserts that give every tool a home, so you stop “shuffling” and start cooking.
For kitchen organization that feels modern, measure your drawer’s internal width and depth, then choose modular trays you can reconfigure as your needs change.
Lean into drawer customization with adjustable bamboo or matte plastic grids, plus slim knife, spice, and utensil inserts that stack vertically without wasting height.
Add a non-slip liner under everything to keep sections crisp and quiet.
Group items by task—prep, baking, coffee—so you can grab what you need in one motion.
The result looks curated, not cluttered, and it’s surprisingly affordable.
Pull-Out Cabinet Organisers
Once your drawers feel dialled in, the real clutter culprit usually hides behind cabinet doors: deep shelves where pots, pans, and pantry staples disappear into a dark back corner. Add pull-out cabinet organisers to turn wasted depth into usable zones, fast. Choose full-extension slides so everything glides out smoothly, boosting pull-out efficiency and eliminating that awkward crouch-and-reach routine.
Use tall pull-outs for oils and spices, low trays for lids, and heavy-duty baskets for mixers or cast iron. Measure your opening, check hinge clearance, and match the finish to your hardware for a modern, built-in look.
You’ll get instant cabinet accessibility, cleaner sightlines, and a kitchen that feels calmer without a full remodel.
Under-Shelf Rack Add-Ons
Because most cabinets waste the airspace between shelves, under-shelf rack add-ons instantly double your usable storage without drilling or a redesign. Slide one under a fixed shelf to corral mugs, wraps, cutting boards, or snack bins, and you’ll clear the counter fast.
Choose powder-coated metal for a clean, modern look, or bamboo for warmer, trend-right texture. Measure shelf thickness and rack depth so drawers and doors still close cleanly.
Use matching bins to keep categories tight and make restocks simple. For decorative shelf styling, let one rack hold glassware while you line spices or oils below in uniform labels.
Pair it with under-shelf lighting options—thin LED strips—to spotlight zones and reduce shadowy clutter. It’s a small insert with big impact.
Frequently Asked Questions
How Long Will a Budget Kitchen Makeover Typically Take From Start to Finish?
You’ll typically finish a budget kitchen makeover in 3–10 days—like swapping winter for spring overnight. You’ll spend 2–4 days on cabinet painting, 1–2 on backsplash installation, plus drying, hardware, and tidy touch-ups.
Do I Need a Permit or Landlord Approval for Minor Kitchen Upgrades?
You’ll often need landlord approval, and sometimes a permit, for plumbing, electrical, or structural changes; cosmetic swaps usually don’t. Check your lease, local home renovation rules, and design regulations before ordering fixtures or paint.
Which Upgrades Add the Most Resale Value When Selling a Home?
You’ll boost resale most with bright, layered Kitchen lighting and durable, on-trend Countertop materials. Picture sunlight glinting off quartz, crisp LEDs under cabinets. You’ll also win with fresh paint, updated pulls, and efficient appliances.
How Can I Update Old Kitchen Appliances Without Replacing Them?
You can refresh old appliances with appliance painting kits, peel-and-stick stainless wraps, and new handles. Clean thoroughly, degloss, and seal edges. Pair upgrades with countertop overlays to coordinate finishes and keep a streamlined, on-trend look.
What Are the Best Ways to Modernise a Kitchen in a Rental Property?
Start with peel-and-stick decorative backsplashes—your instant wow. Swap in statement lighting with plug-in pendants, add removable hardware, layer slim organizers, and use renter-safe paint or contact paper. You’ll modernize fast, stay stylish, and avoid damage.
About the Author