Studies estimate you’ll spend 70% of your garden time moving through it, not planting in it. If your routes cut across beds or puddle after rain, you can fix the problem fast with hardscaping that sets clear lines and stable surfaces. You’ll choose materials based on slope, soil, and drainage, then add edging, a compact seating pad, and targeted lighting to lock the layout in place—but one small mistake can undermine the whole upgrade…
Key Takeaways
- Refresh existing pavers by re-leveling low spots, resetting loose edges, and sweeping in polymeric sand for cleaner joints and stability.
- Add crisp edging (steel, brick, or stone) to define beds, stop mulch spread, and instantly make the landscape look intentional.
- Install a stepping-stone or gravel path with 18–24 inch spacing to improve flow, protect turf, and create a clear route through the garden.
- Build a small paver patio or seating pad on a compacted base with slight slope, creating a usable destination space fast.
- Fix drainage with a 2% fall away from structures and a gravel drip trench to eliminate ponding and protect hardscape investments.
Fast Hardscaping Wins by Cost, Time, and DIY Level
Whether you’re working with a tight weekend window or a limited budget, you can get noticeable hardscape upgrades fast by matching the project to your site conditions—soil type, slope, drainage paths, and the tools you already own.
If you’ve got clay and ponding, set a 2% fall away from foundations and add a shallow gravel drip trench with geotextile to intercept runoff.
On sandy soils, stabilize with compacted 3/4-inch minus base before setting edging to stop lateral creep.
For steep grades, install short timber or block micro-terraces with deadmen and drain rock to reduce erosion.
Prioritize low-DIY items like metal edging resets, polymeric-sand joint refreshes, and re-leveling loose pavers.
These upgrades simplify garden maintenance and clarify plant selection by defining beds, access, and moisture zones.
Lay Simple Paths and Stepping Stones for Better Flow
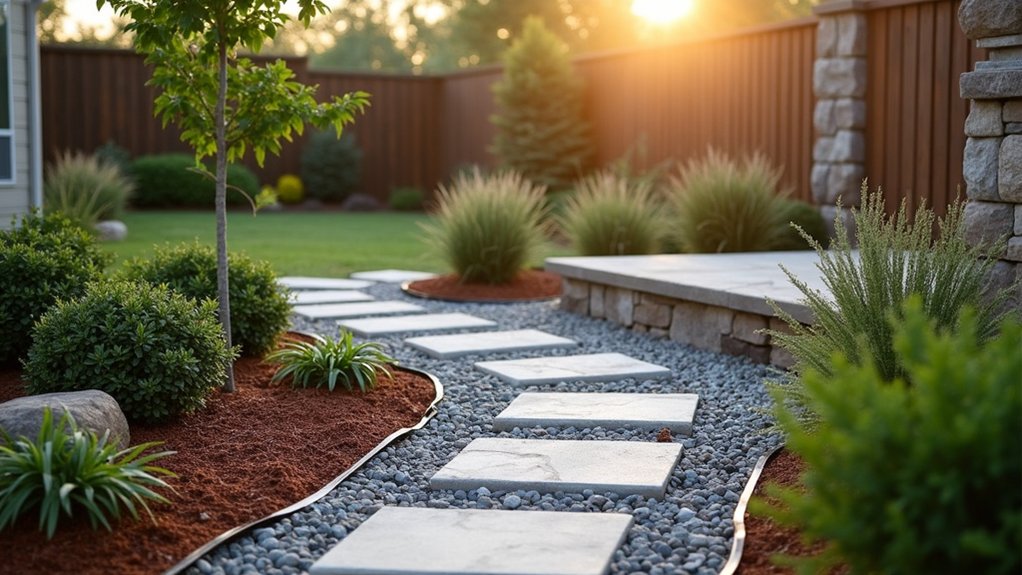
You’ll get the best flow when you match material and layout to the site—flagstone or pavers for high-traffic routes, gravel with edging for light-use lines—and you set the path width and curve radius to clear beds, gates, and drainage swales.
You’ll mark the run with stakes and string, then dry-lay stones to confirm stride spacing (about 18–24 inches center-to-center) and adjust for door thresholds and slope.
You’ll install each stepping stone on a compacted 2–3 inch crushed-stone base with a thin bedding layer, seat it flush to finish grade, and lock it in with tight joints or gravel so it won’t rock or heave.
Choose Materials And Layout
Where do your feet naturally travel when you move between the patio, garden beds, gate, and shed? Map those desire lines with stakes and string, keeping turns wide enough for a wheelbarrow and aligning edges to existing grade breaks.
Choose materials that match exposure and use: flamed granite or broom-finished concrete for slick, shaded zones; compacted decomposed granite for sunny runs; setts or brick where you need crisp progressions at thresholds.
Size the path to 30–36 inches for main routes, 18–24 inches for bed access.
Plan plant selection along edges to prevent encroachment, and use color coordination to tie stone tones to mulch, fencing, and bloom palettes.
Maintain consistent joint rhythm and spacing for a calm, legible flow.
Install Stepping Stones Properly
With your material choices and desire lines staked, lock the route in place by setting stepping stones so they sit dead-level, drain correctly, and won’t rock under load. Snap a stringline, then mark each stone’s footprint with paint.
Excavate 3–4 inches deeper than the stone thickness, keeping the bottom slightly crowned for drainage. Compact native soil, add 2 inches of 3/8-inch crusher fines, and tamp again.
Bed each stone in 1 inch of sand, tap it with a rubber mallet, and check level front-to-back and side-to-side. Maintain a 24–26 inch stride and consistent stepping stone patterns through turns.
Backfill joints with screenings, soil, or plugs for garden moss, then mist to settle. Recheck wobble after rain.
Add a Small Paver Patio or Seating Pad

Ever wonder why a bistro set feels unstable on lawn or mulch? You need a firm, level seating pad that won’t heave or settle. Lay out a 6×6-foot square (or a 3×7-foot strip for a bench) in a spot with 6–8 hours of useable sun and clear drainage away from foundations.
Excavate 7–9 inches, keeping subgrade flat and slightly sloped 1/8 inch per foot. Compact native soil, add geotextile, then place 4–6 inches of 3/4-inch minus base in two lifts, compacting each.
Screed 1 inch of bedding sand, set pavers tight, and cut clean edges with a wet saw. Sweep polymeric sand into joints, mist to lock.
Plan plant integration by leaving access for irrigation and nearby screening. Choose Garden furniture sized to the pad.
Define Garden Beds With Edging and Borders
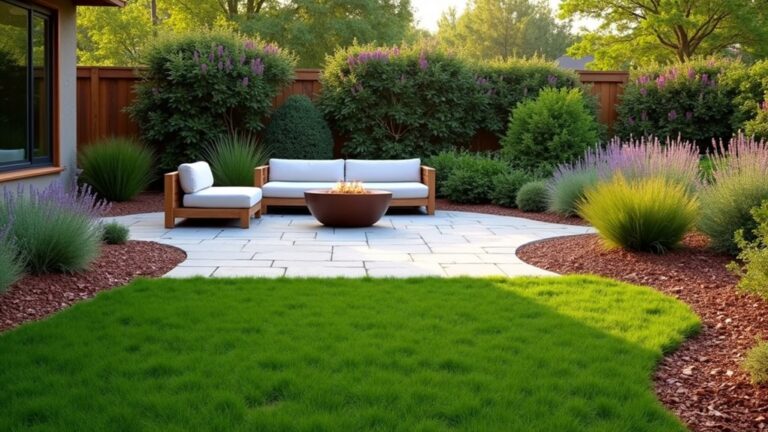
After you’ve set your patio pad, you’ll sharpen the surrounding planting zones by installing crisp edging materials like steel, aluminum, concrete curb, brick, or cut-stone set on a compacted base.
You’ll stake the border layout to match on-site grades and drainage, using consistent offsets from walks and slabs, smooth radii or tight corners, and verified elevations so soil stays contained and water sheds away.
You’ll lock the line in with proper anchoring—spikes, mortar, or a gravel footing—so the edge doesn’t heave, spread, or creep under freeze-thaw and foot traffic.
Crisp Edging Materials
Because clean bed lines control where mulch, soil, and turf actually go, crisp edging materials become the critical interface between planting zones and hardscape. Choose materials based on your site’s soil heave, mowing style, and drainage.
Steel edging (10–14 gauge) gives the sharpest reveal; set it on compacted base and pin every 24–30 inches so frost won’t lift it.
Aluminum bends cleanly for gentle curves but needs closer stakes in sandy soil.
Concrete pavers or stone set on a 4-inch dense-graded base and 1-inch bedding layer resist rutting where you run wheels.
Plastic works only in low-traffic zones and must sit flush to prevent trimmer nicking.
Keep the top edge 1/2 inch above garden mulch to contain planting beds.
Border Layout Strategies
Where do you want the maintenance line to live—at the mower wheel, the string trimmer, or your footpath? Set your border first, because it dictates access, drainage, and how cleanly you can cut turf.
Use a hose to mock curves, then lock radii that match your site: tighter near steps, broader along fences for faster mowing.
Keep the edge 2–3 inches above adjacent soil on slopes to stop mulch wash.
Align borders with grade breaks and downspout outlets so runoff crosses hard edges at controlled points, not randomly.
Build plant placement around the line: tallest behind, spillers to soften without crossing.
Tie irrigation planning to the geometry; run drip loops parallel, with valves outside bed corners for service.
Create Small Tiered Retaining Walls (When You Need Them)
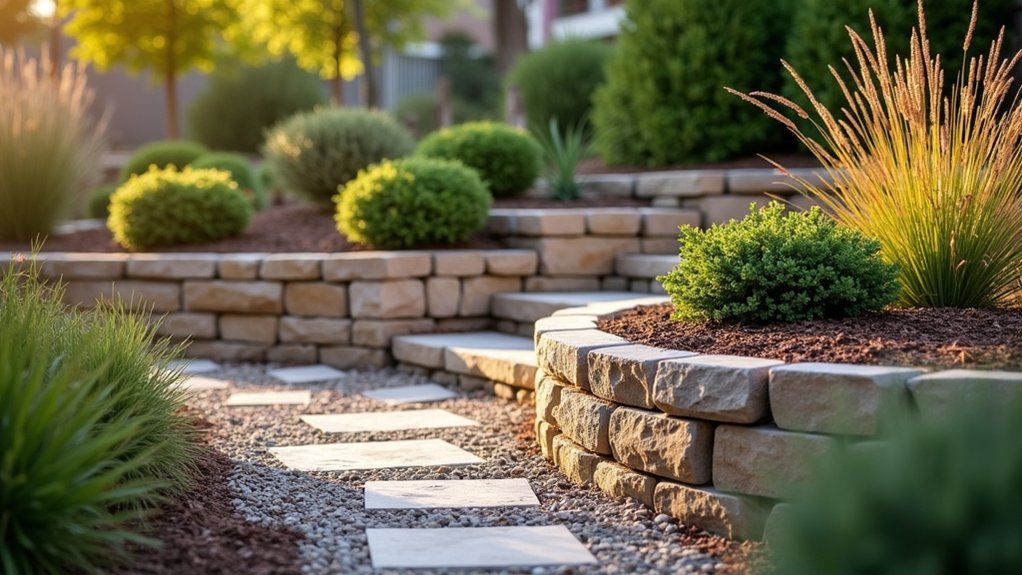
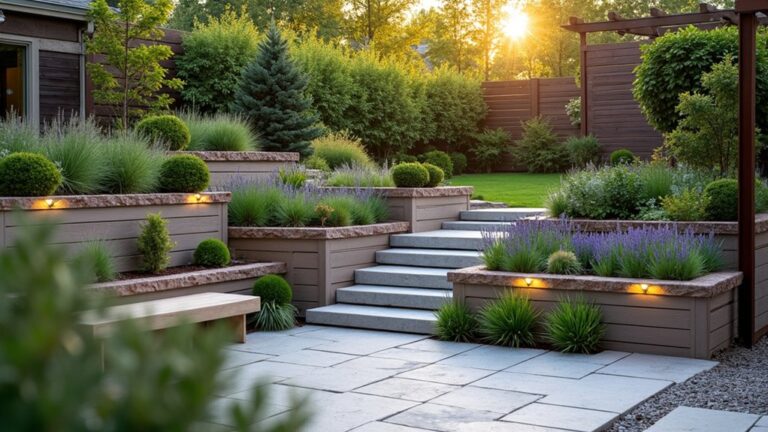
Although a single retaining wall can handle modest grade changes, you’ll want a small tiered retaining wall when the slope is steep, the available footprint is tight, or you need to keep wall height below common permitting and stability thresholds.
Step walls back 12–18 inches per tier, match each lift to your block’s course height, and bench into undisturbed soil, not fill.
Excavate to frost depth where required, then place 6 inches of compacted 3/4-inch minus base with a dead-level first course.
Add drainage solutions: 12 inches of clean gravel behind each tier, a perforated pipe to daylight, and a nonwoven geotextile separator.
Keep caps set back for positive setback.
Plan plant integration by leaving pockets for drought-tolerant groundcovers that won’t pry joints.
Finish the Look With Lighting and Gravel Accents
Once your tiers drain correctly and the caps lock in, you can finish the build by adding low-voltage lighting and gravel accents that control splash, define edges, and make the wall read clean at night.
Run 12/2 cable in 3/4-inch conduit behind the cap course, keep bends gentle, and stub up at fixture points before you backfill.
Set path lights 18–24 inches off the wall to graze the face, and aim step lights across treads to kill shadows.
Use a transformer with a photocell and leave slack for servicing.
For gravel accents, lay geotextile, then place 1–2 inches of 3/8-inch washed stone in a 6–8-inch band along the base.
Edge it with steel or pavers so it won’t migrate.
Frequently Asked Questions
How Do Hardscaping Changes Affect Yard Drainage and Water Runoff?
Like a roofline redirecting storms, hardscaping alters grades and infiltration, so you’ll shift runoff paths. You must size slopes, permeable joints, and drains for Rainwater management, boosting erosion control while preventing pooling near foundations.
Do I Need Permits or HOA Approval for Patios, Walls, or Edging?
You’ll often need a building permit or HOA approval for patios, retaining walls, or edging, depending on height, setbacks, and impermeable area. Check local code, HOA covenants, and plan garden lighting and outdoor furniture placements accordingly.
What Hardscape Materials Stay Coolest and Safest Under Bare Feet?
You’ll stay coolest on light-colored limestone, travertine, or brushed concrete; avoid dark pavers and metal edging. But here’s the catch: sun exposure matters. Choose Color options in pale tones, add maintenance tips: rinse, seal.
How Can I Prevent Weeds and Ants From Invading Paver Joints?
Stop weeds and ants by sweeping polymeric sand into clean, dry joints, compacting, then misting per bag. Add geotextile under base for weed prevention, and spot-treat nests with borate bait for ant control.
How Do I Choose Hardscaping That Boosts Resale Value Most?
Choose hardscaping that buyers quantify: a code-compliant paver patio with proper base, drainage slope, and restraint edging. Add low-voltage landscape lighting and durable decorative features (seat walls, fire pit) sized to your lot.
About the Author