You start by surveying the watermill and recording every element of original fabric before you touch anything. You secure permissions, map hazards, and set a safety plan that matches the site’s risks. Then you stabilize foundations, masonry, and timbers so the structure can take the next stages. You tackle damp by improving drainage and controlling the leat with measured adjustments. Only then do you restore machinery and add discreet, reversible services—and that’s where the real choices begin.
Key Takeaways
- Create a baseline record: fixed-point photos, scaled drawings, labeled components, and minimal samples to understand original fabric and repair phases.
- Secure permissions early: confirm listing, riparian and habitat constraints, and build a compliance register for planning and environmental consents.
- Prioritize safety planning: task risk assessments, method statements, isolation and rescue procedures for water hazards, unstable structures, and overhead loads.
- Stabilize structure first: monitor cracks, shore foundations, remove cement repairs, repoint with lime, stitch settled cracks, and splice timber with reversible techniques.
- Restore machinery carefully: document before disassembly, repair not replace, match profiles and tolerances, dry-run, then add discreet reversible services and sensors.
Survey the Watermill and Record Original Fabric
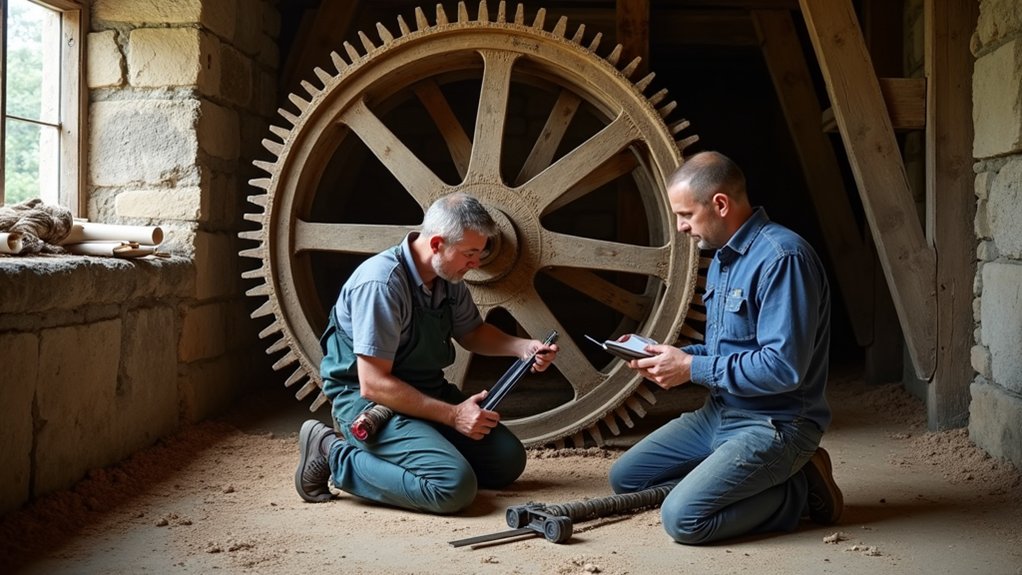
Before you touch a single timber or fastener, you’ll survey the watermill as it stands and record every trace of original fabric in context. You’ll photograph elevations, rooms, wheel pit, and machinery from fixed stations. Then sketch measured plans and sections to scale.
You’ll label each element with location, dimensions, joinery type, tool marks, and wear patterns, noting later interventions without stripping them away. For Historical preservation, you’ll log finishes, fasteners, and masonry bonds. You’ll also map moisture staining, insect flight holes, and settlement cracks.
You’ll collect only minimal, representative samples for Material analysis—wood species, mortar composition, metal alloys—so you can date phases and match repairs. You’ll compile everything into a baseline record that guides all later decisions.
Get Permissions and Plan Safety for Watermill Work
With your baseline record compiled, you can now secure the approvals and safety controls that let you work on the mill legally and without avoidable risk. Start by confirming designation status, riparian rights, and any floodplain or habitat constraints.
Map your proposed scope to local Permitting processes: listed-building consent, planning permission, environmental permits for watercourse works, and temporary access agreements. Log all conditions in a single compliance register you’ll update as decisions arrive.
Next, run task-specific Risk assessments before you set foot on site. Identify water hazards, unstable openings, overhead loads, confined spaces, lead paint, asbestos, and biological contaminants. Write method statements, specify PPE, isolation/lock-off steps, rescue plans, and first-aid cover.
Brief every contractor, control visitors, and keep records. Review after any change.
Stabilize Foundations, Masonry, and Timbers First
Although it’s tempting to jump straight to wheels, gearing, and interior finishes, you’ll get a better outcome by stabilizing the structure first—starting at the foundations and working up through masonry and primary timbers.
Begin by mapping cracks, bulges, and settlement with dated photos, plumb lines, and tell-tales so you can track movement. Confirm Foundation stability by checking bearing points, voids, and earlier patching; then shore locally before you disturb anything.
Next, address masonry: rake out failed cement repairs, repoint with compatible lime, and stitch cracks only where movement has stopped.
Finally, prioritize Timber preservation: probe posts, sills, and joist ends, cut back to sound wood, splice like-for-like species, and treat only where necessary. Keep every intervention reversible.
Fix Damp, Drainage, and the Mill Leat Controls
Once you’ve locked in the structure, tackle moisture at its source by tracing how water reaches the building and how it leaves. Map roof run-off, spring lines, and splash zones, then log tide or spate marks to separate rising damp from penetration.
Clear gutters, repair downpipes, and reinstate lime-based pointing where cement traps moisture. Use reversible Waterproofing techniques: breathable limewash, sacrificial renders, and perimeter French drains, not tanking that seals historic walls.
Next, implement Drainage solutions that respect the mill: regrade to fall away, add soakaways where ground allows, and keep inspection points for rodding.
Finally, service the leat controls—sluices, stoplogs, and bypasses—so you can throttle flow during storms, prevent scour at the wheel pit, and keep water out of door thresholds.
Restore Watermill Machinery and Add Discreet Services
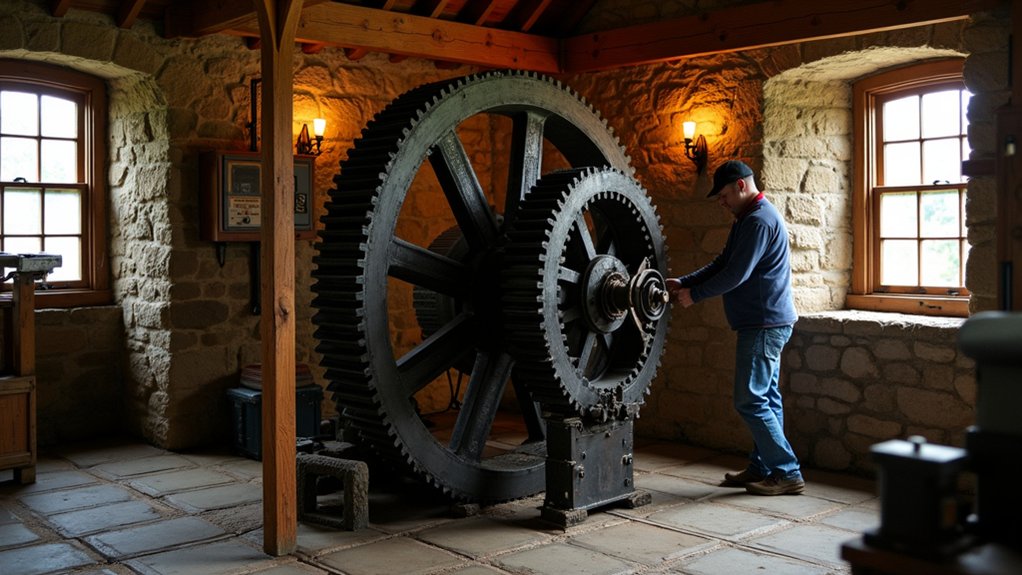
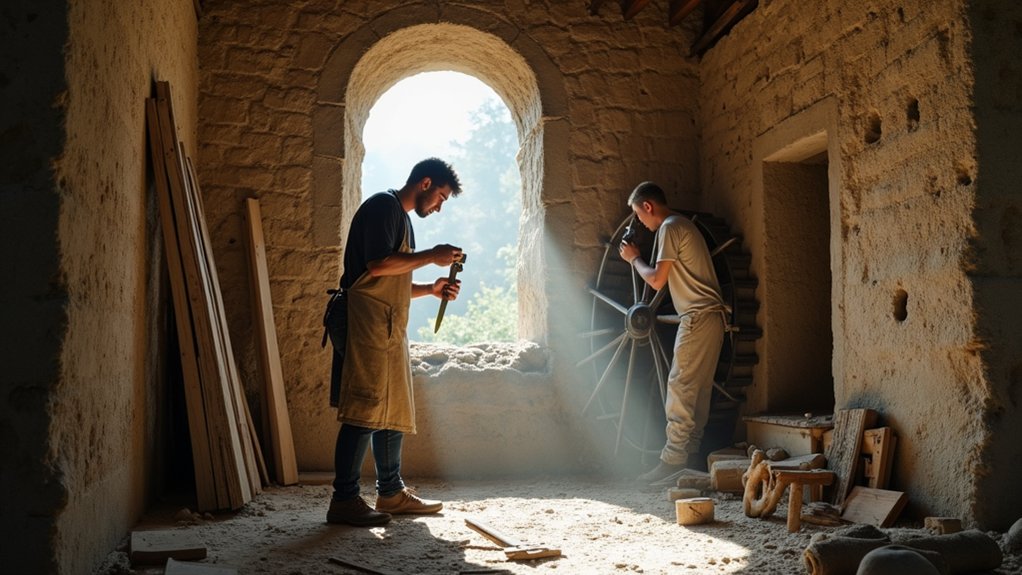
Stable drainage and working leat controls give you the safe, predictable water conditions you need to bring the mill back to life, so start by restoring the machinery in a clear order: document everything in situ (photos, measurements, witness marks).
Then strip and service each assembly—wheel, axle, bearings, wallower and great spur, stone nuts, governors, and hoists—cleaning back to sound metal or timber, repairing rather than replacing, and keeping original fits where they still run true.
Use Historic techniques: hot-rivet ironwork, scarfed timber inserts, poured white-metal bearings, and hide-glue where specified.
Tackle Preservation challenges by matching species, tooth profiles, and tolerances, and by dry-running before wet commissioning.
Add discreet services last: surface-run conduit in shadow lines, reversible brackets, low-heat frost protection, and sensors you can remove without scars.
Frequently Asked Questions
How Much Does a Full Watermill Restoration Typically Cost?
You’ll typically spend $250,000–$2,000,000 on a full watermill restoration; Restoration costs vary by structural repairs, wheel and gearing, hydrology, permitting, and access. You’ll also need Funding sources like grants, loans, and donors.
Can I Convert a Restored Watermill Into a Home or Business?
Yes—you can, like turning an old wheel into a new compass. Use adaptive reuse: confirm zoning, permits, and utilities; preserve fabric, add modern amenities discreetly, meet safety/access codes, and document every change.
What Insurance Do I Need During and After Restoration?
During restoration, you’ll need builder’s risk, liability, workers’ comp, and equipment Insurance coverage. Afterward, you’ll switch to property, flood, and business cover. You’ll also document Restoration warranties, inspections, and maintenance records.
How Long Does a Typical Historic Watermill Restoration Take?
You’ll typically spend 12–36 months restoring a historic watermill, depending on Watermill history research, permissions, and structural condition. You’ll shorten delays by sequencing Restoration techniques: survey, stabilise, repair masonry, rebuild wheelworks, commission, and document.
How Do I Find Craftsmen Experienced in Traditional Mill Restoration?
You’ll find experienced mill-restoration craftsmen by contacting heritage trusts, millwright guilds, and conservation architects, then requesting portfolios and references. Verify craftsman qualifications, ask about restoration techniques, and visit prior sites to confirm authenticity.
About the Author