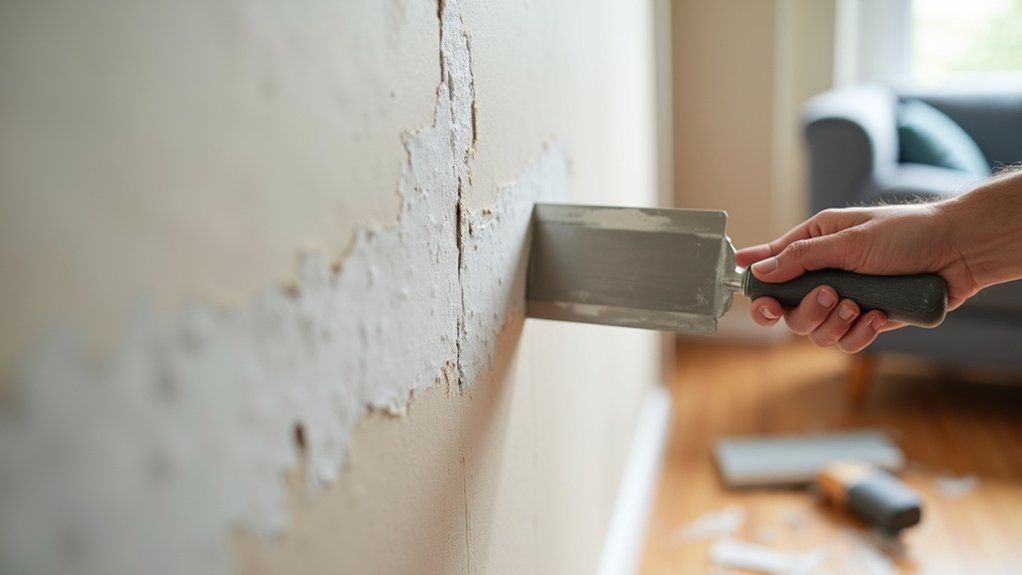
Cracks are the wall’s fault lines, marking where movement or shrinkage has left a trace. You start by mapping the crack pattern and checking for bulging, moisture, or doors that suddenly bind, because those signs change the repair. You wear eye protection, score and clean out loose material, then choose tape and compound that match drywall or plaster. You feather, dry, sand, prime, and paint—but first you need to confirm what the crack is telling you.
Key Takeaways
- Identify crack type: thin straight seam cracks are cosmetic; wide, stair-step, growing, or sticking doors/windows suggest structural movement needing evaluation.
- Confirm wall material (drywall vs plaster) and choose compatible repair compound; avoid lightweight drywall mud on true plaster.
- Prep properly: scrape loose edges, vacuum dust, and apply a bonding agent on chalky plaster for better adhesion.
- Tape the crack, then apply setting-type compound in thin, feathered coats; sand lightly, prime, and paint to blend.
- Prevent recurrence by fixing moisture issues, maintaining 30–50% indoor humidity, and adding drywall screws into studs to stabilize movement.
Why Interior Wall Cracks Happen (and When to Worry)
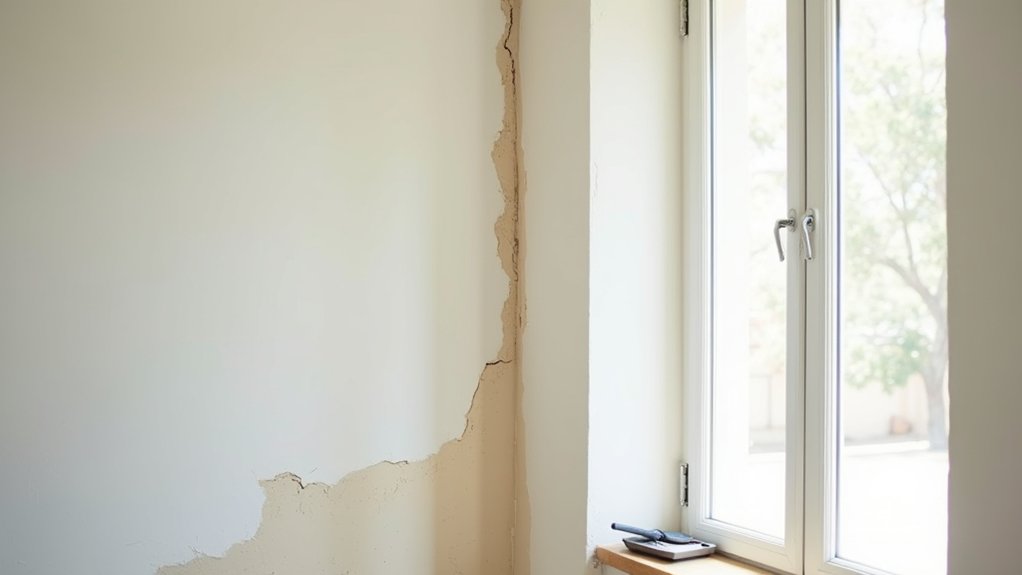
Although most interior wall cracks look alarming at first, they usually trace back to predictable movement in the building—drywall joints opening as the house settles, wood framing shrinks with seasonal humidity changes, or minor vibration and temperature swings stress the finish—so your first step is to identify the crack’s pattern and location and then decide whether it’s cosmetic (thin, straight, near seams or corners) or potentially structural (wide, growing, stair-step through masonry, paired with sticking doors/windows).
Because anything that widens over time or shows displacement should be treated as a safety concern and evaluated before you start cosmetic repairs. Next, measure width and map length, then date-stamp photos. Check nearby trim for gaps and scan ceilings for sag.
In a Historical building, expect layered materials and prior patches; don’t assume “normal.” Finally, prioritize Moisture control: fix leaks, vent baths, and track humidity, since recurrent damp cycles drive crack reopening.
Choose the Right Crack Repair Materials (Drywall vs Plaster)
Before you buy compound and start filling, confirm whether you’re repairing drywall (gypsum board with paper face) or true plaster (hard, mineral-based coats over lath), because each system needs compatible materials to avoid poor adhesion and repeat cracking.
For drywall, you’ll typically use setting-type joint compound for strength and speed, plus paper or fiberglass tape rated for gypsum.
For plaster, choose a plaster repair compound or setting plaster that bonds to mineral surfaces; avoid lightweight drywall muds that can delaminate.
During Choosing materials, check labels for “plaster” compatibility and working time.
For Surface preparation, wear eye protection and a respirator, then scrape loose edges and vacuum dust.
On plaster, use a bonding agent where the base is chalky.
Keep materials dry and mix per directions.
Fix Interior Wall Cracks: Tape, Compound, Sand, Paint
Once you’ve prepped the crack and picked materials that match your wall type, lock the repair in place by taping the crack, embedding it in compound, then sanding and repainting to restore a flat, durable surface.
Wear eye protection and a dust mask, and ventilate the room.
Center fiberglass mesh or paper tape over the crack and press it tight. Knife on a thin first coat of setting-type compound, feathering 4–6 inches past the tape; let it cure fully.
Apply a second, wider coat and feather again for strength—one of the simplest Wall reinforcement techniques.
Sand lightly with 120–150 grit using a sanding block; vacuum dust.
Prime the patch, then paint to match sheen.
For Decorative wall textures, recreate the pattern before priming.
How to Keep Wall Cracks From Coming Back
Why do repaired wall cracks sometimes reappear months later? Usually you fixed the surface but didn’t address wall movement, moisture, or fastener failure.
Start by inspecting the crack line with a bright light and straightedge. If it’s widening, stair-stepping, or doors stick, stop and assess structural integrity; consult a pro before cosmetic work.
Next, control moisture: run exhaust fans, fix leaks, and keep indoor RH 30–50%.
Re-secure drywall: drive screws into studs along the crack, countersink slightly, and wear eye protection.
Bridge the joint with paper tape or fiberglass mesh plus setting-type compound, not lightweight mud.
After curing, prime with a stain-blocking primer, then paint.
Add flexible acrylic caulk at trim gradations to absorb minor movement.
Frequently Asked Questions
Will This Repair Match My Wall Texture (Orange Peel, Knockdown, Smooth)?
Yes, you’ll match it—like blending paint on a canvas—if you use Texture matching. During Wall repair, test on scrap, adjust mud viscosity, vary spray/trowel technique, feather edges, let dry, then prime, repaint.
How Long Should I Wait Before Painting Over Patched Cracks?
Wait until the patch fully cures: typically 24 hours for lightweight spackle, 48–72 hours for joint compound; longer in humidity. Verify drying time by touch and color. Prime for paint compatibility; ventilate, wear dust mask.
Can I Fix Cracked Walls in Humid Bathrooms or Kitchens Safely?
Yes, you can, if you control humidity and work safely. Do Structural assessment first. Clean and dry surfaces, improve ventilation, apply Moisture prevention primer, patch with mold-resistant compound, caulk joints, then repaint.
What Tools Do I Need if I Don’T Own a Sander?
Like a chef using a spoon, you don’t need a sander: use a sanding sponge, hand block, and scraper. For wall preparation, wear goggles and mask, vacuum dust, wipe damp, then use sanding alternatives carefully.
Will Crack Repair Affect My Home’s Resale Value or Inspection Results?
Crack repair won’t hurt resale or inspections if you document it and confirm no foundation issues. 1) Monitor crack width. 2) Photograph repairs. 3) Disclose work. 4) If movement persists, hire an engineer to verify structural stability.
About the Author