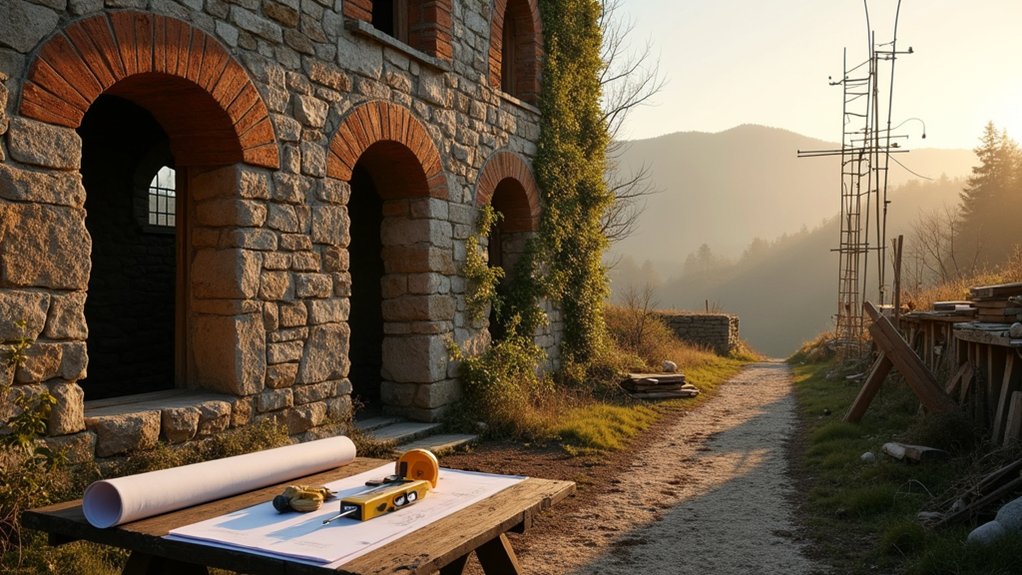
You step into a farmhouse ruin like you’re walking a tightrope over hidden rot. You start by checking entry safety (PPE, air quality, vermin, and structural red flags), then document conditions with photos, measurements, and a damage log aligned with local code and historic-preservation standards. You line up permits and qualified pros early, phase the work from triage to finishes, and budget with a realistic contingency. But the first stabilization decision changes everything…
Key Takeaways
- Start with safety: assess collapse risks, set no-go zones, disconnect utilities, use PPE, and document hazards before entering.
- Perform a full structural survey: photograph, map cracks and deflection, probe rot and insects, and inventory salvageable materials for preservation.
- Secure permits and experts early: coordinate building department, structural engineer, and preservation officials to avoid stop-work orders and unsafe repairs.
- Stabilize and dry-in first: shore roof and walls, stop leaks, restore drainage and gutters, and keep the structure dry before interior work.
- Plan phased restoration: sequence shell, MEP rough-ins, insulation, finishes, and commissioning, budgeting contingencies for structural unknowns and code upgrades.
Check if the Farmhouse Ruin Is Safe to Enter
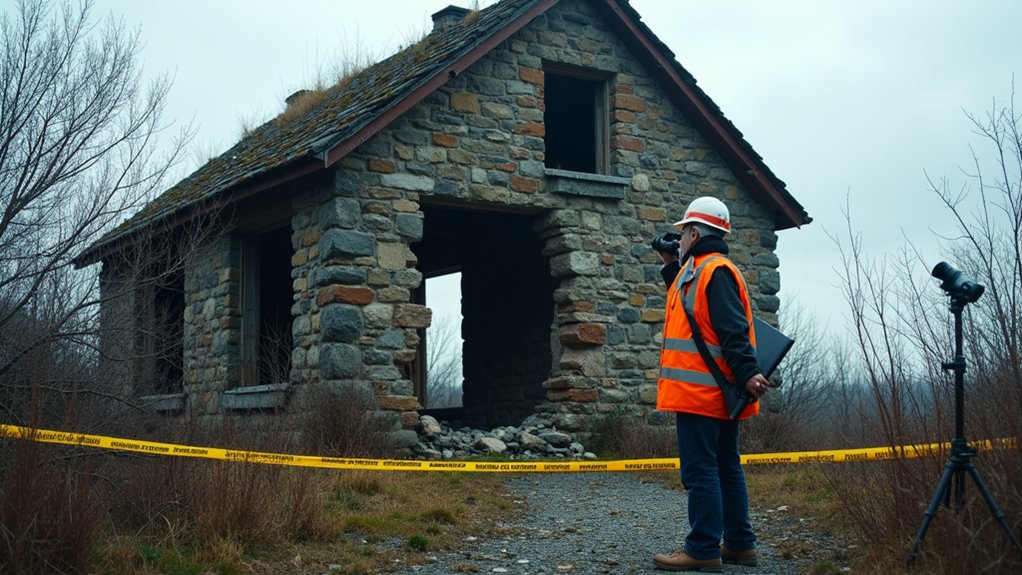
Before you step inside, verify the ruin’s stability from the outside because partial collapses often occur without warning. Walk the perimeter and note bulged masonry, bowed walls, racked openings, and roof sag. Keep clear of eaves and chimneys where falling debris concentrates; establish a no-go zone equal to the wall height.
Conduct a rapid hazard assessment for overhead power lines, leaning trees, wasp activity, and standing water that may indicate voids or undermined footings. Confirm gas and electric are disconnected and lockout where possible.
Use entry precautions: hard hat, safety boots, gloves, eye protection, and a P100 respirator for dust and mold. Enter only in daylight, with a spotter outside and a clear exit path.
Survey the Structure and Document the Damage
Once you’ve confirmed the ruin won’t fail on entry, survey it methodically and record existing conditions so you can prioritize stabilization, estimate scope, and maintain a defensible baseline for insurance and permitting.
Establish a room-by-room grid, then tag each elevation and bay. Photograph wide-to-close with a scale, date stamp, and consistent filenames; add sketches noting crack widths, out-of-plumb walls, rot extent, insect galleries, and moisture staining.
Measure floor deflection, rafter sag, and foundation settlement; log readings in a field notebook and a spreadsheet. Collect non-destructive samples only where necessary, and map original finishes to support Historical accuracy.
Inventory salvageable components, noting species, dimensions, fasteners, and joinery to guide Material sourcing. Flag active leaks and temporary shoring needs.
Get Permits and Line Up the Right Pros Early
Although the temptation is to start demo and “see what you’ve got,” you’ll move faster—and avoid stop‑work orders—by pulling the right permits and hiring key professionals early. Start by calling your building department to confirm Permitting processes for structural repair, electrical, plumbing, septic, and historic or zoning review. Ask what documents they require: stamped drawings, site plan, load calculations, energy code compliance, and erosion control.
Next, line up the pros who keep work legal and safe. Hire a licensed structural engineer to define required shoring and repairs, and an architect or code consultant to coordinate drawings.
Vet Skilled contractors by license, insurance, bonding, and permit history. Get written scopes, inspection checkpoints, and change‑order terms so you don’t stall when inspectors arrive.
Plan Restoration Phases From Triage to Finishes
Start with a documented condition assessment, then stabilize the shell—shore compromised walls, tarp failed roofs, and control water intrusion—so you don’t amplify damage during construction.
Next, sequence structural systems by dependency, addressing foundation, framing, roof structure, and critical mechanical penetrations to meet code and engineering requirements before any cosmetic work.
Only after the building is dry-in and inspected should you schedule interior finishes, coordinating plaster, flooring, and cabinetry around curing times, humidity targets, and trade access.
Assess Damage And Stabilize
Where do you begin when a farmhouse has shifted, cracked, and weathered for decades? You start with documentation and controlled access. Photograph every elevation, map cracks, note moisture paths, and log hazards per OSHA basics. Probe rot with an awl, check insect frass, and record deflection with a laser level. For Historic preservation, you’ll tag original fabric and keep a chain-of-custody for samples.
Stabilize next: install temporary shoring, brace leaning walls, and cover openings with vented tarps to shed water while avoiding trapped humidity. Add perimeter drainage only as a reversible, low-impact measure.
During Material sourcing, you’ll catalog salvageable brick, timber species, and mortar type so replacements match performance and avoid incompatible repairs. Keep a dated field log for permits and insurance.
Prioritize Structural Systems
Next, you’ll sequence the work by structural risk and load paths so every dollar reduces failure probability before you chase cosmetics. Start with a load bearing assessment: map which walls, beams, and posts carry roof and floor loads, then verify spans, bearing lengths, and connections against current code assumptions and species/grade tables. Shore any overstressed members before removing debris or altering openings.
Move to foundation repair next, because settlement telegraphs into every frame joint. Confirm footing depth, stone or brick integrity, sill bearing, and moisture transport; prioritize drainage, repointing, underpinning, or sill replacement where loss of section compromises capacity.
After the base is sound, restore the primary frame: straighten, sister, or replace members; upgrade connectors; and re-establish continuous load paths from roof to soil.
Schedule Interior Finishes
Once the foundation and primary frame hold steady, schedule interior finishes only after you’ve locked in a dried-in envelope, passed rough-in inspections, and verified moisture metrics (use a pin meter on framing and subfloors; target ≤16% wood moisture content before closing cavities, and follow manufacturer limits for primers, adhesives, and gypsum).
Sequence work to protect assemblies: air-seal, insulate, then hang gypsum per ASTM C840, maintaining required fastener spacing and control joints.
Prime with vapor-appropriate products, then install trim, flooring, and tile after HVAC runs to stabilize temperature and RH.
Plan interior lighting early: confirm circuit loads, box locations, and dimmer compatibility before paint.
Add decorative accents last—hardware, built-ins, and reclaimed details—so you don’t damage finishes or compromise fireblocking.
Document each step for punch-list closure.
Set Your Budget, Timeline, and Contingency Buffer
You’ll set a total project budget by itemizing scope-based line costs—structural stabilization, envelope repairs, MEP upgrades, and code/permit fees—then validating numbers against current regional unit rates and contractor quotes.
You’ll build a realistic timeline by sequencing work to inspection milestones and long-lead materials, accounting for crew availability, site access, and weather windows.
You’ll add a contingency buffer sized to the ruin’s uncertainty and documentation gaps, protecting cash flow when concealed conditions force scope changes.
Define Total Project Budget
Although the romance of a farmhouse ruin can distract from the math, a total project budget has to anchor every decision you make, from structural stabilization to final finishes. Start with a line-item estimate that mirrors professional cost codes: site work, envelope, structure, MEP, interiors, permits, testing, and fees. Document scope assumptions, unit costs, and quantities so bids stay comparable and change orders stay defensible.
Account for Historical significance by pricing required conservation methods, specialist labor, and compliance documentation. Plan Material sourcing early: reclaimed lumber, lime mortar, and period windows often carry premiums, lead times, and verification needs.
Add a contingency buffer based on assessed risk—typically 10–25% for unknown conditions—and reserve separate allowances for hazardous materials abatement and code-driven upgrades.
Build A Realistic Timeline
Because most farmhouse ruins hide schedule-killing unknowns behind plaster and stone, you need a timeline that’s built from a scoped work breakdown—not a hopeful finish date.
Start with a room-by-room and system-by-system sequence: stabilize structure, dry-in the shell, then MEP rough-ins, insulation, finishes, and commissioning.
Tie each task to prerequisites, inspections, and cure times (mortar, plaster, paint), then map them on a Gantt chart with critical path logic.
For Historical preservation, schedule documentation, salvage cataloging, and approvals from local heritage offices before demolition or window changes.
Plan Material sourcing lead times for reclaimed timber, lime putty, custom sash, and matching stone; verify supplier capacity and delivery access.
Finally, add milestone gates for scope freeze, procurement release, and punch-list closeout.
Track weekly variances and update dependencies.
Add A Contingency Buffer
Once you’ve mapped the critical path, set a contingency buffer that reflects the measurable risk profile of a ruin rather than a flat “just in case” line item. Use a tiered allowance: 10–15% for cosmetic rehab, 15–25% for structural work, and 25–35% when you’ve got unknown foundations, rot, or obsolete utilities.
Validate the percentage against discovery rates from your condition survey, invasive probes, and contractor unit pricing.
Allocate a separate reserve for code-driven upgrades (electrical, egress, septic) and for historical preservation requirements, such as matching masonry, lime plaster, or window profiles.
Document every draw with change orders and photos for auditability.
Finally, align insurance considerations with your phase plan: builder’s risk, vacancy clauses, and theft coverage, so the buffer isn’t consumed by preventable loss.
Stabilize Roof, Walls, Drainage, Then Salvage Features
Before you touch any character features, stabilize the building’s envelope in a strict sequence—roof first, then walls, then drainage—so you’re not preserving details inside a structure that’s still moving and getting wetter.
Start with Roof reinforcement: shore rafters with temporary bracing, sister compromised members, and install a breathable underlayment and flashing per manufacturer specs; stop active leaks before interior work.
Next, stabilize walls: plumb and brace, rebuild failed sections with compatible masonry or timber, and add lateral restraint where codes require.
Then implement Drainage solutions: restore gutters and downspouts, regrade to slope away, extend discharge, and add perimeter drains only where soils and permits justify.
Once dry and stable, carefully salvage doors, trim, and hardware, label, and store them.
Frequently Asked Questions
How Do I Insure a Farmhouse Ruin During Restoration Work?
Get builder’s risk insurance coverage plus general liability before work starts. Verify restoration permits, code compliance, and inspections. Document conditions, secure the site, use licensed contractors, and notify your insurer of material changes promptly.
Will Restoring the Ruin Qualify for Historic Preservation Tax Credits?
Possibly—you’ll qualify if you restore it like threading a needle: follow Historic guidelines, keep character-defining features, and get required approvals. Confirm listing status, meet rehabilitation standards, document costs, and explore Preservation grants alongside credits.
How Can I Make the Restored Home Energy-Efficient Without Losing Character?
You’ll boost efficiency by air-sealing first, then adding Modern insulation in attics and cavities, preserving trim. Specify Eco friendly materials, restore windows with storms, upgrade HVAC, and meet blower-door targets per energy-audit standards.
What Are Common Financing Options for Buying and Restoring a Ruin?
You’ll typically use a renovation mortgage, construction loan, or rehab FHA/203(k); like a bridge across ruins, combine lender funding with Landscaping grants, and confirm zoning regulations, appraisals, and draw schedules meet underwriting and permitting standards.
How Do I Handle Wildlife or Pests Living Inside the Structure?
Start with a safety inspection, then hire licensed wildlife removal for bats/raccoons; don’t seal entry points until they’re out. Use IPM-based pest control, sanitize droppings (PPE), repair gaps, and document per local codes.
About the Author