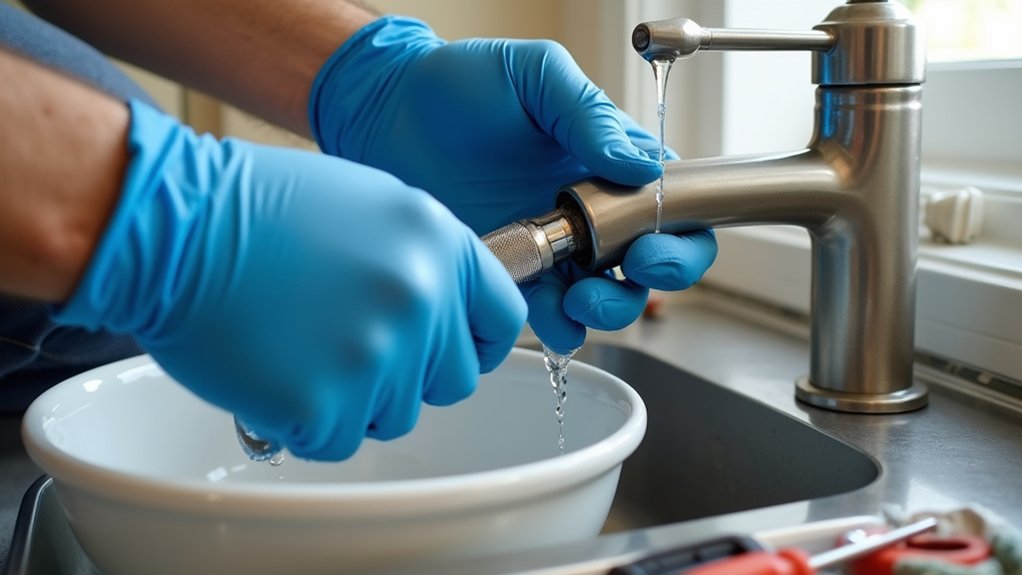
Like the drip in a classic detective story, a leaking tap points to a specific failure if you follow the clues. You’ll identify whether the washer, O-ring, or cartridge is worn, then isolate the supply at the local shutoff valves and verify pressure is relieved before disassembly. You’ll keep parts organized, protect threads, and use PTFE tape where code allows. The next step is choosing the right repair for your tap type, because one wrong part changes everything.
Key Takeaways
- Dry the tap, then run hot and cold water to pinpoint whether the leak is from the spout, handle, or base.
- Shut off the under-sink stop valves clockwise, open the tap to relieve pressure, and confirm flow stops before disassembly.
- Use proper tools and a drain cover; keep PTFE tape, silicone plumber’s grease, and matching O-rings/washer/cartridge ready.
- For spout drips, replace the washer or cartridge and inspect the valve seat; lubricate seals and reassemble in the same orientation.
- Restore water slowly, then check supply nuts, handle, and aerator for seepage using tissue; tighten snugly without over-torquing.
Find What’s Causing Your Leaking Tap

Before you reach for tools, confirm where the water’s escaping so you don’t replace the wrong parts or miss a hidden leak. Dry the tap, then run water and watch the spout, handle, and base.
A steady drip from the spout usually points to a worn washer, cartridge, or valve seat.
Seepage at the handle suggests a stem O-ring or packing issue.
Water around the base can indicate loose mounting hardware or a failing seal.
Check for splash-back by placing tissue under the spout to verify an actual drip.
Don’t trust common plumbing myths like “tighten harder to stop leaks”—you can crack bodies or strip threads.
For DIY repair safety, keep surfaces dry, use eye protection, and confirm the fixture isn’t energized nearby.
Shut Off Water to the Leaking Tap
Where do you shut the water off so the tap’s truly isolated and you don’t flood the cabinet? Start at the fixture stop valves under the sink: turn the hot and cold stops clockwise until they seat, without over-torquing.
If a stop valve won’t close fully, shut off the home’s main valve and tag it so nobody reopens it mid-repair. Open the tap to relieve pressure and verify flow drops to a drip, then to none.
Confirm Leak detection by watching the meter (or smart monitor) for movement with all fixtures off; any change suggests an upstream leak you shouldn’t ignore.
Keep Water conservation in mind: capture initial drain water in a container and don’t leave the tap running.
Get the Tools and Parts You’ll Need
With the water confirmed off and pressure relieved, set up your tools and parts so you won’t need to reopen valves mid-repair. Lay down a towel and a small tray to prevent parts from entering the drain; use a drain cover as extra protection.
Gather an adjustable wrench, slip-joint pliers, a correctly sized screwdriver set, hex keys, and a utility knife. Add a soft-jaw strap wrench to avoid marring chrome.
Keep PTFE tape, plumber’s grease (silicone), and a flashlight handy. For code-compliant DIY maintenance, don’t substitute pipe dope where potable-water approvals are required.
Bring replacement O-rings, stem packing, seats, and cartridges matched to your tap brand. If you’re dealing with Historical plumbing, include a caliper for odd thread sizes.
Wear gloves.
Fix a Leaking Tap Washer (Compression Taps)
Although compression taps look simple, a worn washer or seat can let water bypass the valve and drip continuously, so you’ll fix the leak by pulling the valve stem, replacing the rubber washer, and inspecting the brass seat it seals against.
Shut off the fixture’s stop valve, then open the tap to relieve pressure and verify isolation. Plug the drain, remove the handle and bonnet nut, and withdraw the stem.
Replace the washer with the exact size and screw type; tighten firmly but don’t strip threads. Inspect the brass seat for scoring; dress it with a seat wrench or replace it so the seal meets code for drip-free operation.
Reassemble, turn water on slowly, and check for leaks. This Historical plumbing design wastes water; fixing it reduces Environmental impact.
Replace Leaking Tap O-Rings (Spout or Handle Leaks)

Shut off the water at the isolation valves, relieve pressure, then disassemble the spout or handle and inspect the O-rings for flattening, cracks, or nicks that cause leakage.
Match the replacement O-rings by size and material, then seat them squarely in the grooves without twisting and apply a thin coat of silicone plumber’s grease.
Reassemble to the manufacturer’s torque guidance, restore supply, and pressure-test for leaks while confirming all fittings remain secure and code-compliant.
Identify Worn O-Rings
If your tap drips from the spout or seeps around the handle, worn O-rings are a primary suspect because they seal moving joints under pressure. Shut off the stop valve and relieve pressure, per basic plumbing safety practice, then dry the faucet body.
Use leak detection tools like a flashlight, inspection mirror, and tissue to pinpoint wet paths at the spout swivel or handle stem. Pull the handle/spout to access the ring and inspect it closely: look for flattening, nicks, cracks, swelling, or brittleness.
Confirm sizing by measuring inside diameter and cross-section with calipers; misfit rings leak even when intact. Note O-ring materials (EPDM, nitrile, silicone) and check for chemical incompatibility, heat damage, or hardening from chlorinated water.
Document orientation and groove condition.
Install New O-Rings
Once you’ve confirmed the O-ring’s size, material, and groove condition, replace it to restore the pressure seal at the spout swivel or handle stem.
Keep the water supply shut off and relieve pressure at the tap to meet basic safety practice.
Clean the groove and mating surfaces; remove mineral scale so the seal seats flat.
Match O ring materials to the application: EPDM for hot potable water, silicone for temperature range, and NBR for general service (avoid petroleum exposure unless rated).
Lightly coat the ring with NSF/ANSI 61-approved silicone plumber’s grease, then stretch it evenly into the groove without twisting.
Reassemble to manufacturer torque guidance, then perform leak diagnosis: run hot/cold, rotate the spout, and inspect for weeping.
Replace a Leaking Tap Cartridge (Mixer Taps)
Although a mixer tap can leak from worn O-rings or a loose handle, a failing cartridge is the most common cause and you’ll need to replace it rather than “tighten it up.”
Start by positively isolating the water supply at the local service valves or the main stop tap, then open the tap to depressurise and confirm flow has stopped before you strip anything down.
Remove the handle cap, undo the retaining screw, and lift off the handle. Unscrew the shroud and bonnet nut using a correct-size spanner to avoid damaging chrome.
Note cartridge orientation, then pull it straight out. Match the replacement by brand, length, spline count, and hot/cold indexing.
Fit new seals if supplied, lubricate with silicone plumber’s grease, and reassemble to manufacturer torque.
This tap maintenance supports water conservation.
Test the Leaking Tap and Prevent Future Drips
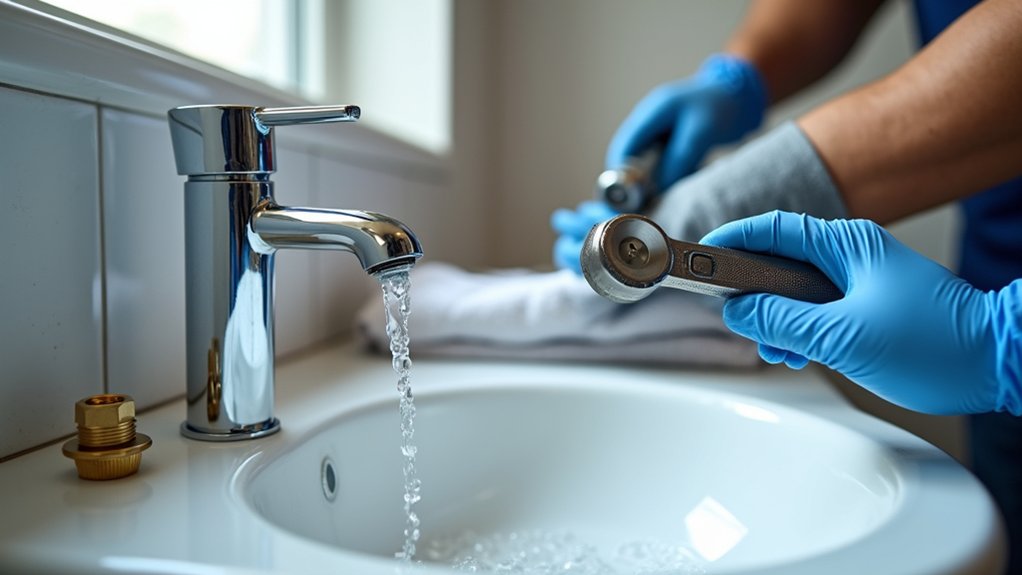
Restore water supply slowly and verify you’ve isolated the true leak source by inspecting the spout, handle, cartridge body, and all compression joints under good lighting.
Run a post-repair test: cycle hot/cold through full travel, confirm steady flow, and check every connection for seepage while keeping electrics clear and maintaining slip-resistant footing.
To prevent future drips, don’t over-torque fittings, keep seals clean, flush debris from the aerator, and recheck for leaks after the system reaches normal pressure.
Identify Leak Source
Where’s the drip actually coming from—spout, handle, or base? Dry the faucet, then run water briefly and shut it off. Watch for delayed seepage: a spout drip usually points to a worn seat, cartridge, or washer.
A handle leak suggests a failed stem O-ring or packing. Moisture at the base often indicates loose mounting hardware or compromised seals. Use a flashlight and tissue to trace the first wet point without touching live electrical devices nearby.
Shut off stop valves before disassembly per local code, and relieve pressure at the tap. Note fixture type; Historical plumbing often used compression stems that fail differently than modern ceramic cartridges.
Identify the source now to minimize environmental impact from wasted water and to select correct parts.
Perform Post-Repair Testing
With the leak source confirmed and the faulty parts replaced, you need to prove the repair holds under normal pressure and temperature swings before you button everything up.
Open the shutoff valves slowly to avoid water hammer, then run cold water for 60 seconds and hot water for 60 seconds.
Inspect the spout, handle base, and supply connections with a dry paper towel; any darkening indicates a seep.
Cycle the handle through full travel, ensuring smooth operation and full shutoff.
Verify aerator flow isn’t restricted and that no spray escapes at the threads.
If you disturbed supply lines, confirm compression nuts are snug, not over-torqued, per manufacturer guidance.
This testing supports Water conservation and reduces hidden cabinet damage.
Finish with Tool maintenance: dry and store tools.
Prevent Future Drips
After your testing passes, how do you keep that tap from creeping back into a drip? Start by rechecking torque: snug packing nuts and handle screws to manufacturer spec; don’t overtighten and crack trim. Flush the aerator and screens to prevent grit from scoring cartridges. If you used PTFE tape, wrap clockwise and keep threads clean so fittings seat fully.
For Water conservation, set the shutoff stops fully open, then back a quarter turn so they won’t seize. Schedule monthly Leak detection: dry the body, wrap a tissue around joints, run hot and cold, and look for wicking. Verify the sink’s escutcheon is sealed where required by local code to prevent splash migration. Keep a spare cartridge O-ring on hand.
Frequently Asked Questions
How Much Water and Money Can a Dripping Tap Waste Monthly?
A dripping tap can waste 900–3,000 gallons monthly, costing you $5–$30+. For Water conservation and Cost savings, you’ll verify flow, repair seals per code, and isolate supply valves to prevent water damage safely.
Is It Safe to Use Plumbing Tape on Tap Threads?
Yes, it’s safe if you apply Plumbing tape correctly on clean, undamaged male threads. You’ll improve Thread sealing and reduce leaks. Wrap 2–3 clockwise turns, don’t cover openings, and re-tighten to spec.
When Should I Replace the Entire Tap Instead of Repairing It?
You should choose tap replacement when the body’s cracked, threads strip, corrosion pits sealing faces, or parts are obsolete. For repair considerations, replace if leaks persist after code-compliant reassembly, or if the valve seat’s damaged.
Can High Water Pressure Cause Repeated Tap Leaks?
Yes—excessive water pressure can repeatedly force seals to deform and wear, triggering tap leaks. You should verify water pressure meets code (typically 40–80 psi), install a PRV if needed, and prioritize leak prevention.
What Should I Do if I Can’T Identify the Tap Brand or Model?
If you can’t ID it, you’ll rely on measurements: snap photos, measure stem length/splines, and match cartridges by spec. Tap identification and brand recognition come later. Shut water off, relieve pressure, follow local code.
About the Author