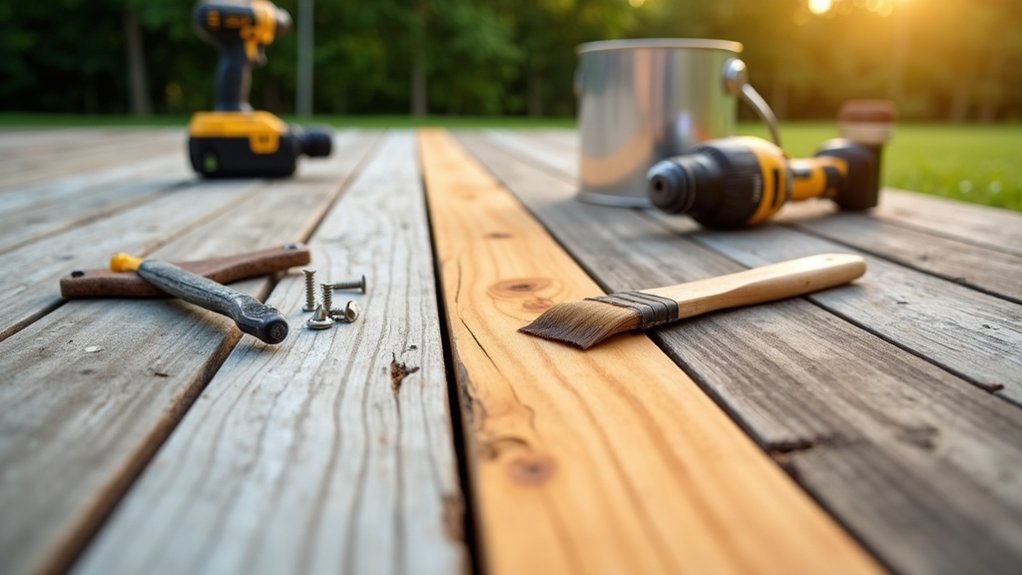
Nearly 80% of deck failures start where boards trap moisture against fasteners and joists. You can stop that early by walking every span, probing soft spots, and flagging boards that cup, split, or show rot at the ends. You’ll pull the worst pieces with an impact driver and pry bar, then match replacements by species, thickness, and profile so the surface stays even. But before you set a single new board, you’ve got to prep the old wood the right way…
Key Takeaways
- Inspect boards, fasteners, and joists; probe with an awl and mark any soft, split, delaminated, or wobbly sections for replacement.
- Remove damaged boards first; back out screws or pull nails carefully, and stop if rot extends into joists or the ledger.
- Match replacement boards by species, actual dimensions, profile, treatment type, and fastener system to prevent cupping, gaps, and uneven aging.
- Prep for finishing by setting or replacing protruding/rusted fasteners, scraping failing coatings, sanding feathered edges, and ensuring wood moisture is below 15%.
- Clean and brighten by wetting first, scrubbing with deck cleaner, rinsing thoroughly, then using oxalic acid brightener to restore color before staining or sealing.
Inspect Your Weathered Deck: Repair or Replace?
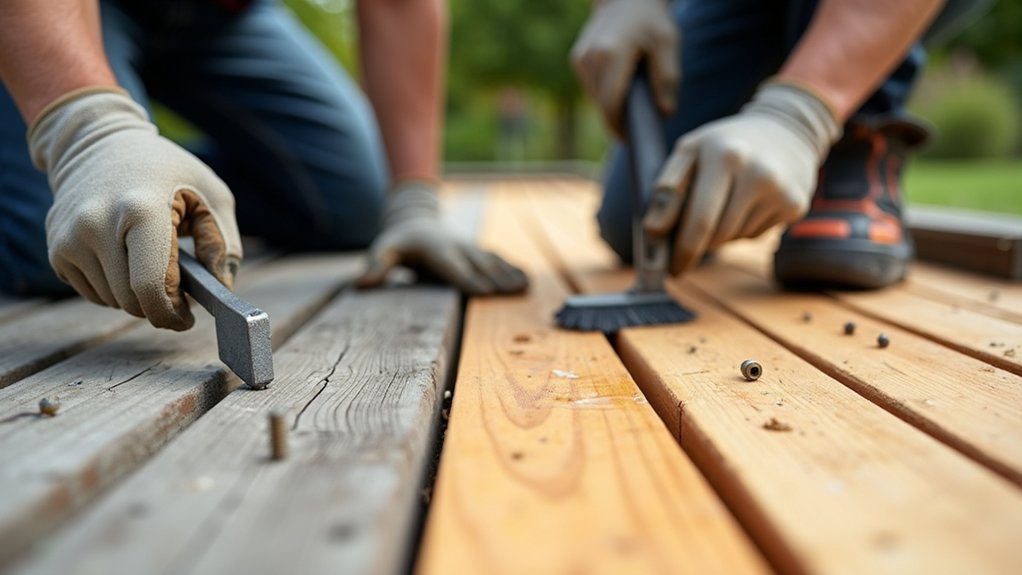
Before you pick up a sander or stain, walk the deck and inspect every board and connection point to decide what you can save and what you should swap out.
Probe suspect areas with an awl: if it sinks easily or fibers crumble, plan wood replacement. Check board ends, knots, and fastener lines for splitting, cupping, and lifted nails or screws.
Look at joists and ledger edges you can see; any punky wood or rust-stained hardware means the surface fix won’t last. Spot blackened streaks and raised grain—often treatable before deck staining if the wood’s still firm.
Mark boards with soft rot, deep checks, or delamination as replace candidates, and note any wobbly sections for structural attention.
Remove Damaged Boards on a Weathered Deck
With your inspection notes in hand, start by pulling the boards you marked for replacement so you’re not sanding or staining wood that won’t last.
Back out screws with an impact driver; if you find nails, use a cat’s paw and a flat bar, protecting adjacent boards with a thin scrap of plywood. Cut stubborn fasteners with an oscillating tool using a bi-metal blade.
If rot runs into a joist, stop and flag it for separate repair.
Work from the outside edge toward the house to keep the deck stable.
Bag splinters and punky wood so they don’t end up in beds when you’re planting flowers.
Keep wiring and transformer routes in mind if you’re installing lighting later.
Match Replacement Deck Boards by Size and Material
Once you’ve pulled the worst boards, take one intact piece to the store and match the replacement decking by species, thickness, and profile so the new run sits flush and fastens cleanly. Measure actual thickness and width (decking often isn’t a true 1x), and confirm edge details like eased corners or grooved sides for hidden fasteners.
Check grade and treatment type—pressure-treated, cedar, redwood, or composite—so you don’t mix materials that move or fasten differently; Material compatibility prevents cupping and uneven gaps.
For Color matching, compare boards in outdoor light and buy from the same batch when possible. Match fastener system too: coated screws for treated lumber, stainless near salt air, and approved clips for grooved boards.
Prep a Weathered Deck for Stain or Sealer
New boards look right only if the rest of the deck takes finish evenly, so get the surface clean, sound, and dry before you open a can of stain or sealer.
Walk every board and set protruding nails or screws, then replace rusted fasteners with exterior-rated coated or stainless.
Scrape loose paint or failing stain, and sand feathered edges with 80-grit, then 100-grit so lap marks won’t telegraph through.
Spot-fill checks with flexible exterior wood filler only where needed, and re-sand flush.
Probe soft areas with an awl; if it sinks, swap the board.
Clear gaps between boards so water can drain, and confirm moisture is below 15%.
These deck maintenance tips support Choosing the right stain for your wood species and exposure.
Clean and Brighten Weathered Decking (In Order)
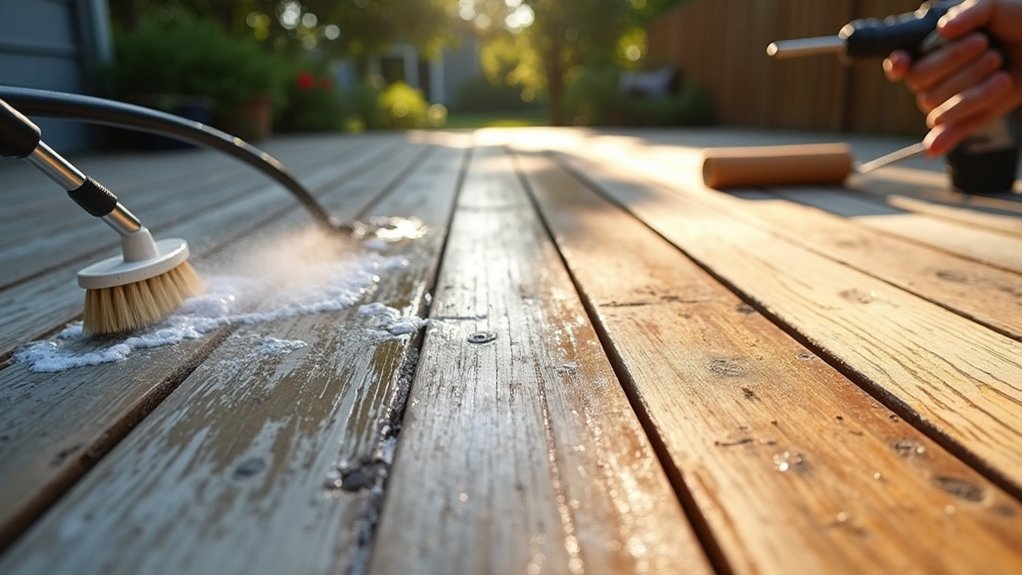
Start by clearing loose debris—sweep off grit, scrape stuck-on mud, and pull leaves from gaps so the cleaner can contact the wood.
Next, apply a deck cleaner at the label mix rate, keep it wet for the stated dwell time, and scrub along the grain before rinsing thoroughly.
Finish by brightening with an oxalic-acid solution to neutralize and even the color, then rinse well and let the boards dry completely.
Clear Surface Debris
Before you bring out any cleaner, how clean is the deck surface really? Start by removing anything that can block contact with the wood. Sweep slowly with a stiff, non-metal deck broom to lift surface dust and grit from the grain and corners.
Pull out loose leaves trapped between boards with a putty knife or thin scrap of plastic so you don’t gouge soft fibers. Pay attention to butt joints, stair treads, and around posts where debris holds moisture.
Then vacuum seams and cracks using a shop vac and a narrow crevice tool to capture fines the broom misses. If you’ve got planters or grills, move them and scrape off any rubber feet marks or caked dirt.
Finish with a final sweep to confirm bare, dry wood.
Apply Deck Cleaner
Once the surface is bare, wet the deck evenly with a garden hose so the boards don’t drink cleaner too fast and leave lap marks.
Choose a deck cleaner labeled for your wood species and existing coatings; many eco-friendly cleaners are oxygenated or detergent-based and won’t harm nearby plants when used correctly. Mix to the manufacturer’s ratio in a pump sprayer or bucket.
Work in small sections, keeping the surface wet. Apply from the house outward, then scrub with a stiff nylon brush along the grain, paying attention to cupped edges, knot pockets, and handrail tops.
Don’t let cleaner dry; mist as needed. Rinse thoroughly until runoff is clear.
Clean boards accept Deck sealing more evenly and help prevent blotchy absorption later.
Brighten With Oxalic Acid
After you’ve rinsed the cleaner away, apply an oxalic-acid wood brightener to neutralize leftover alkalinity and restore the deck’s natural tone. Mix per label in a plastic bucket, then saturate boards with a pump sprayer or synthetic-bristle brush. Keep the surface uniformly wet for 10–15 minutes so the solution can reverse surface oxidation and dissolve iron/tannin stains around fasteners and knots. Don’t let it dry; mist more as needed.
Rinse thoroughly, working with the grain and flushing gaps between boards. You’ll see immediate color enhancement as blotchy gray shifts to a more even, warm base color.
Let the deck dry 48 hours (longer in shade or humidity) before sanding, replacing boards, or applying stain. Wear gloves and eye protection; protect plants with a pre-wet rinse.
Stain or Seal Weathered Decking for Long Wear
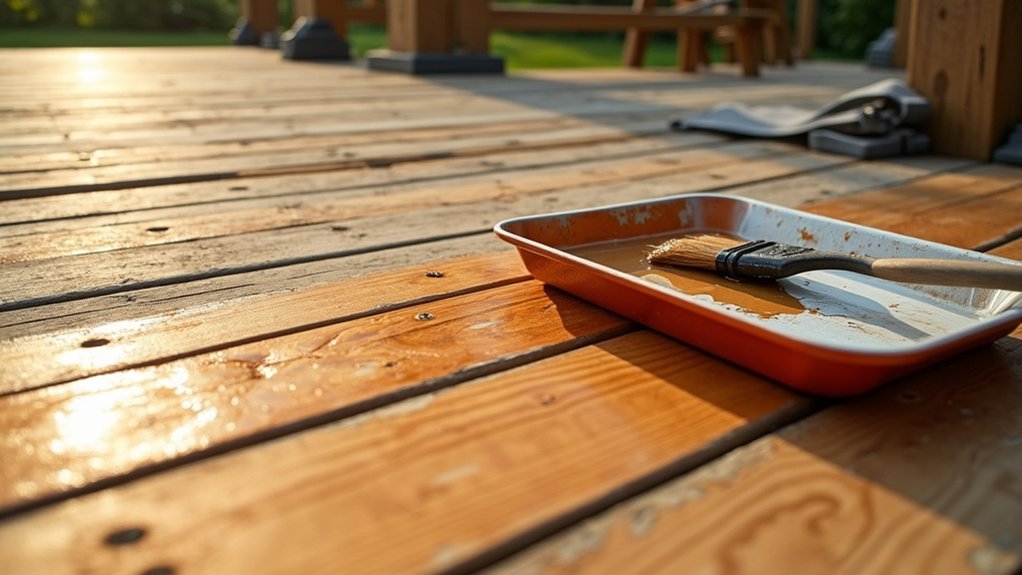
Although cleaning and repairs bring weathered boards back to shape, a quality stain or sealer is what keeps them that way by blocking moisture and UV damage.
Choose a penetrating, oil-based stain for softwoods or older boards; it soaks in and reduces peeling. Use a water-based acrylic for faster dry time and easier cleanup, but apply two thin coats for better color retention.
If you want a clear finish, pick a UV-inhibited sealer and plan on more frequent recoats.
Check labels for eco-friendly sealants with low VOCs and no added heavy-metal driers.
Apply when wood moisture is under 15%, temps sit between 50–90°F, and no rain’s forecast for 24–48 hours.
Back-brush after rolling to fill grain.
Frequently Asked Questions
What Permits or HOA Approvals Are Needed Before Replacing Deck Boards?
You’ll often need permits required if you change deck structure, height, or joists; simple board-for-board swaps may not. Get hoa approvals for visible material, color, railing, or fasteners. Call your building department, then HOA.
How Much Does Refreshing a Weathered Deck Typically Cost per Square Foot?
You’ll typically pay $4–$15 per sq ft to refresh a weathered deck, depending on board species, fasteners, stain, and prep. For Deck maintenance, follow DIY tips: replace damaged boards, clean, sand, seal.
Can I Replace Deck Boards Without Removing Railings or Stairs?
Yes, you can—sometimes it’s almost miraculously easy—if you’ve got top-fastened boards and clearance. Verify deck board types fit joist spacing, and confirm railing compatibility; you may need to temporarily unbolt posts near edges.
What’s the Best Time of Year to Tackle Deck Board Replacement?
You’ll get the best results in late spring or early fall, when weather conditions stay mild and dry. Seasonal considerations matter: avoid extreme heat, cold, or rain so boards acclimate, fasteners bite, and finishes cure properly.
How Long Should I Stay off the Deck After Staining or Sealing?
Stay off 24–48 hours after staining or sealing; wait 72 hours before heavy furniture. After deck cleaning, make sure boards feel dry and tack-free. Follow weatherproofing tips: low humidity, 50–90°F, no rain.
About the Author