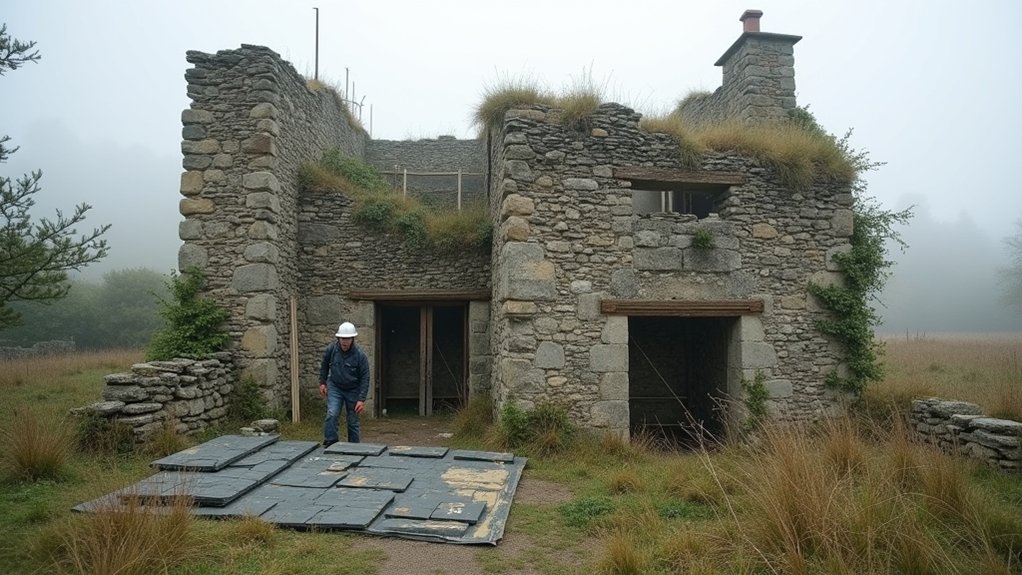
You can’t treat a stone cottage ruin like a weekend project; you start by proving it’s safe to enter, then you document every crack, bulge, and failed joint for a repair record. You’ll bring in a structural engineer and a conservation survey, confirm permits with your local authority, and price stabilization before finishes. You shore openings, secure loose masonry, and control water with drainage. Only then do lime-based repairs make sense—but first, you’ll need to answer one critical question…
Key Takeaways
- Inspect from outside for bulges, leaning walls, missing lintels, or roof sag; treat unstable areas as collapse zones and avoid entry.
- Engage a licensed structural engineer to assess stability, foundations, and load paths, and to specify shoring, bracing, and restricted access.
- Document all damage with scaled photos, crack measurements, and sketches or 3D scans to guide repairs, permitting, and budgeting.
- Control water first: grade away at least 5%, add gutters/downspouts, swales, and optional French drains, and keep wall weep paths clear.
- Repair masonry with compatible lime mortar and matched stone; reset displaced units, repoint by hand, and avoid rigid Portland cement that traps moisture.
Check If the Stone Cottage Ruin Is Safe to Enter
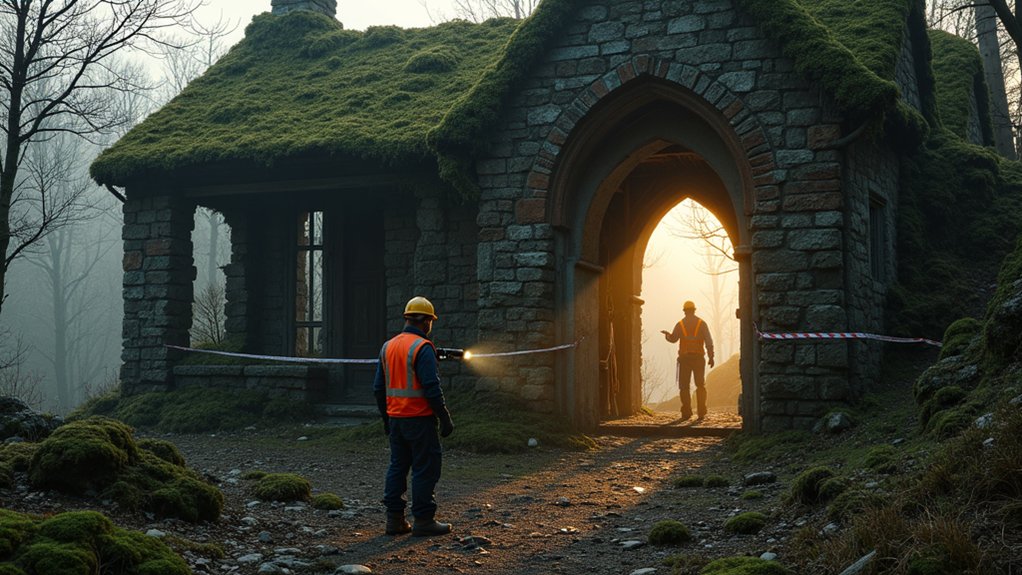
Before you step inside, ask where the structure could fail. Walk the perimeter and note bulging walls, rotated corners, missing lintels, and displaced stones that signal loss of load path.
Don’t enter if you see fresh cracks, a leaning gable, or roof sagging; treat it as a collapse zone.
From outside, probe openings with a pole to dislodge loose plaster and identify hazardous debris without stepping under it.
Check for wildlife intrusion—nesting birds, bats, or rodents—and comply with local protections and exclusion requirements.
Confirm you’ve got stable egress, daylight, and communication.
Use hard hat, eye protection, gloves, and a respirator; follow applicable OSHA and local building safety rules.
Assess the Stone Cottage Ruin and Document Its Damage
Once you’ve confirmed safe access, you’ll run a structural stability survey that checks wall plumb, bulging, crack width, foundation settlement, and any active movement. Document methods and results to meet local code and engineering standards.
You’ll then map every defect—spalled stone, failed mortar joints, moisture staining, biological growth, roof collapse points—using scaled sketches, measured photos, and consistent location references.
You’ll compile these records into a dated damage log that supports permit review, scope definition, and a defensible repair sequence.
Structural Stability Survey
Although the cottage’s mossy stone walls may look immovable, you’ll need a structural stability survey to verify load paths and document distress in a way that supports code-compliant repair design. You’ll hire a licensed structural engineer to assess global stability, wall slenderness, and out-of-plane collapse risk, applying current building code load combinations while respecting the cottage’s historical significance.
You’ll confirm foundation bearing, scour, and differential settlement with shallow probes and levels, and you’ll evaluate remaining lintels, arches, and floor pockets for shear and rotation. You’ll test mortar and stone hardness non-destructively to guide material preservation and compatible repointing.
Where hazards exist, you’ll specify temporary shoring, tie-backs, and restricted access so investigation proceeds safely without inducing new damage.
Damage Mapping And Records
After the engineer confirms how the walls and foundations should carry loads, you’ll map and record every visible defect so your repair set ties observed distress to measured conditions rather than guesswork.
Create elevation grids, assign IDs to stones, joints, and lintels, and log crack width, length, direction, and offset with calipers and crack gauges. Photograph each condition with scale, north arrow, and consistent lighting; store metadata and geotags.
Note moisture paths, salt efflorescence, biological growth, and mortar loss, then correlate them to drainage, roof absence, and exposure. Use field sketches plus 3D photogrammetry or LiDAR to capture deformations.
Keep records aligned with conservation standards and building-code documentation requirements, supporting historical accuracy and defensible preservation techniques for permits and sequencing.
Get Surveys, Permits, and a Realistic Restoration Budget
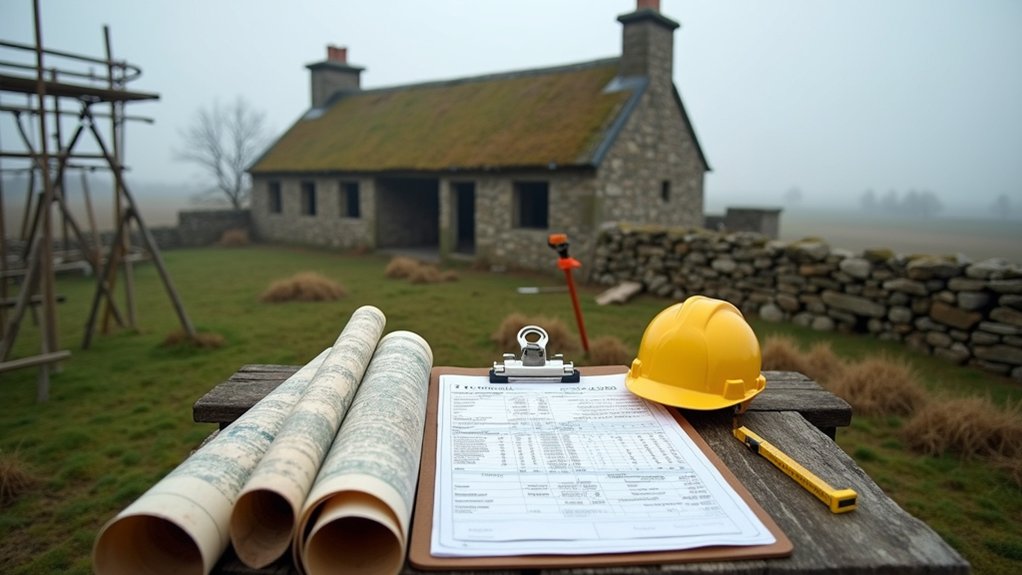
Next, you’ll commission condition surveys and targeted testing—structural assessment, mortar and stone analysis, moisture mapping, and any required environmental screening—so your scope is evidence-based and defensible.
You’ll confirm permitting requirements with the local building department and preservation authority, then align drawings and specifications with current code, historic-district rules, and inspection milestones.
With those inputs, you’ll build a restoration budget that includes labor, materials, temporary shoring, professional fees, contingency, and permit costs, so you’re funding what the site actually needs.
Condition Surveys And Testing
Before you lift a single stone or order materials, document exactly what you’re inheriting with a condition survey and targeted testing, because historic masonry failures often hide behind intact finishes.
Map cracks, bulges, settlement, moisture staining, biological growth, and prior repairs, and photograph every elevation with scales.
Record wall thicknesses, plumbness, and out-of-plane movement; check lintels, arches, and gable peaks for thrust.
Use non-destructive methods first: moisture meters, borescope probes, infrared thermography, and gentle sounding for delamination.
Then schedule selective sampling for historic preservation decisions: mortar petrography, soluble salts, stone porosity, and compressive strength, plus timber species and decay tests.
You’ll align findings with current structural and safety requirements before any intervention begins.
Permits And Budget Planning
Because a stone cottage restoration triggers structural, heritage, and life-safety rules, you’ll lock in permits and a defensible budget as soon as the condition data points to scope. Submit measured drawings, survey control, and engineer notes to planning and building control, then confirm whether the cottage’s historical significance requires listed-building consent, archaeological watching briefs, or conservation-officer signoff.
Build your budget from quantified takeoffs: masonry repointing volumes, stone replacement counts, roof spans, and MEP runs. Add code-driven upgrades—egress widths, stair geometry, guards, smoke/heat detection, and thermal detailing—so approvals don’t force redesign.
Carry 15–25% contingency for hidden voids, salts, or unstable footings. Price temporary works, access scaffolds, and waste streams separately. Address insurance considerations early: site security, contractor all-risk, and public liability, aligned to permit conditions.
Stabilize Walls, Openings, and the Roofline First
Although it’s tempting to jump straight to finishes, you’ll get a safer, code-compliant restoration by stabilizing the stone walls, protecting openings, and truing the roofline first so the structure can reliably carry loads.
Start with a licensed structural assessment and document out-of-plumb areas, bulges, and cracks. Shore walls with engineered bracing, then rebuild failed sections using compatible Stone joint techniques (lime-based mortar, proper tooling, and full-bed seating) to meet masonry standards without trapping movement.
Stabilize window and door openings with temporary lintels, then install permanent headers sized per local code and verified bearing lengths.
Before stripping, commission historic paint analysis at jambs and trim so you don’t erase evidence that guides accurate detailing.
Finally, square rafters, replace rotten members in kind, and set a continuous load path with ties and anchors.
Stop Moisture in a Stone Cottage Ruin With Drainage
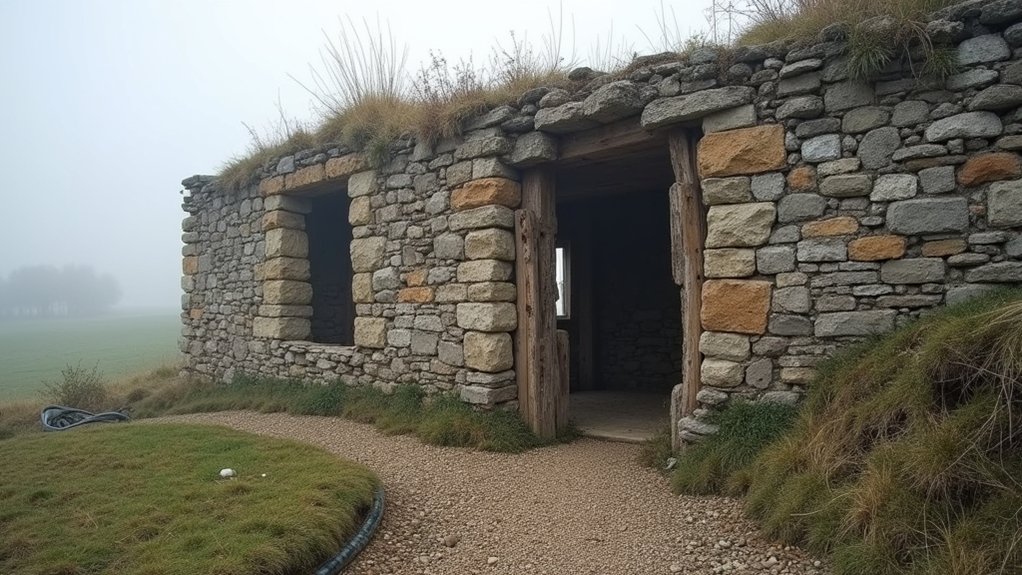
Once the walls and roofline can safely carry load, you need to control bulk water and capillary moisture with a drainage plan that meets local stormwater and foundation requirements instead of sealing the stone and hoping it “breathes.”
Start by mapping grade, roof runoff paths, and any uphill water sources. Then cut positive slope away from the cottage (typically 5% minimum for the first 10 ft, where site conditions allow) and route downspouts to tightline or splash blocks that discharge well clear of the footing area.
For moisture control, keep soil and mulch below interior floor level and at least 6 in below any wood. Install a gravel drip edge and perimeter swale; add a French drain only if you can daylight it or connect to an approved outfall.
Use filter fabric and cleanouts for durable drainage solutions.
Repair With Lime Mortar, Salvage Stone, and Breathable Finishes
With drainage and grading directing bulk water away from the ruin, you can rebuild the masonry so it manages residual moisture without trapping it in the wall.
Rake joints by hand to sound material, then repoint with Lime mortar matched for strength and vapor permeability—typically NHL 3.5 for exterior walls, softer if the stone is friable. Don’t use Portland cement; it’s too rigid and drives spalling.
Reset displaced units on a full bed, keeping joints tight and tooled to shed water.
Source Salvage stone that matches geology and size, and pin only when engineering requires stainless anchors per code.
Finish with mineral silicate paint or limewash, not acrylics, so the wall can dry outward.
Keep weep paths clear.
Frequently Asked Questions
How Do I Find Historical Photos or Plans of the Original Cottage?
You’ll often stumble on a dated postcard at a local fair—use that luck, then search archival sources: county archives, planning files, libraries, historic societies, and deeds. Cross-check finds against preservation guidelines and code-compliant surveys.
Can I Live On-Site in a Temporary Structure During Restoration?
Yes, you can, but you’ll need permits. Temporary housing and on site living must meet zoning, sanitation, and fire codes. Provide potable water, septic/holding tank, egress, alarms, and utility inspections, plus secure site.
Will Restoring the Ruin Increase Property Taxes or Insurance Premiums?
Yes—restoration can raise property taxes and premiums. Your Tax assessment typically increases when permitted improvements add square footage, systems, or market value. Insurance rates may rise with higher replacement cost; code-compliant upgrades can reduce risk.
How Do I Choose Furnishings That Match the Cottage’s Historic Character?
Choose period-appropriate pieces by researching your cottage’s build era, finishes, and local vernacular. Favor Antique furniture and Vintage decor with simple lines, natural materials. Guarantee flame-retardant textiles, UL-listed lighting, and egress-clear layouts throughout.
Are There Grants or Tax Credits Available for Historic Stone Cottage Restoration?
Yes—you can access grants and tax credits; they’re a treasure chest of savings. Check Historic preservation programs: federal 20% credit (income-producing), state/local tax incentives, and certified rehab requirements, plus code-compliant documentation.
About the Author