
Is it really true that you can modernize an abandoned fisherman’s hut without erasing its coastal character? You start with a documented inspection, then prioritize footings, framing, and roof planes before you touch finishes. You specify marine-grade stainless fasteners, epoxy consolidants, and breathable salt-resistant coatings, and you confirm setbacks, flood-zone rules, and heritage limits early. Once you choose how you’ll seal and vent against wind-driven spray, the utilities and stormproofing decisions get…
Key Takeaways
- Document the hut thoroughly: photos, moisture/insect damage maps, timber probing, and paint/mortar testing, then confirm permits and coastal heritage constraints.
- Stabilize foundations and roof first: fix settlement, brace walls, sister joists/studs, replace rafters, and add sheathing with hurricane ties for clear load paths.
- Use coastal-grade materials: 316 stainless or hot-dip galvanized connectors, avoid mixed metals, and apply zinc-rich primers and UV-stable coatings to exposed steel.
- Seal and ventilate smartly: marine-grade sealants at joints, mineral wool or wood-fiber insulation, continuous air barriers, and balanced corrosion-resistant mechanical ventilation.
- Upgrade utilities for storms: tinned copper wiring above flood level, PEX plumbing with stainless clamps, anchored equipment, storm-rated windows/doors, and a surge plan with accessible disconnects.
Inspect the Fisherman’s Hut and Set the Scope
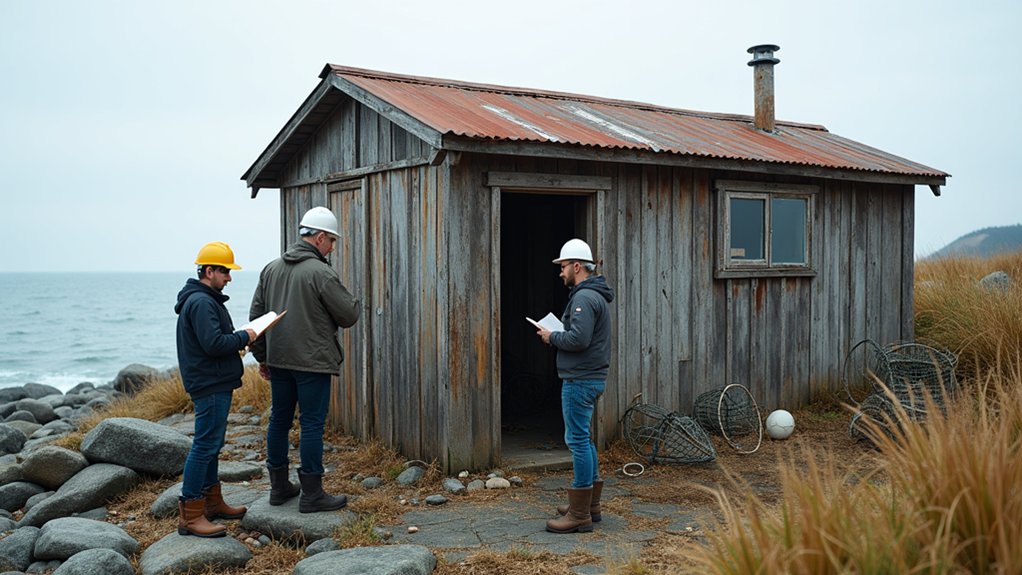
Before you pick up a tool, inspect the hut like a surveyor so you can set a scope that matches the structure’s actual condition and the coastal rules you’ll have to meet.
Photograph every elevation, joint, and fastener, then map moisture staining, salt crystallization, insect frass, and metal corrosion.
Probe timber with an awl, record hardness, and note species and existing preservatives.
Check masonry and mortar for friability and chloride exposure, and sample paint for lead and historic color layers.
Pull local setback, flood-zone, and heritage constraints, plus any required permits and coastal commission approvals.
Define what you’ll keep for Historical accuracy and what you’ll replicate for aesthetic preservation.
Write a room-by-room scope, acceptance criteria, and a materials schedule that matches verified findings.
Shore Up Footings, Framing, and the Roof First
Because coastal air and cyclic wetting attack a hut from the ground up, you should stabilize the footings, primary framing, and roof structure as the first construction sequence so every later repair sits on verified load paths.
Start by confirming bearing capacity and settlement; undercut voids, add compacted gravel, and pour or underpin to frost depth per local code.
Plumb the shell with temporary bracing, then sister compromised joists and studs, maintaining nailing patterns and fastener spacing required by wind and seismic tables.
At the roof, replace failed rafters, install continuous sheathing, and add code-rated hurricane ties so uplift loads transfer to the foundation.
Only after this can you lock an Interior layout, then choose Decorative accents without cracking finishes or misaligning openings later.
Stop Salt-Air Rot and Corrosion With the Right Materials
Even if the framing is now sound, salt-laden air will keep degrading the hut unless you specify materials and fasteners that match a marine exposure class.
Use stainless steel (316 where practical) or hot-dip galvanized connectors listed for coastal service, and avoid mixing metals that trigger galvanic corrosion.
Choose corrosion resistant hardware for hinges, straps, and screws, and insist on product data showing ASTM B117 or ISO 9227 salt-spray performance.
Where codes require treated lumber, confirm the preservative is compatible with your selected fasteners (per ICC-ES reports) and upsize coatings if using ACQ/CA systems.
Protect exposed steel with Salt resistant coatings: zinc-rich primers plus a UV-stable topcoat, or factory powder coating with edge sealing.
Maintain drainage gaps around hardware to limit crevice corrosion.
Seal, Insulate, and Ventilate Without Losing Character
Although a seaside hut needs to breathe to survive, you can still tighten the envelope by pairing controlled air-sealing with vapor-smart insulation and code-compliant ventilation.
Start by sealing obvious leakage paths: sill-to-floor joints, window casings, and service penetrations, using backer rod plus marine-grade sealant or acrylic caulk where paint must adhere.
Keep original boards by weatherstripping doors and adding interior air barriers that don’t trap moisture.
Insulate with mineral wool or wood-fiber batts; both tolerate salt humidity and dry safely.
Avoid foil-faced foam unless you verify dew-point control.
Meet local energy code by detailing continuous insulation at corners and rim areas.
Provide balanced, quiet mechanical ventilation sized to standards, with corrosion-resistant grilles.
These preservation techniques protect sea life by reducing mold and runoff.
Upgrade Utilities and Stormproof for Coastal Wind and Surge
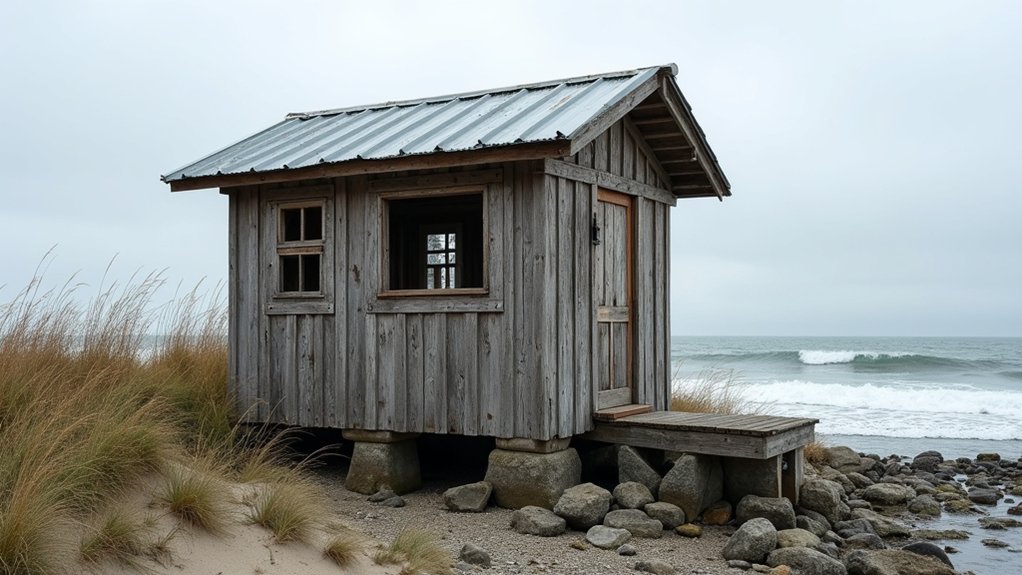
Once you’ve tightened the hut’s envelope and set up reliable drying and ventilation, focus on utilities and storm hardening—systems that fail first in salt air, wind uplift, and surge.
Rewire with marine grade wiring, tinned copper conductors, and sealed junction boxes; bond and ground per local code, and add AFCI/GFCI where required. Mount the panel and receptacles above expected flood elevation and label shutoffs.
For plumbing, use PEX with stainless clamps, isolation valves, and backflow protection; strap lines and insulate to prevent wind-driven spray freeze. Anchor tanks and water heaters to resist overturning.
Install storm resistant windows and rated doors, then add roof-to-wall straps, corrosion-resistant fasteners, and sealed soffit vents. Keep a surge plan: deployable barriers, raised equipment pads, and a disconnect you can reach fast.
Frequently Asked Questions
How Do I Confirm Legal Ownership and Boundary Lines for a Coastal Hut?
Confirm legal ownership by pulling the deed, title report, and coastal permits from the recorder and land office. Verify the property boundary with a licensed surveyor, GIS maps, and monuments, then record corrections and easements.
Do I Need Special Permits or Heritage Approvals to Renovate a Fisherman’s Hut?
You probably do—check local planning rules, coastal zone regulations, and heritage registers. If the hut has Historical significance, you’ll need heritage consent. Address Environmental impact via flood, erosion, and habitat assessments.
What Renovation Budget Range Should I Expect for a Small Seaside Hut?
You should budget $30k–$120k for a small seaside hut, driven by structure, roof, damp-proofing, and marine-grade finishes. If permits/heritage apply, add 10–20%. Reserve 10%. Decorating ideas, Interior design trends follow.
How Can I Source Period-Accurate Fixtures and Salvage Materials Locally?
You can source period-accurate fixtures by visiting local salvage yards, checking architectural reuse nonprofits, and asking preservation officers for approved suppliers. Verify antique hardware alloys, corrosion resistance, and code compliance; document provenance for permits and inspections.
Will Restoration Increase Insurance Costs, and What Coverage Is Recommended?
Yes—insurance costs may rise, but code-compliant wiring, roof, and flood vents can offset rates. Get coverage recommendations: dwelling replacement, windstorm, flood (NFIP/private), liability, ordinance-or-law, and builder’s risk during permitted construction.
About the Author