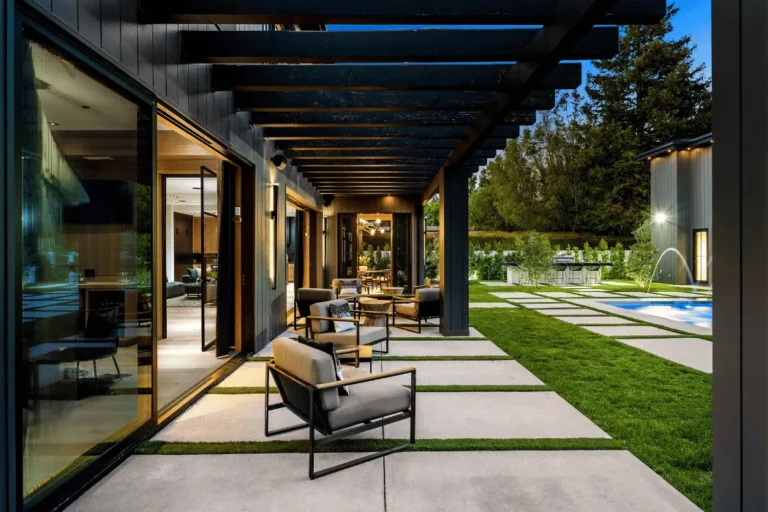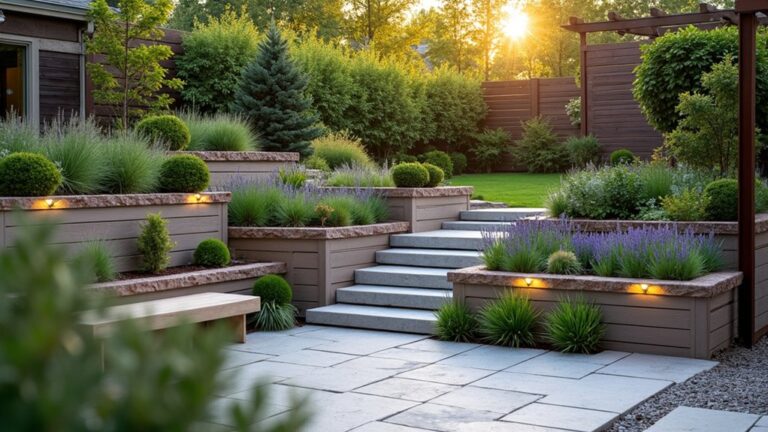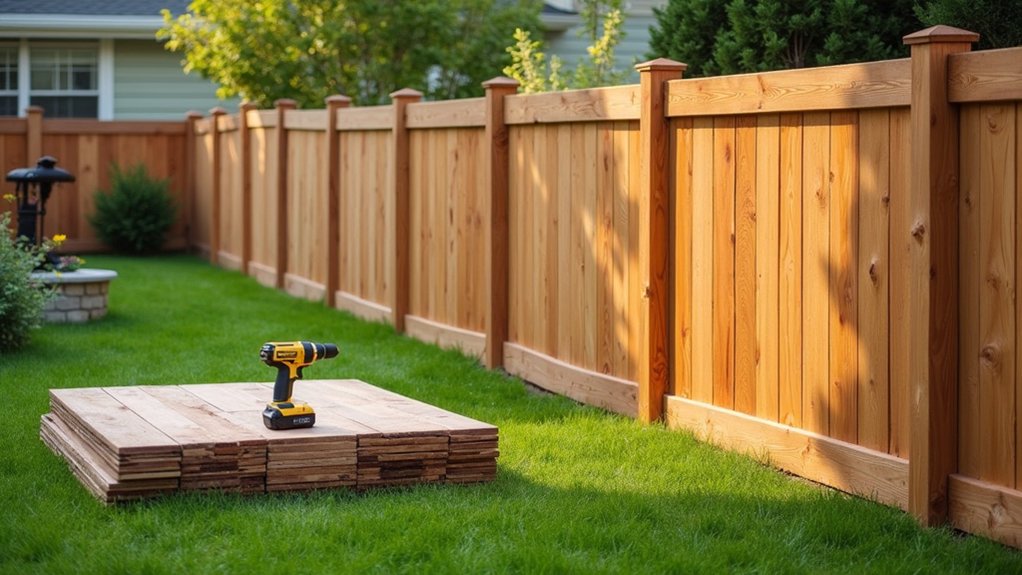
If you’ve just moved your wheelie bins and noticed daylight showing through warped panels, you already know your boundary isn’t doing its job. Replacing old fence panels gives you instant privacy and a cleaner street-facing finish, but you’ll get the best result only if you measure properly, check post condition, and choose the right height and style for wind and local rules. Get one detail wrong, and the new panels won’t last—so start with…
Key Takeaways
- Replace panels showing bowing, rot from a screwdriver test, loose boards, persistent mould, or leaning that compromises privacy and safety.
- Measure the clear post-to-post opening at front and back, use the narrowest width, and allow 10–15 mm height clearance.
- Choose a compliant height for privacy, using stepped panels or trellis tops to maintain light while improving screening and kerb appeal.
- Pick materials and styles to match goals: closeboard for maximum privacy, slatted for airflow, wood for lower cost, composite for low maintenance.
- Remove by undoing brackets and lifting out, fit the new panel level and square with spacers, then seal all faces for longer-lasting looks.
How Do You Know Fence Panels Need Replacing?
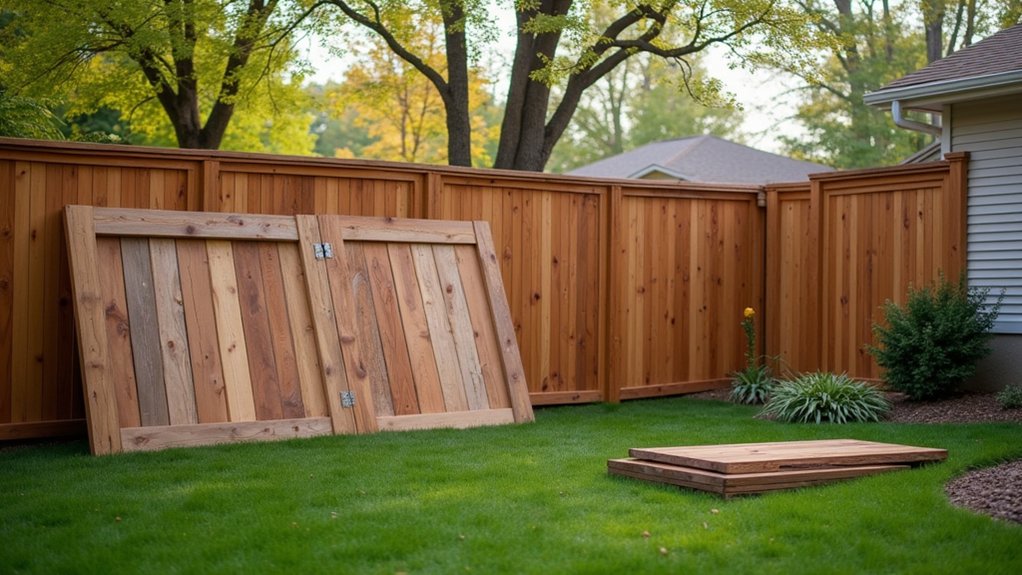
Even if your fence still looks “okay” from the street, a few specific warning signs can tell you the panels are at the end of their service life. Check for bowing, split rails, or loose vertical boards that rattle in wind—those usually mean fixings or timber has failed.
Press a screwdriver into the bottom edge; if it sinks easily or pulls out wet fibres, rot’s already advanced. Look for persistent mould, algae staining, or flaking paint that returns quickly after cleaning, which often signals moisture trapped in tired fencing materials.
Watch for gaps opening between boards or along the gravel board line, reducing privacy and hurting garden aesthetics. If panels lean despite calm weather, or you see insect holes and crumbling edges, replacement’s the safer option.
Measure Replacement Fence Panels (and Check Posts)
Before you buy replacement panels, you’ll measure the panel width precisely between posts so the new panel seats properly.
You’ll also confirm you’ve got enough height clearance under any caps, gravel boards, or sloped ground so the panel won’t bind or leave gaps.
Finally, you’ll check post spacing, alignment, and plumb so you don’t force a square panel into a twisted bay.
Measure Panel Width Precisely
Once you’re ready to swap in new panels, measure the exact clear opening between the fence posts at the height where the panel will sit. Then confirm the new panel’s stated width matches that dimension.
Use a steel tape, measure in millimetres, and take readings at the front and back faces of the posts to catch skew or twist. Don’t assume every bay is the same—record each span and label it.
If the gap varies, plan for the tightest point so the panel won’t bind during fitting. Check posts for bowing, loose fixings, or eroded mortared pockets that steal width.
Your fence panel design choice can change frame thickness, and material durability affects how much swelling or movement you should allow over seasons.
Confirm Panel Height Clearance
How much vertical room do you actually have for the replacement panel? Measure from the bottom arris rail or gravel board up to the top of the posts, then subtract 10–15 mm for easier slotting and seasonal movement.
If the ground slopes, take readings at both ends of each bay and use the smallest clearance, so the panel won’t bind. Check for obstructions like coping stones, trellis caps, or overhanging branches that could foul the top edge.
Match the clearance to your fence panel materials: heavier timber panels need more handling room, while composite or metal panels may require exact top clearance.
Bring the right installation tools—tape measure, spirit level, and a straightedge—to verify consistent headroom before you buy.
Check Post Spacing Alignment
With your panel height clearance confirmed, turn to the bay width and make sure the posts still line up for a standard replacement panel. Measure between the inside faces of the posts at top and bottom; you’re checking for taper, bow, or twist.
Compare your numbers to the panel’s stated width and allow a small fitting gap for brackets and expansion, especially with timber fence material. If the gap is tight, you’ll fight installation and risk cracking or rattling. If it’s wide, the panel won’t seat securely.
Next, check each post for plumb and movement. Push test, inspect for rot at ground level, and look for loose concrete.
Plan post reinforcement—repair spur, re-set, or replace—before you hang new panels.
Choose Fence Panel Height for Privacy (Rules + Tips)
Before you buy new panels, check your local height rules and any HOA limits so you don’t install a fence you’ll have to cut down or replace.
Then choose a panel height that gives you the privacy you want without blocking too much light from your garden or windows.
You’ll get the best result by matching height to the areas you need screened most and keeping lower sections where light matters.
Height Rules And Limits
Although privacy usually drives your fence panel choice, height rules often decide what you can actually install, so you’ll want to check local limits and any HOA or covenant requirements before you buy materials.
In many areas, rear garden fences can be taller than front boundary fencing, and corner lots often face stricter sightline limits near driveways and pavements.
Measure from finished ground level, not from the old panel top, and note any raised beds or retaining edges that change the effective height.
If you’re replacing panels on existing posts, confirm the post length and footing depth still support the permitted height; that’s where smart Fence repair tips prevent rework.
For kerb appeal, coordinate compliant heights with Landscaping ideas like staggered planting lines and matching gate proportions.
Always document approvals and keep receipts.
Privacy Versus Light Balance
Even if you can legally install a taller fence, you still need to balance privacy with the daylight and airflow your garden (and your neighbours) will lose. Start by mapping sightlines: where do you actually need screening—patio seating, hot tub, kitchen window? Often, stepping down panels away from these zones keeps light moving.
Check privacy laws before you commit to 6ft or higher, especially near highways, corner plots, or where a fence meets a driveway. If you want height without a heavy look, use trellis tops or slatted panels that block views but let breeze through.
For garden aesthetics, match panel height to planting: tall fences suit layered shrubs; lower runs work better behind borders and near lawn edges. Aim for consistent lines and fewer abrupt changes.
Wood vs Composite Fence Panels (Cost, Wind, Lifespan)
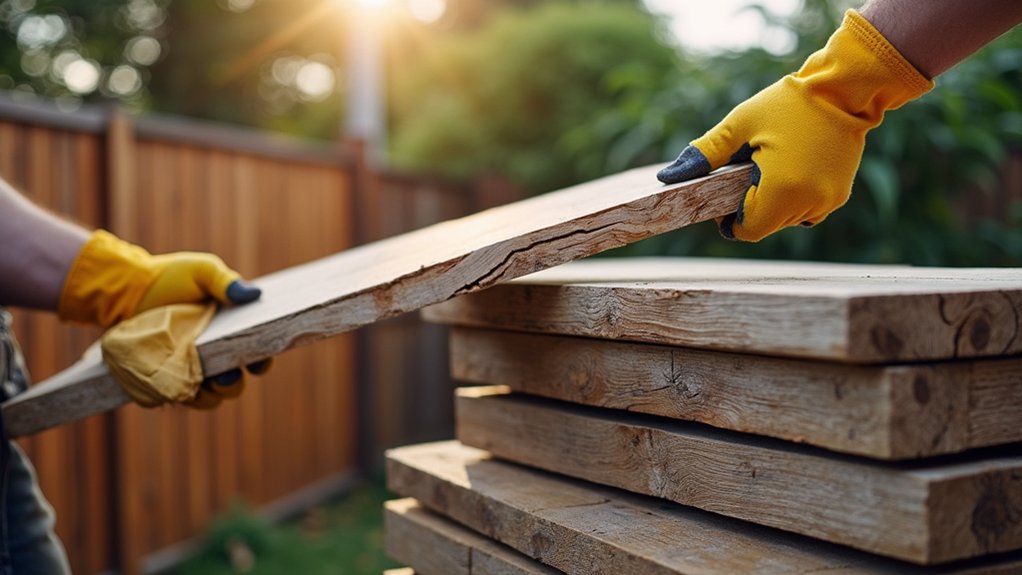
When you’re replacing old fence panels, choosing between wood and composite usually comes down to three things you can measure: upfront cost, how well the panels handle wind, and how long they’ll last with your local weather and maintenance habits.
Wood panels cost less to buy and replace, but you’ll pay in time for staining, sealing, and occasional repairs. Composite costs more upfront, yet you typically spend less on upkeep and get steadier fence material durability in damp or high-UV areas.
In windy gardens, both can perform well if you reduce sail effect with gaps where appropriate and secure fixings. Use solid posts, quality brackets, and correct post spacing—simple fence installation tips that prevent racking and blown-out panels.
Expect well-maintained wood to last 10–15 years; composite often reaches 20–30.
Fence Panel Styles: Closeboard, Lap, Slatted
How do you pick the right fence panel style for your garden without paying for features you don’t need? Start with what you’re trying to achieve: maximum privacy, a budget-friendly refresh, or a lighter, modern look that still marks boundaries.
Closeboard panels suit you if you want the strongest, most private option; the overlapping vertical boards handle wind well and hide uneven gardens.
Lap panels cost less and work for quick upgrades, but they can look less crisp over time, so check frame thickness and reinforcement.
Slatted panels give a contemporary feel and suit decorative fence designs, yet they trade some privacy for airflow and light.
For fence panel installation, match panel weight to your posts and fixings, and keep heights consistent for a clean finish.
How to Replace Fence Panels (Step-by-Step DIY)
Once you’ve chosen a closeboard, lap, or slatted panel that suits your privacy and budget goals, you can get it in place with a straightforward DIY swap.
First, check posts for rot or wobble, and clear vegetation. Remove any gravel boards or capping if they block the panel.
Unscrew clips or brackets, then lift the old panel out; if it’s wedged, tap upward with a block to avoid damaging the post.
Measure the bay and confirm the new panel matches; different Fence panel materials can vary slightly in thickness.
Drop the replacement into the slots or fix to arris rails, keeping it level with spacers.
Refit brackets, tighten fixings, and add Decorative accents like post caps once everything’s square and secure.
Seal, Paint, and Maintain Fence Panels Longer
Although a new panel looks finished the moment you slot it in, you’ll get far more years out of it if you seal, paint, and maintain the timber with a simple routine. Let the wood dry, then brush off dust and treat any knots with stain blocker.
Apply a Weatherproof coating to every face, paying extra attention to end grain and the bottom rail where water sits. Use two thin coats rather than one thick coat to prevent runs and missed edges.
Check fixings each spring: tighten screws, re-seat loose panels, and clear soil or plants that trap moisture. Touch up chips immediately so rot can’t start.
If you want Decorative accents, paint trims or trellis tops after sealing, and keep colours consistent for kerb appeal.
Frequently Asked Questions
Will Replacing Fence Panels Affect My Property Value or Curb Appeal Significantly?
Yes, you’ll often boost curb appeal and may improve property value if you choose durable fence material and match neighborhood style. You’ll also ease privacy concerns. You won’t see big gains if installation looks cheap.
Do I Need Planning Permission for a New Fence in a Conservation Area?
Yes, you’ll likely need planning permission in a conservation area—because history hates surprises. Check your council’s Historical restrictions and Design guidelines, confirm height/material limits, and get written approval before you order panels or start digging.
How Can I Reduce Noise With Fence Panels for a Quieter Garden?
You’ll reduce garden noise by using acoustic-rated panels, sealing gaps, and adding dense planting. Combine soundproofing techniques like double-layer boards with noise reduction materials: mass-loaded vinyl, mineral wool inserts, and gravel boards.
What’s the Best Way to Handle Boundary Disputes Before Replacing a Fence?
Like walking a tightrope, you’ll steady things by talking early, sharing plans, and checking deeds. Secure Boundary agreements in writing, mark lines jointly, keep photos, and book legal consultations if doubt lingers.
Can I Install Security Features Like Trellis Spikes Without Upsetting Neighbours?
Yes, you can, if you use neighbourly communication first and keep features discreet. Check fence height regulations and local bylaws, install spikes on your side, choose non-lethal options, and document approvals to avoid complaints.
About the Author