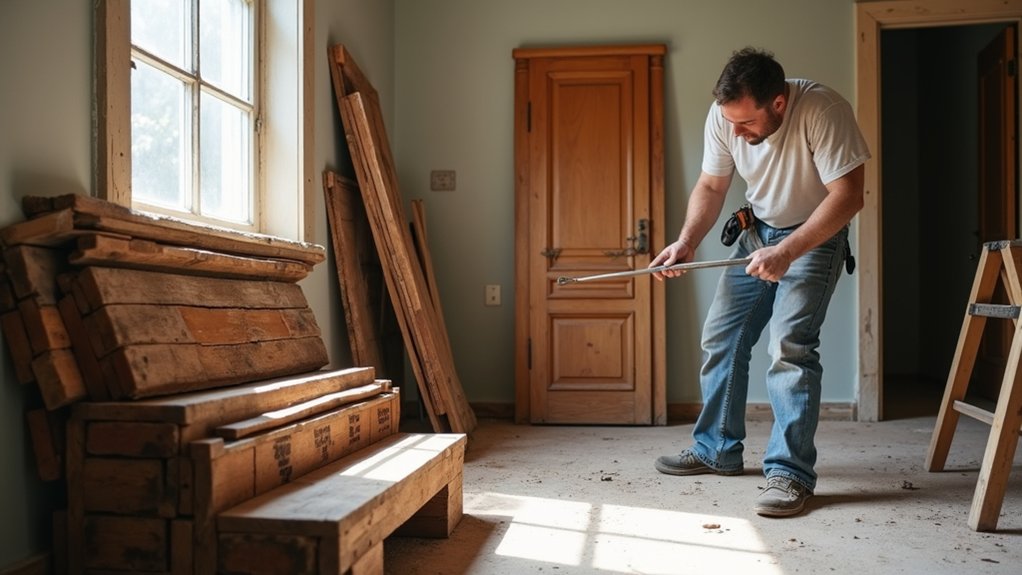
If you want to cut disposal fees and stretch your renovation budget, you can’t treat demolition like a wrecking job. You need a salvage plan: sequence tasks, protect finishes, and set up a dry staging area. You’ll tag and photograph trim, doors, fixtures, and flooring before you pull anything, then remove fasteners the right way so parts stay intact. The next step is where most savings are won—or lost…
Plan Your Renovation for Material Salvage
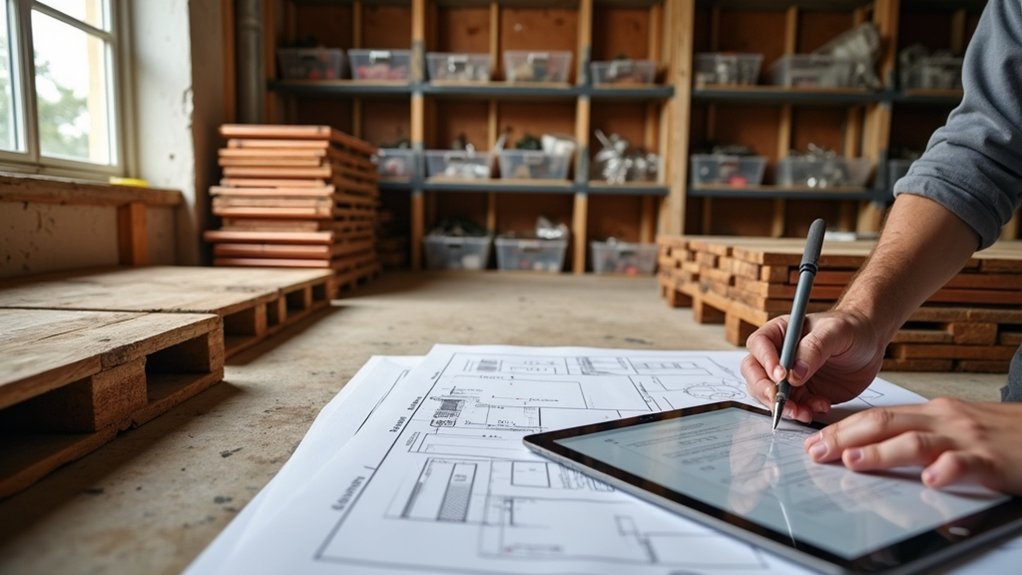
Before you swing a hammer, map out what you can salvage and when you’ll remove it, because planning is what keeps reusable materials from getting cracked, warped, or tossed in a dumpster.
Build a sequence: isolate utilities, protect adjacent finishes, then schedule careful removals before any structural work.
Set aside a clean, dry staging zone with pallets, tags, and photos so you can track quantities and reuse locations.
Budget labor for de-nailing, sorting, and transport; those hours often cost less than buying new.
Coordinate with your permit timeline if historical preservation rules require documented handling or approved storage.
If you’re doing urban landscaping, plan pathways and laydown space early so carts and lifts don’t crush soils or roots.
Spot Salvage-Worthy Materials Before Demolition
With your salvage sequence and staging area set, you can now walk the site and flag what’s worth pulling intact instead of smashing. Start with high-value, high-reuse items: solid-core doors, hardwood trim, stair parts, cabinets with intact boxes, and Vintage fixtures like faucets, knobs, sconces, and register grilles. Check for maker marks, matching sets, and discontinued lines that resell well.
Next, inspect material condition fast: rot, insect damage, lead paint layers, cracks, and water staining. Note dimensions and quantities so you can price replacement cost versus salvage time. Photograph assemblies before demo for later reinstallation planning.
Prioritize items with Unique wood patterns, tight grain, and long lengths that you can mill into flooring, shelving, or accent walls. Mark keep zones clearly.
Remove Materials Without Damage or Injury
Even if you’re working fast, you’ll save more money by treating salvage like careful disassembly, not demolition. Start with a hazard assessment: confirm power is locked out, cap water/gas lines, and check for lead paint or asbestos before you pry.
Wear safety gear—cut-resistant gloves, eye protection, respirator, and toe protection—so you don’t turn savings into medical bills.
Use the right tools to avoid breakage: oscillating saw to cut caulk and nails, flat bar with a wood block for leverage, and a screw gun for fasteners.
Work from trim to sheathing, remove in reverse order of installation, and support long pieces to prevent cracking.
Label connection points as you go, and stop when resistance suggests hidden fasteners or wiring.
Clean, De-Nail, and Store Salvaged Materials
Once you’ve pulled materials intact, you’ll save more money by processing them correctly: de-nail them safely, clean off debris, and keep them usable.
Use a nail puller or pry bar with a backing block, wear eye and hand protection, and pull nails straight to prevent splits and flying shanks.
Brush or scrape surfaces clean, let everything dry fully, then stack flat with stickers in a dry, covered area so you don’t lose value to mold, warp, or rust.
Safe De-Nailing Techniques
Before you stack salvaged boards or trim for reuse, take time to clean them and pull every fastener safely, because one hidden nail can ruin a blade, puncture a tire, or slice a hand—costs that add up fast. Put on safety gear: gloves, eye protection, and boots.
For nail removal, start by sighting both faces and edges, then use a magnetic sweeper to catch broken shanks. Back out screws with the correct bit to avoid stripping.
Pull nails from the back side when possible to preserve finished faces; use a cat’s paw for sunk heads, then switch to a flat bar for leverage on blocking, not the board. For stubborn nails, cut flush and punch through.
Sort fasteners into a scrap bucket immediately.
Cleaning And Dry Storage
How do you keep salvaged boards worth reusing instead of turning them into warped, moldy scrap? Clean them fast and dry them faster. Scrape off drywall mud, tar, and loose paint; wire-brush rusted hardware. Vacuum dust so coatings bond later.
If you’ll reuse lumber, wipe with a damp rag, then air-dry on stickers (spacers) so both faces vent.
Do Material identification before storage: label species, thickness, length, and any lead-paint risk. Sort by type and dimension for storage organization, then stack flat on a level base. Keep piles off concrete with sleepers, cover the top only, and leave sides open. Store indoors or under a roof, target <60% RH, and rotate stock to use oldest first.
Reuse Salvaged Materials in Smart New Ways
Even if a salvaged item can’t go back where it came from, you can still extract serious value by repurposing it in a higher-impact role. Start by grading pieces for structural capacity, moisture exposure, and finish quality, then match them to loads and locations.
Frame straight 2x lumber into blocking, closet cleats, or garage shelving; you’ll cut material purchases and disposal fees. Turn solid doors into worktops or desk slabs with edge banding and a polyurethane topcoat. Use reclaimed tile as a durable backsplash accent, or crush brick for permeable walkway base.
These upcycling ideas deliver measurable sustainability benefits: lower embodied carbon, less landfill tonnage, and reduced transport spend. Track savings per item to guide future pulls.
Sell or Donate Salvaged Materials Locally
If you can’t reuse a salvaged item on-site, you can still convert it into cash savings by selling or donating it locally instead of paying to haul it away. Start by sorting by material type and condition, then measure, photograph, and label quantities to speed pickup and pricing.
List higher-value items—doors, fixtures, hardwood, cabinets—on local marketplaces, salvage yards, and contractor networks; price to move and factor in your avoided disposal fees.
For bulk, set up Community partnerships with builders, schools, or makerspaces that can use odd lots.
When donating, call donation centers first to confirm acceptance rules, size limits, and drop-off windows. Request receipts for tax documentation, and track hours and mileage to tighten your project cost ledger.
Frequently Asked Questions
Do I Need Permits to Salvage Materials During Renovation?
You might need Salvage permits—check local renovation regulations first. Up to 30% of renovation waste can be salvaged, cutting disposal costs. You’ll often need permits for structural, electrical, or asbestos-related removals, even when salvaging.
How Can I Test Old Materials for Asbestos, Lead, or Mold?
You can’t reliably DIY—hire accredited labs: schedule Asbestos testing via bulk/PLM sampling, and Lead testing using XRF or lab chips. For mold, collect tape/air samples and confirm moisture sources; budget $200–$600.
Does Salvaging Materials Affect My Home Insurance or Renovation Warranty?
Salvaging can ripple through coverage like a loose nail: you’ll face Home insurance implications if you alter structure or fire risk, and renovation warranty concerns if you reuse nonapproved parts. Document work, notify insurers, use certified installers.
What Tools Are Best for Identifying Valuable Antique Architectural Salvage?
You’ll spot valuable antique salvage with a strong flashlight, magnet, jeweler’s loupe, tape measure, moisture meter, and lead test kit. Pair Vintage tools with Salvage techniques, plus a phone camera and pricing app. Saves money.
Can I Claim Tax Deductions for Donating Salvaged Building Materials?
Measure twice, cut once: you can claim deductions if you donate to a qualified nonprofit and document fair market value. Follow donation process guidelines—itemized receipt, photos, appraisal—so you capture Tax deduction opportunities and minimize audit risk.
About the Author