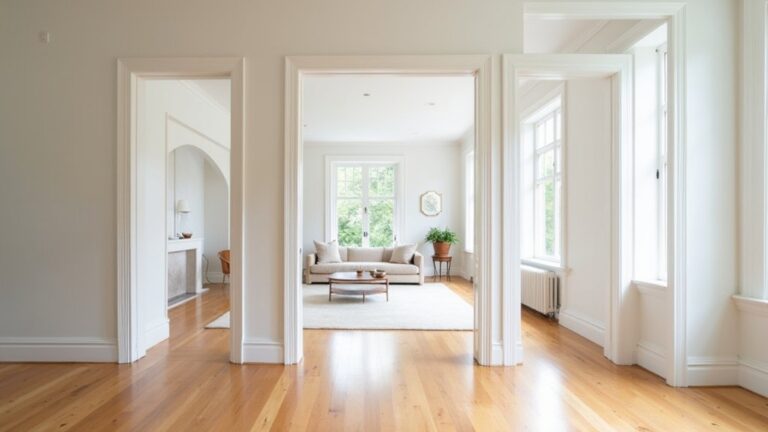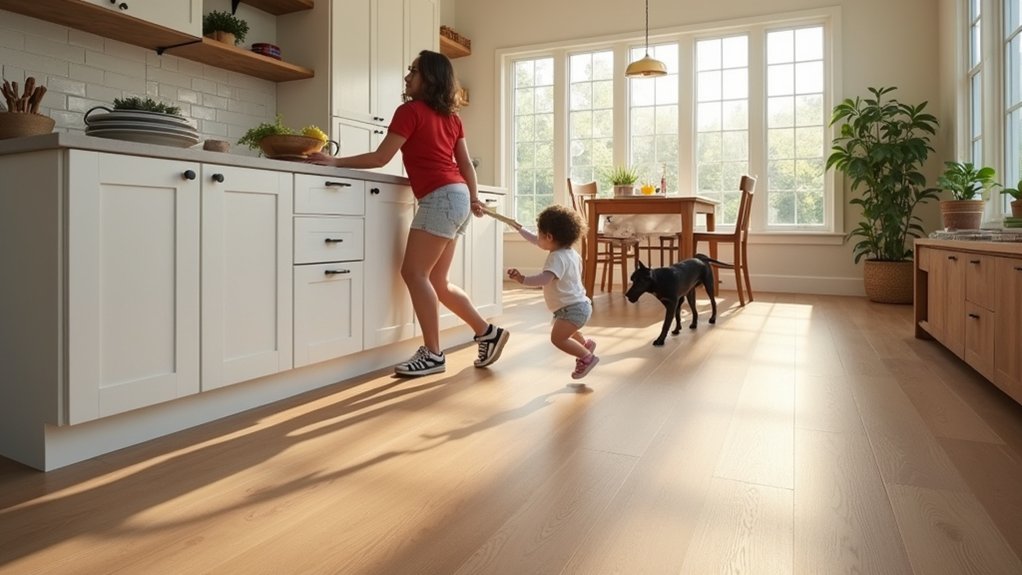
You need kitchen flooring that can take water, abrasion, and impact without becoming slippery or hard to live with. Start by ranking your must-haves: water resistance at seams, wear layer or glaze hardness, underfoot comfort, and noise control. Then check real specs—PEI rating for tile, mil thickness for vinyl, AC rating for laminate, and finish type for wood. Once you know your traffic and mess profile, the best option becomes clearer…
Key Takeaways
- Prioritize water resistance and sealed seams in splash zones near the sink, dishwasher, and fridge line.
- Choose durable surfaces that resist scratches and dents from grit, toys, and dropped cookware; add entry mats and felt pads.
- Pick comfortable flooring with some resilience and warmth underfoot; use thin anti-fatigue rugs where you stand most.
- For busy families, consider rigid-core luxury vinyl or PEI 4+ porcelain tile with tight grout for spill and traffic resistance.
- Select matte or lightly textured patterns for slip control and to hide crumbs, scuffs, and everyday messes.
Set Your Kitchen Flooring Must-Haves (Water, Wear, Comfort)
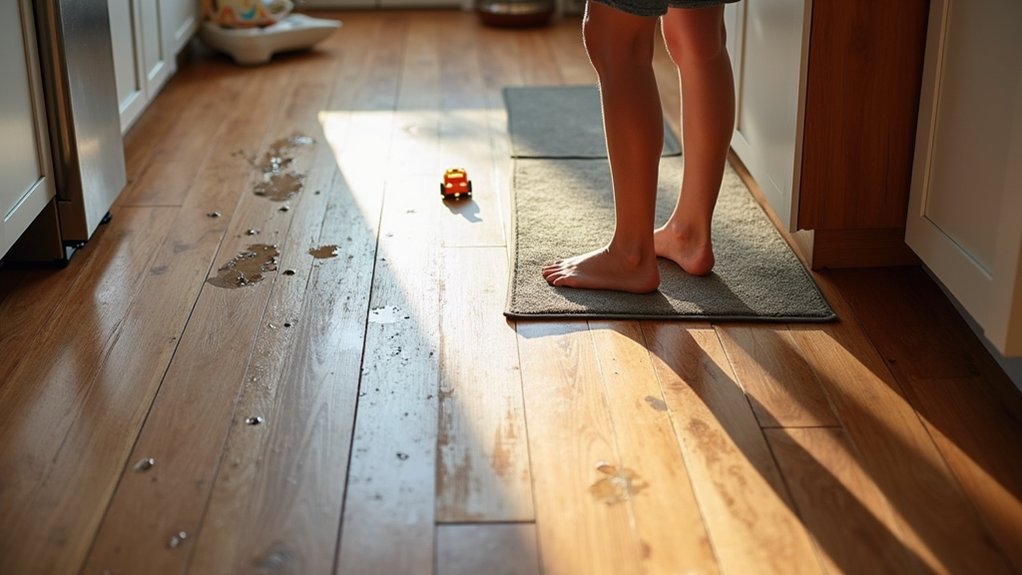
Before you compare materials and price tags, lock in your non‑negotiables for a busy kitchen floor: water resistance, wear durability, and underfoot comfort.
Define where water hits hardest—sink, dishwasher, fridge line—and require sealed seams and edge protection to prevent swelling or subfloor damage.
For wear, prioritize scratch and dent tolerance for chair legs, grit, and dropped cookware; plan felt pads and a grit-trapping entry mat.
For comfort, specify a little resilience and thermal feel for long prep sessions; consider a thinner rug in standing zones.
Note how Decorative patterns can hide crumbs and scuffs, but only if seams stay tight.
Confirm installation techniques support your requirements: flatness tolerances, moisture testing, and seamless transitions.
Compare Kitchen Flooring (Tile vs Vinyl vs Laminate vs Wood): Cost, Durability, Feel
Once you’ve nailed your must-haves, compare tile, vinyl, laminate, and wood on three variables that actually change day-to-day performance: installed cost, durability in wet/dirty traffic, and underfoot feel.
Tile typically runs highest installed because of labor and subfloor prep, but it shrugs off water and abrasion; it feels hardest and coldest.
Vinyl (LVP/LVT) often lands midrange to low installed, handles moisture well, and feels warmer with a bit of give; Pattern options and color choices are broad.
Laminate is usually budget-friendly installed, feels firmer than vinyl, and resists scuffs, but seams can swell if moisture gets in.
Wood costs more and needs refinishing over time; it feels warmest, quieter, and most forgiving.
Choose the Best Kitchen Flooring for Kids, Pets, and Messes
Because kids, pets, and high-traffic messes stress a kitchen floor in specific ways, you’ll get better results by choosing for stain resistance, scratch tolerance, traction, and water-proof seams—not just looks.
Prioritize rigid core vinyl or porcelain tile with tight grout for spill zones; both resist juice, grease, and tracked-in grit.
For play area durability, choose a wear layer (vinyl) rated 20 mil or higher, or a PEI 4+ tile rating to handle toys and chair legs.
If you’ve got dogs, select pet friendly textures: light embossing that boosts grip without trapping hair, and a matte finish that hides scuffs.
Confirm slip resistance with a DCOF around 0.42+ when wet.
Avoid soft pine or high-gloss finishes.
Pick Kitchen Flooring by Maintenance Level (Low to High)
If you match your kitchen flooring to the amount of upkeep you’ll actually do, you’ll avoid finishes that dull, grout that stains, and planks that swell at the seams.
For low maintenance, choose porcelain tile or luxury vinyl: they resist water, need neutral cleaner, and only require periodic seam checks.
Mid-level upkeep includes sealed concrete or cork; you’ll reseal every 1–3 years and use felt pads to limit abrasion.
High upkeep includes hardwood, bamboo, or natural stone; you’ll control humidity, wipe spills fast, and refinish or reseal on a schedule.
If you want Eco friendly materials, prioritize certified cork, FSC wood, or low-VOC LVT adhesives.
Balance maintenance with Aesthetic options by selecting matte finishes and textured surfaces that hide scuffs.
Frequently Asked Questions
How Soon Can We Walk on New Flooring After Installation?
You can usually walk on new flooring after 24 hours; some click-lock planks allow immediate use. Verify adhesive cure times. Prioritize Flooring durability and follow Maintenance tips: avoid heavy loads 48–72 hours, control humidity.
Do We Need Underlayment or Soundproofing for Kitchen Flooring?
You often need underlayment; you’ll add it for floating floors, uneven subfloors, and comfort. Use Acoustic insulation to cut impact noise, and install Moisture barriers over concrete or crawlspaces to prevent cupping, mold.
Can Existing Kitchen Flooring Be Installed Over Without Removing Old Floors?
Yes, you can install over existing flooring—because who needs Old flooring removal anyway? Still, you’ll inspect height changeovers, moisture, adhesion, and flatness; then handle subfloor preparation, patch dips, secure loose areas, and prime if needed.
How Does Kitchen Flooring Affect Indoor Air Quality and VOC Emissions?
Kitchen flooring affects Indoor air by off-gassing adhesives, finishes, and core materials, driving VOC emissions. You’ll reduce exposure by choosing low-VOC certified products, using water-based adhesives, ventilating during install, and curing fully.
What Warranties Typically Cover Spills, Stains, Scratches, or Pet Damage?
You’ll typically get limited damage coverage: spills/stains covered only with “stain” warranties; scratches rarely; pet damage usually excluded. Review Warranty exclusions for standing water, harsh cleaners, claws, and wear-layer thresholds.
About the Author